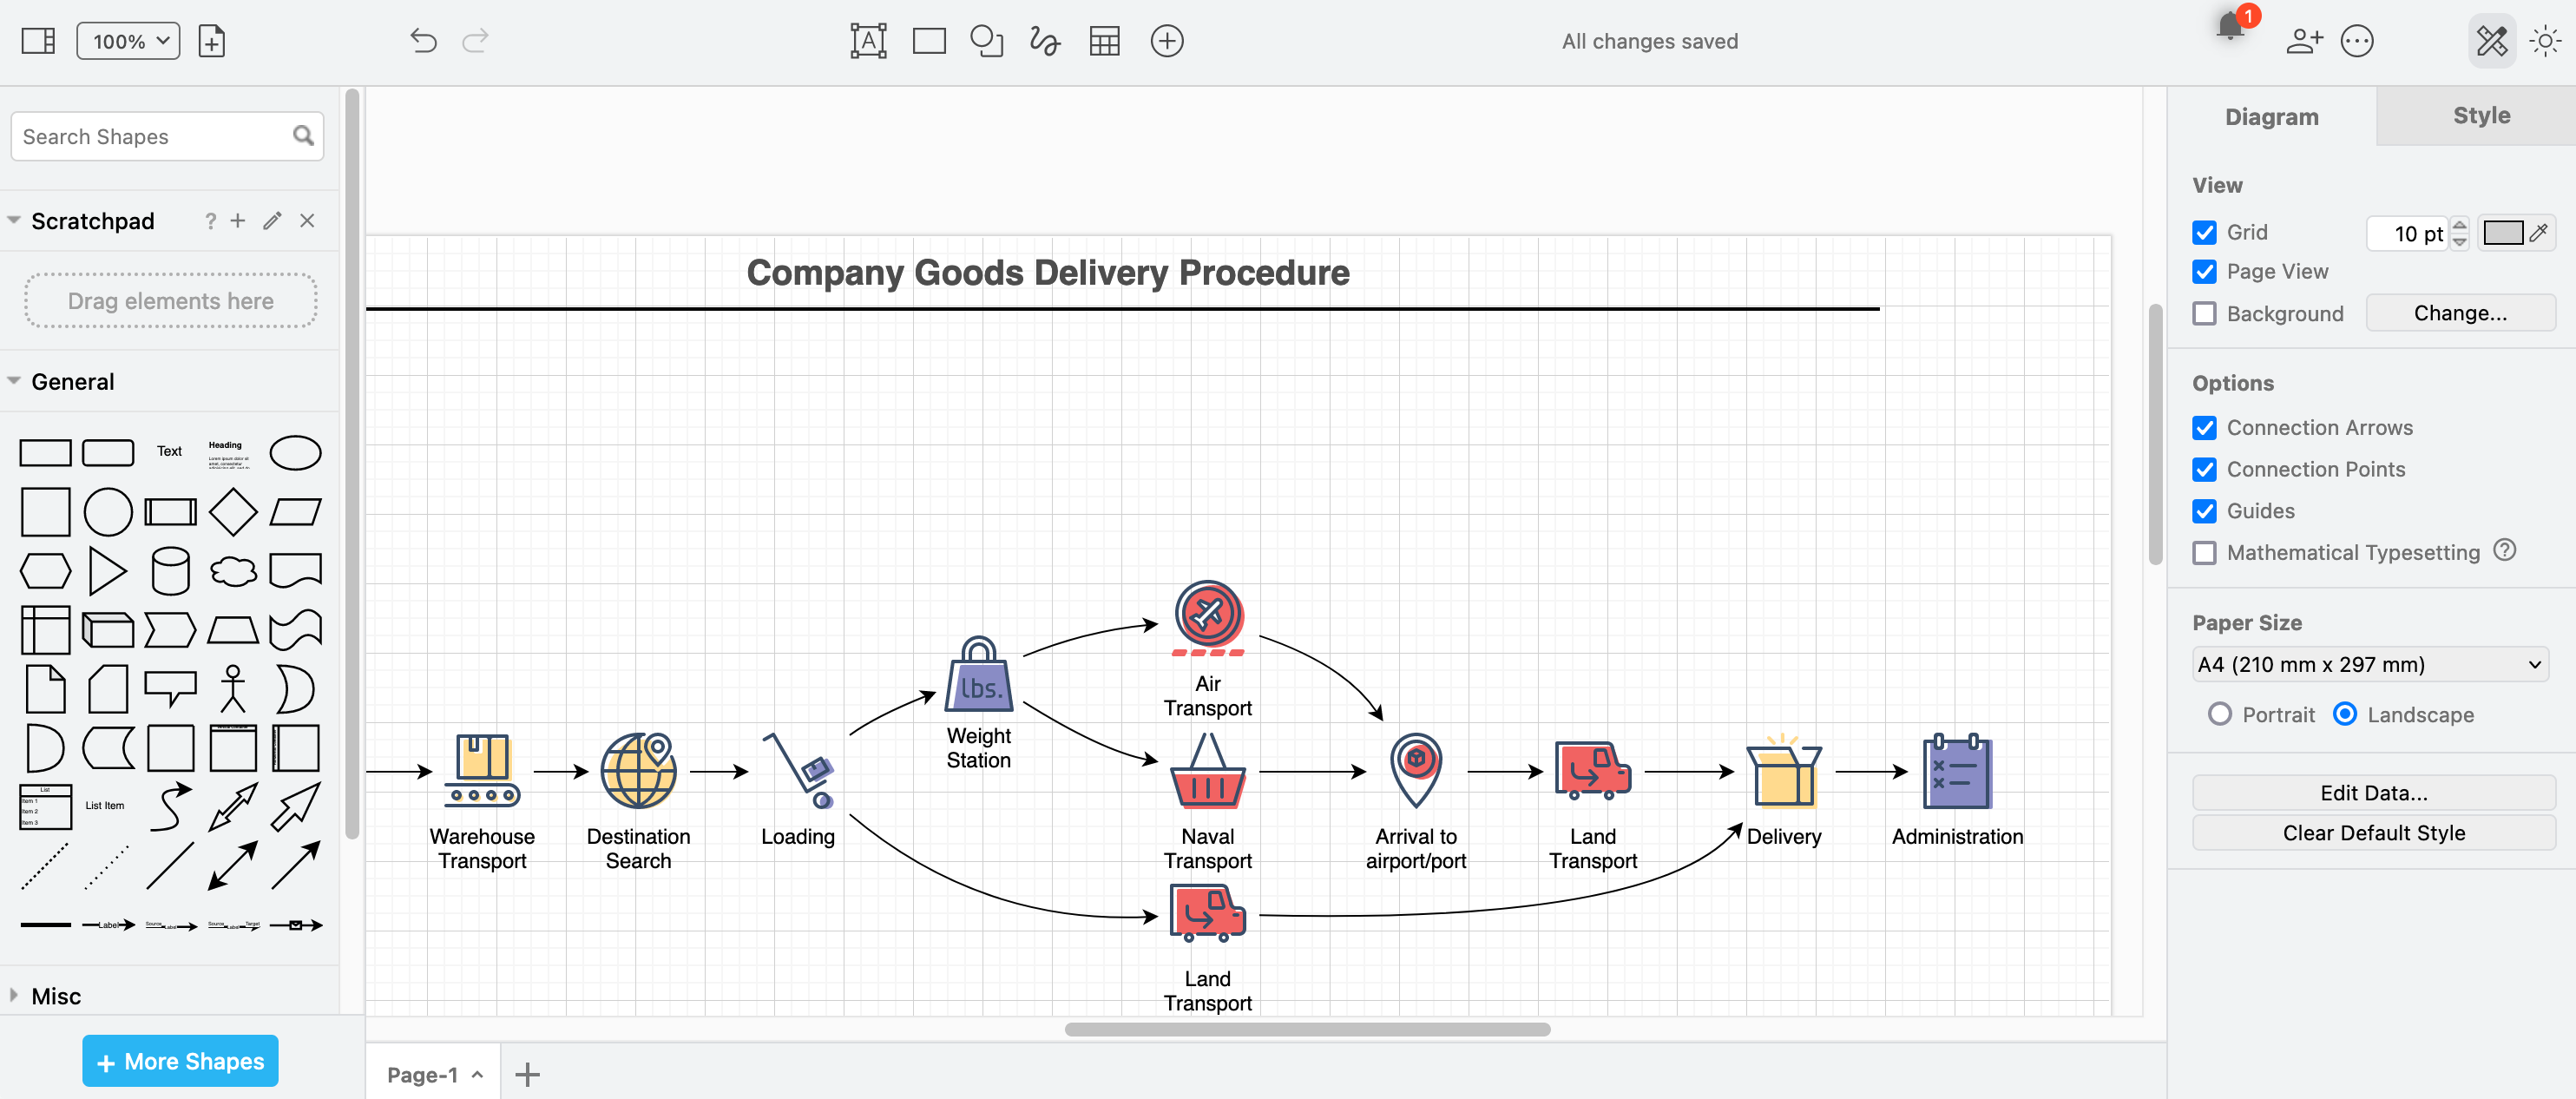
New modern mode for the diagram editor
With the new Modern mode for diagrams.net, we have redesigned the diagram editor to combine the fixed panels and page tabs from the classic diagram editor, the responsive toolbar from the Minimal editor theme, and the menu and shape picker from the Sketch whiteboard-like theme.
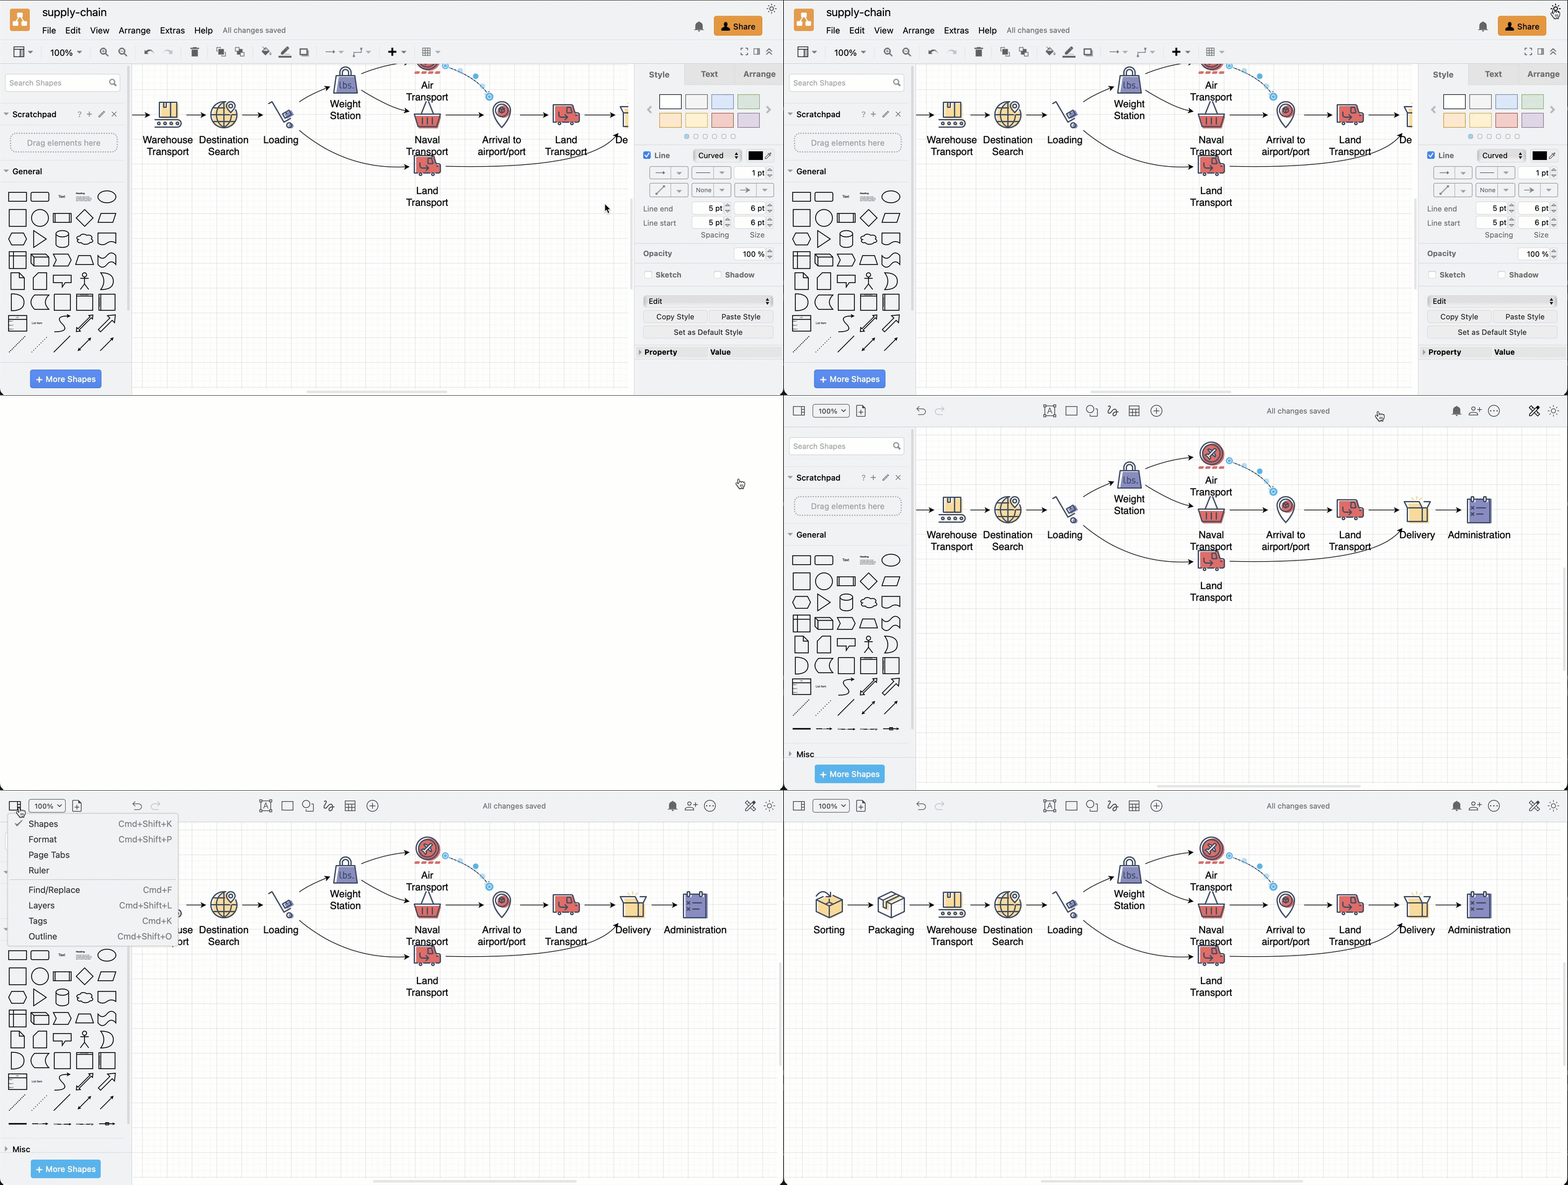
Modern mode will become the default editor mode sometime early in 2023.
Switch to modern mode now
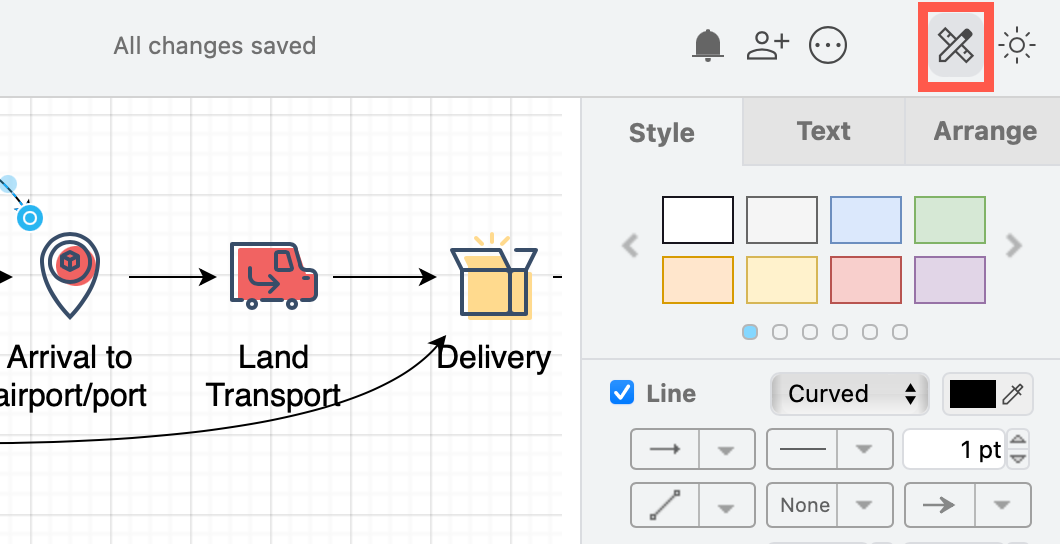
Click on the sun/moon in the far right of the toolbar, and deselect Classic. The diagrams.net editor will switch immediately to the modern mode toolbar.
Hide the format panel and shapes panel in modern mode for a large, distraction-free drawing canvas.
Modern mode toolbar
The tools and menu in the Modern mode toolbar (in the image below) are described in the next section, with links to further information about their function.

Tip: Hover over any of the tools or text to see a tooltip.
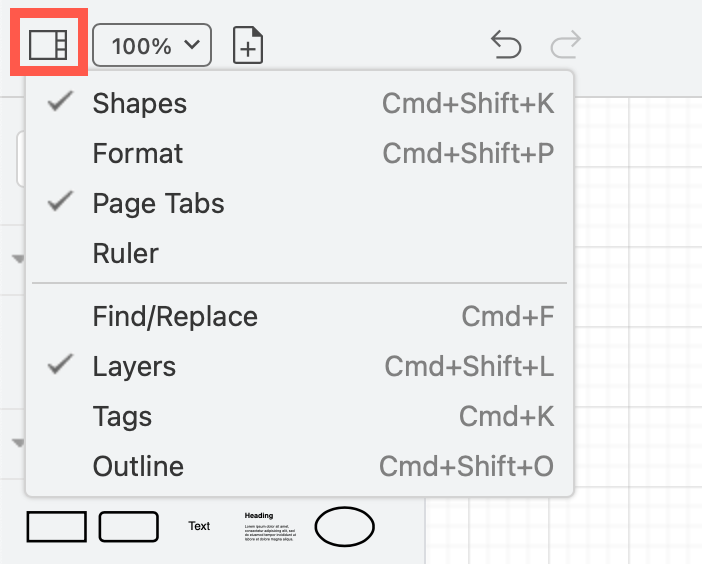
Hide or display the shape panel, format panel, rulers, page tabs at the bottom of the drawing canvas, and the floating dialogs for additional tools, all via View at the left end of the toolbar.
Alternatively, hide or display just the format panel via Format at the right end of the toolbar next to the mode switch.
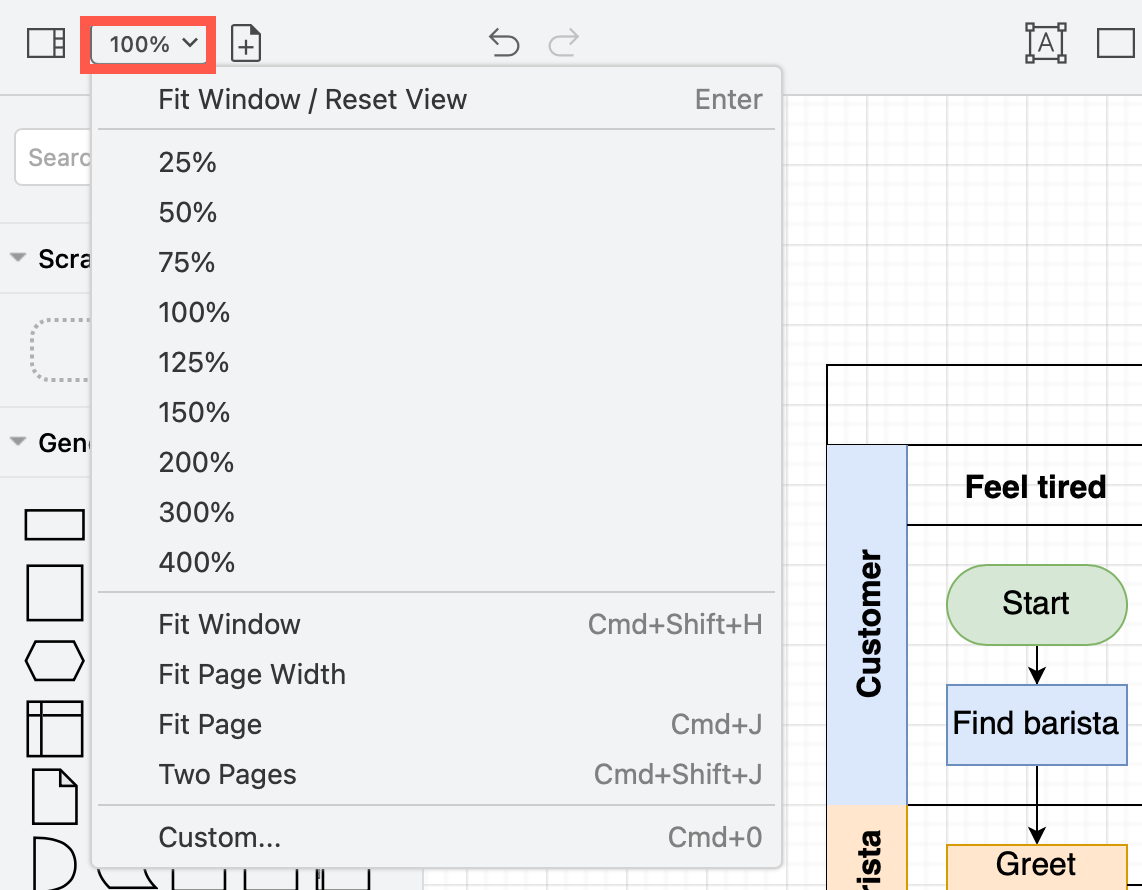
Zoom in and out of your diagram or fit it to the browser window using the drop-down list at the left end of the toolbar.
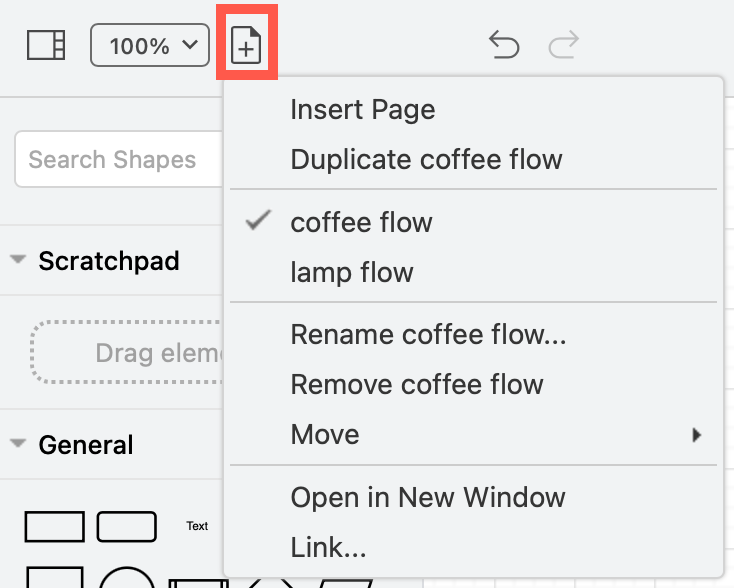
Work with multiple-page diagrams via the Pages tool.
- Insert a new blank page or duplicate the current page.
- Rename, remove or move the current page.
- Open just this diagram page in a new browser tab.
- Create a link to this diagram page that when shared will open it in the diagrams.net viewer.
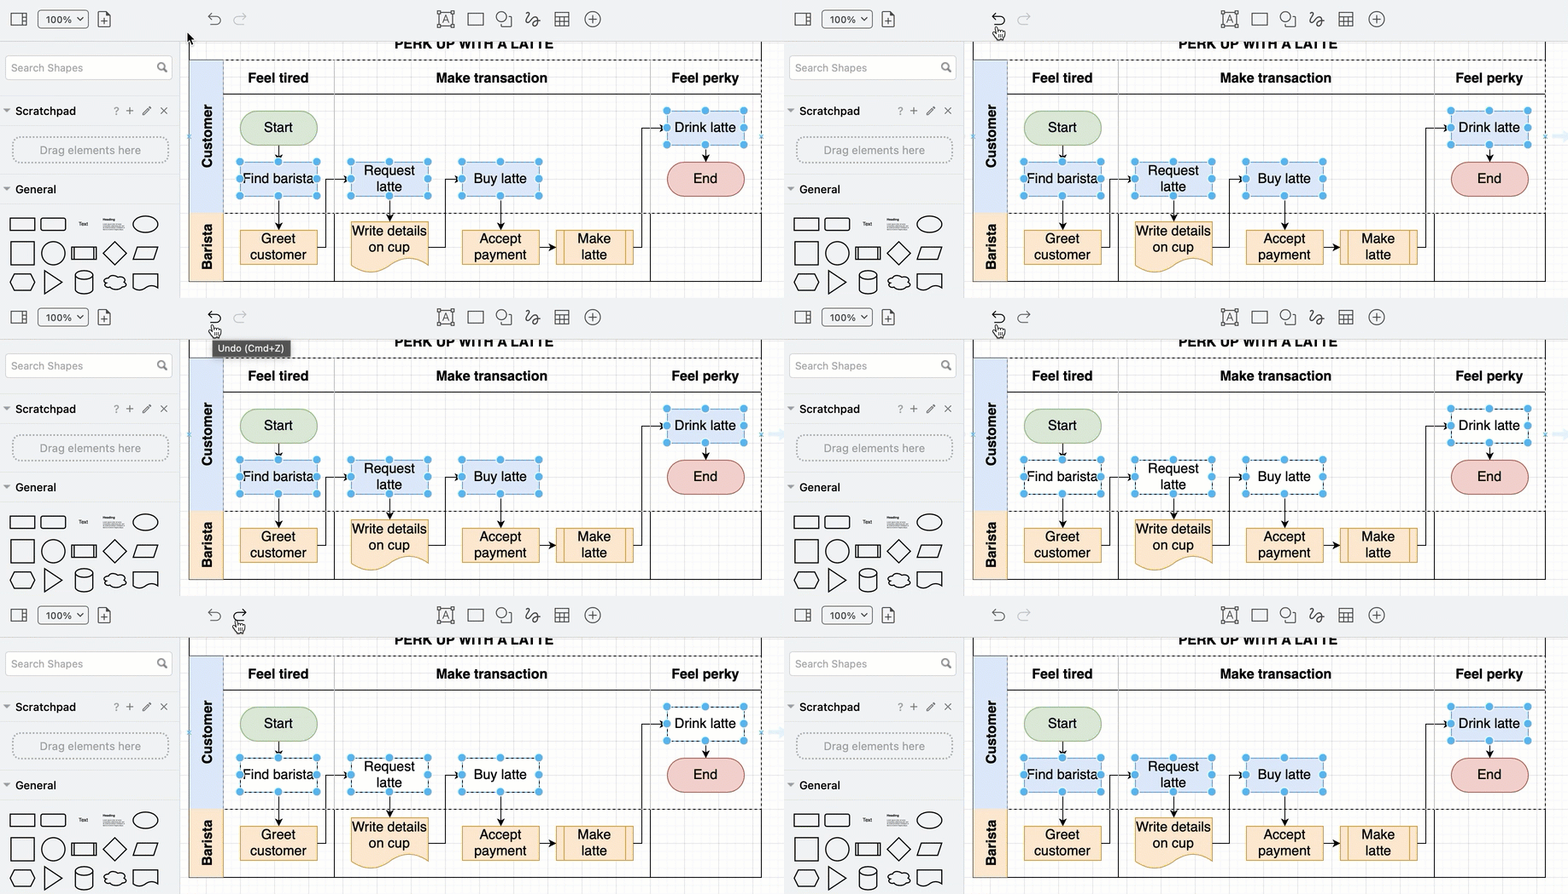
Once you have made changes to a diagram, click on Undo to undo an edit. Click on Redo to apply the change again.
Insert shapes via the toolbar
Use the tools in the middle to text, rectangles, and a selection of shapes quickly. Click on them to add a shape to the center of the drawing canvas.
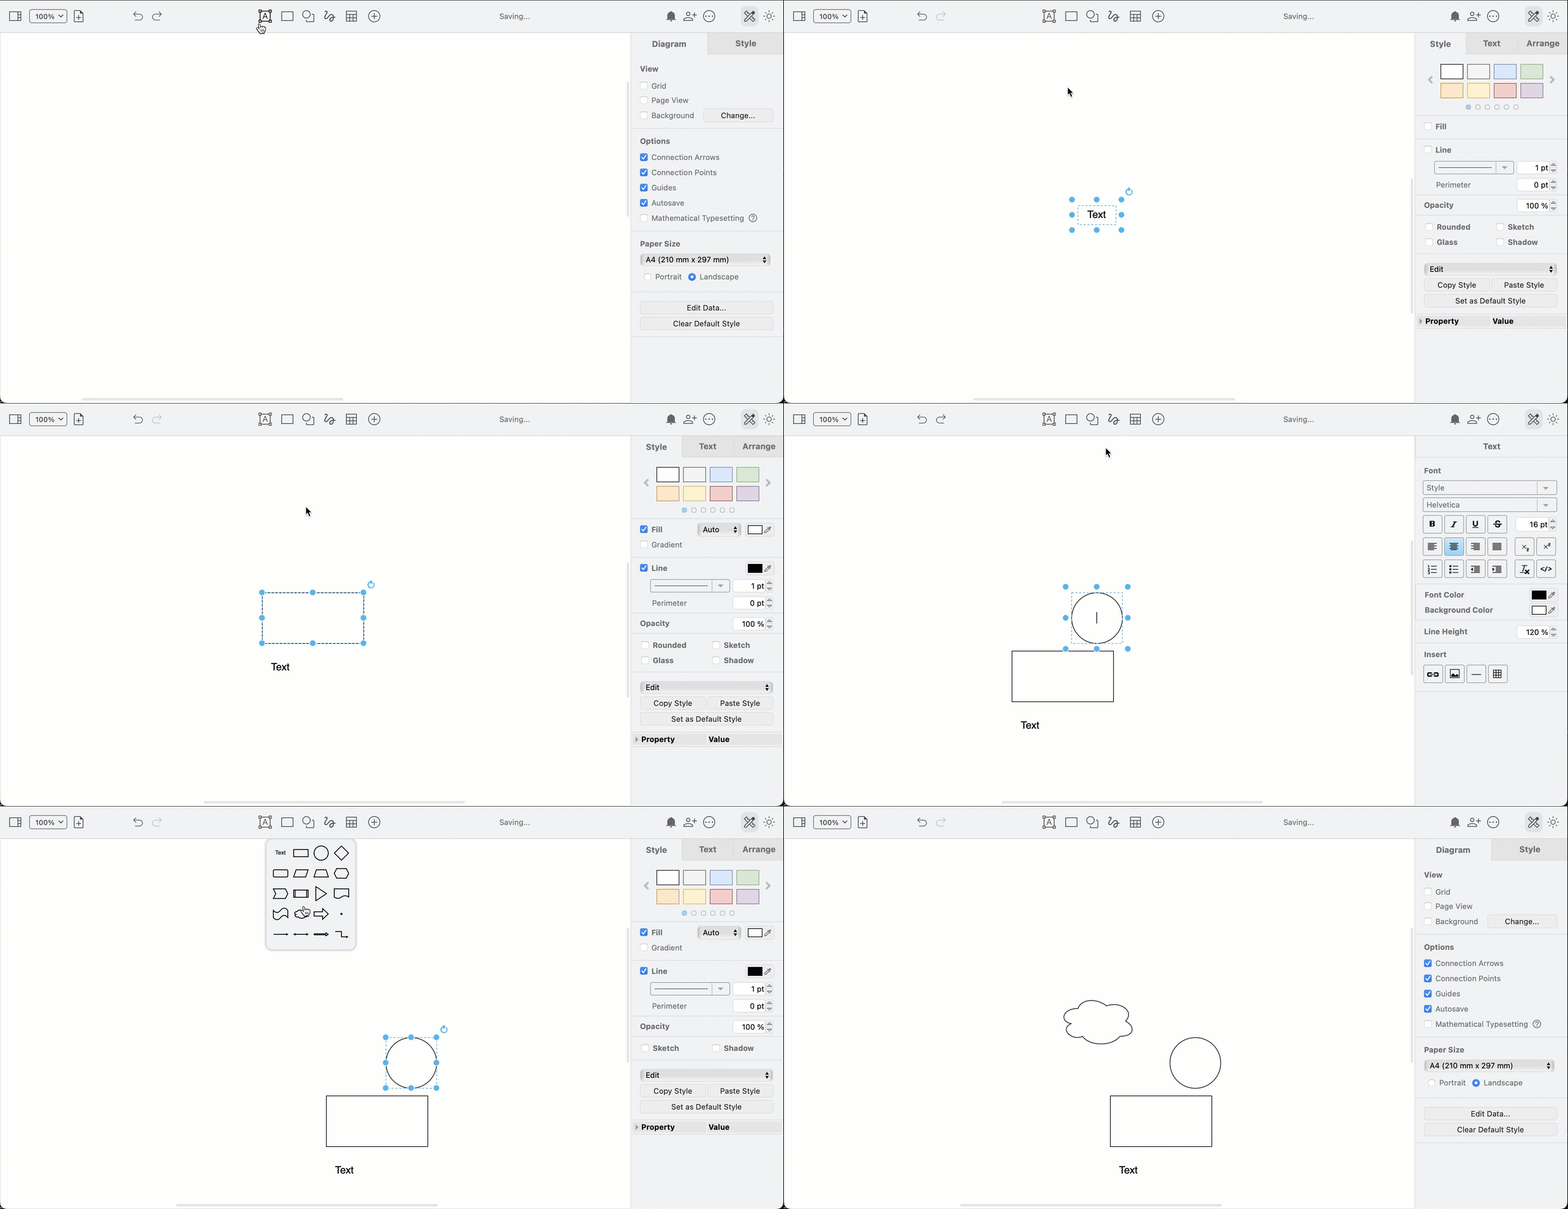
Tip: Hold down the middle mouse button/wheel and drag the drawing canvas to reposition your diagram - then the added shapes won’t overlap.
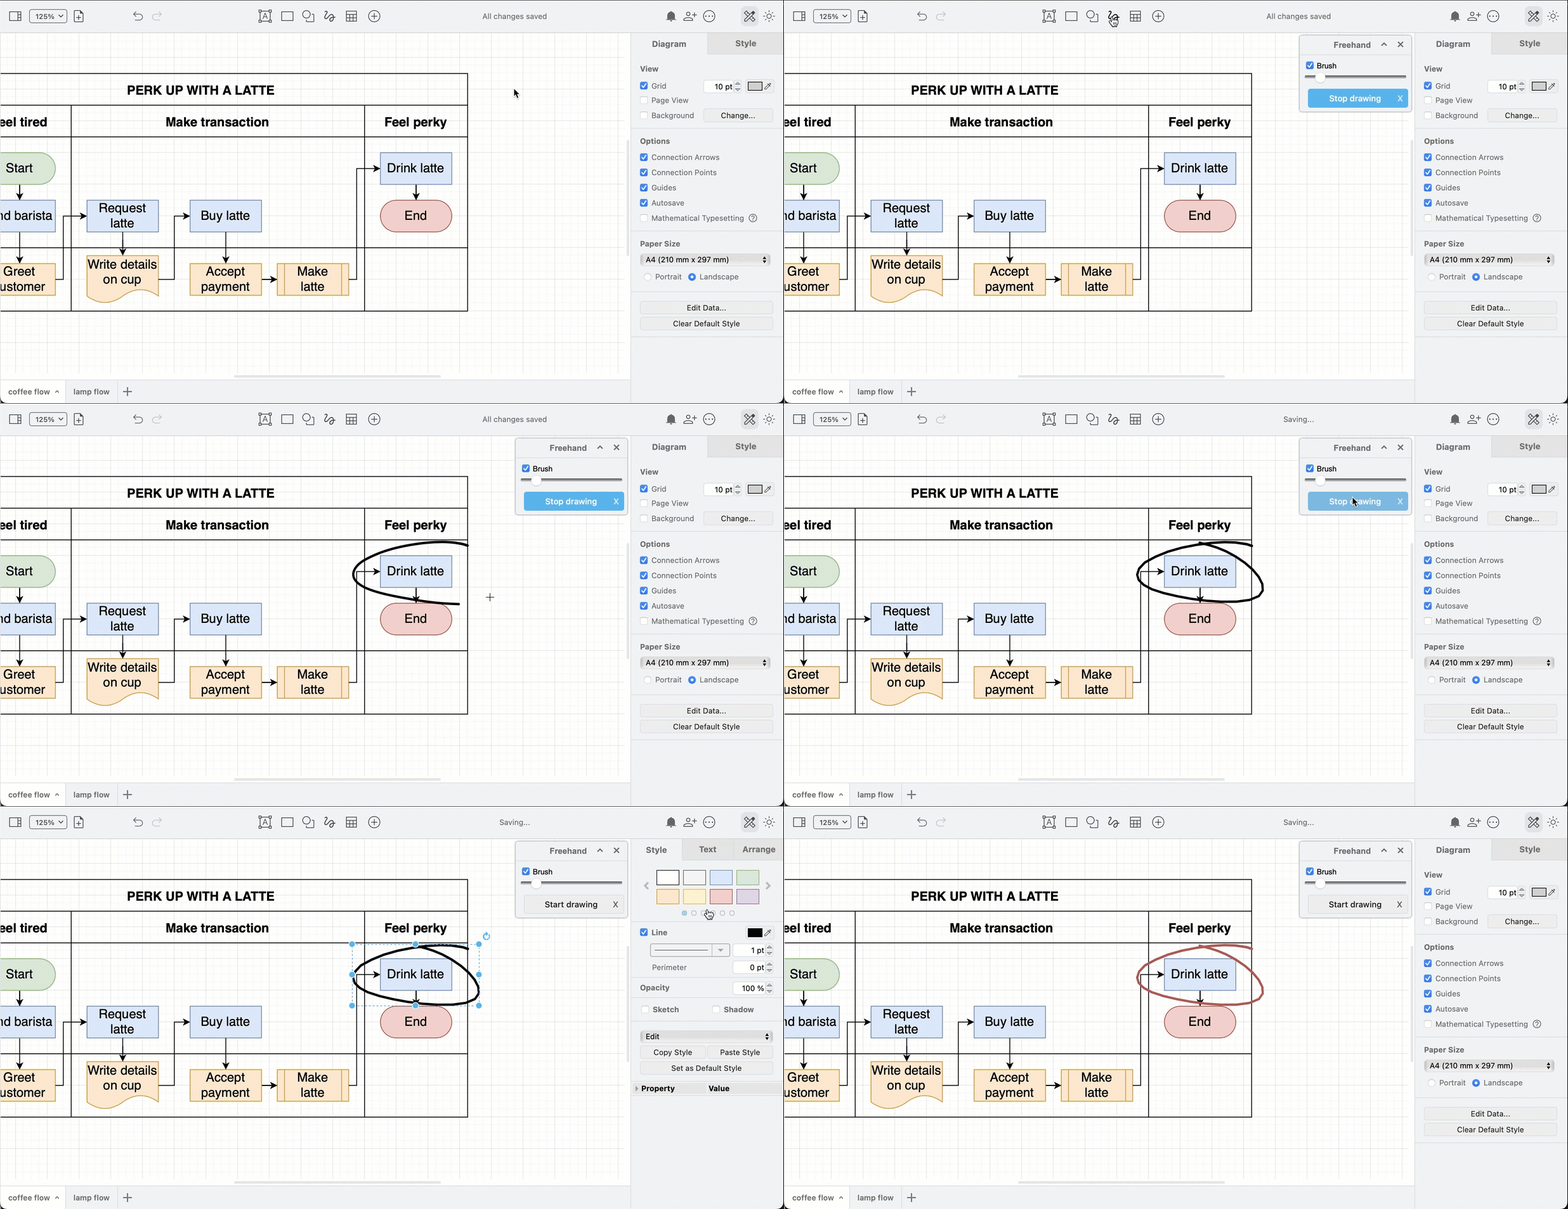
Click on the Freehand tool to open the Freehand dialog and draw a shape with your mouse. Before you style your shape or draw another, click Stop drawing in the dialog.
Click on the Table tool and drag to select the rows/columns you want your table to have.
- Before selecting the size, you can click Title and Container to turn the table into a cross-functional flowchart, into which you can drop other shapes.
- Add and remove rows and columns via the Arrange tab on the format panel. Alternatively, select your table and click on the Table tool to see the same row and column functions.
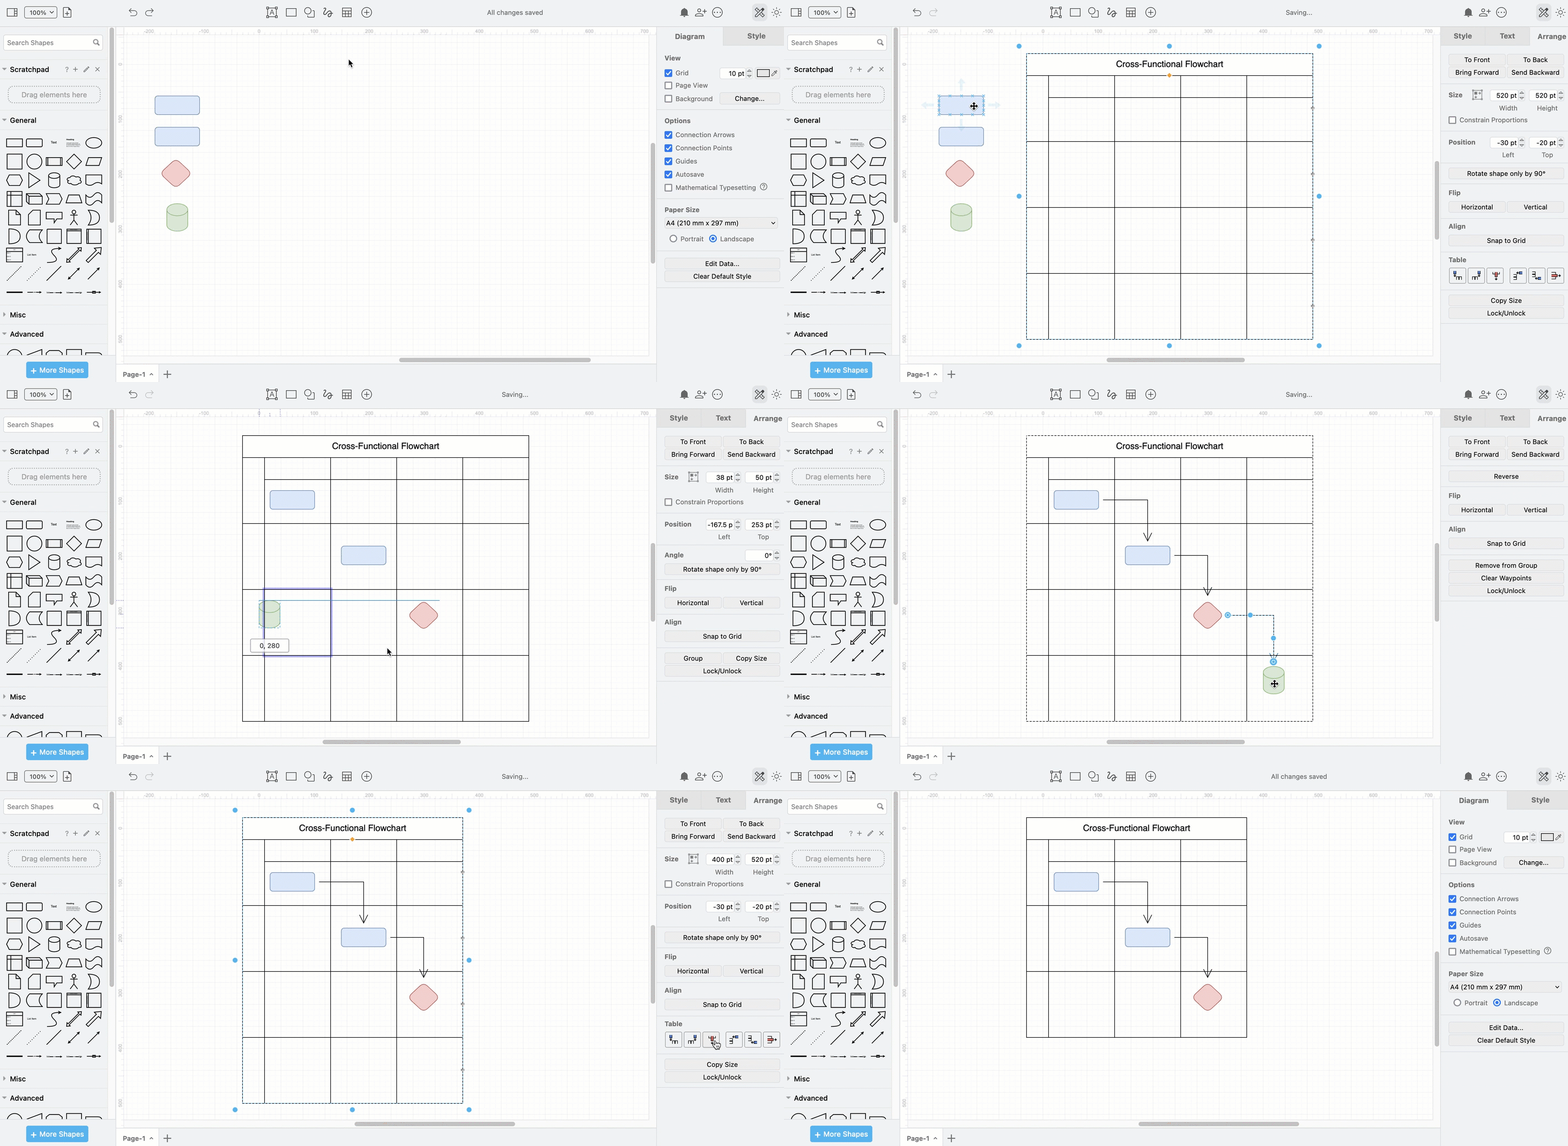
Note: Unlike the swimlane and layout shapes in the Advanced shape library, you will need to resize your cross-functional table rows and columns yourself. They will not resize automatically when you drop shapes into them.
Insert more shapes, templates, images and diagrams from text
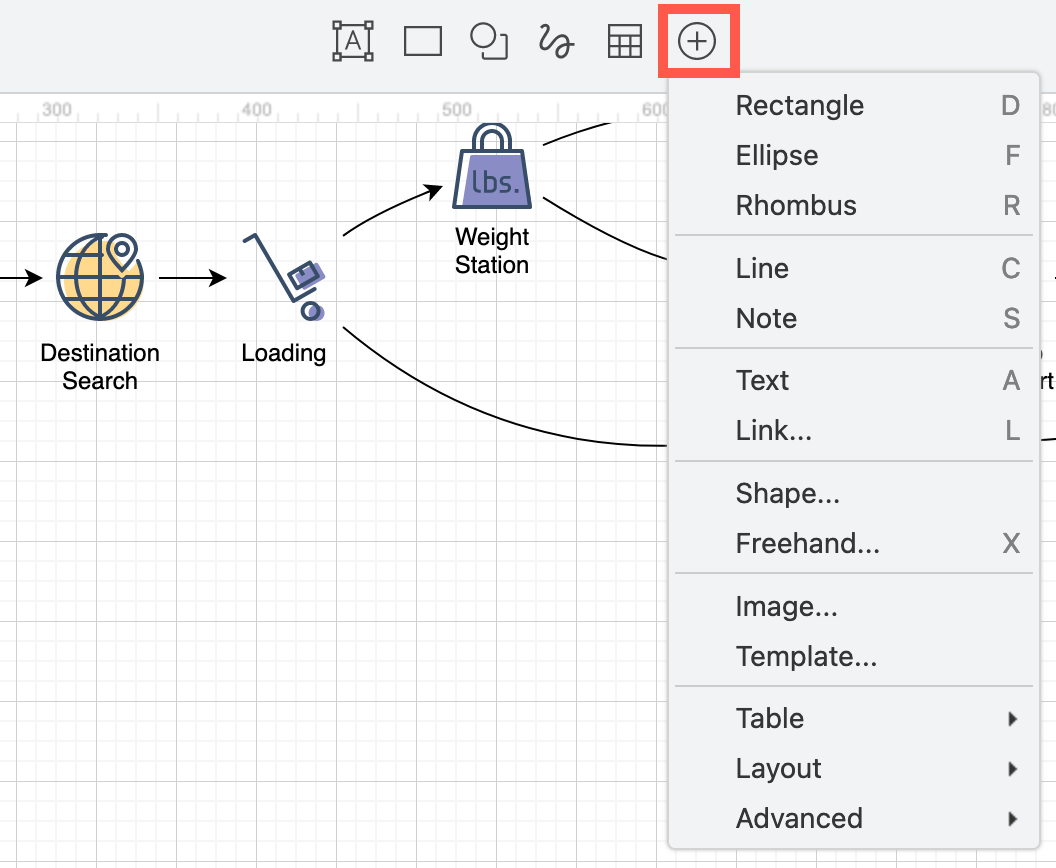
Click on the + in the middle to insert specific shapes, an image, a template diagram, an auto-layout shape, or use the advanced text-to-diagram tools.
Share or publish your diagram
Click on Share (a person with a plus) in the toolbar and select Share to share your diagram with colleagues if you have stored it in Google Drive or Microsoft One Drive.

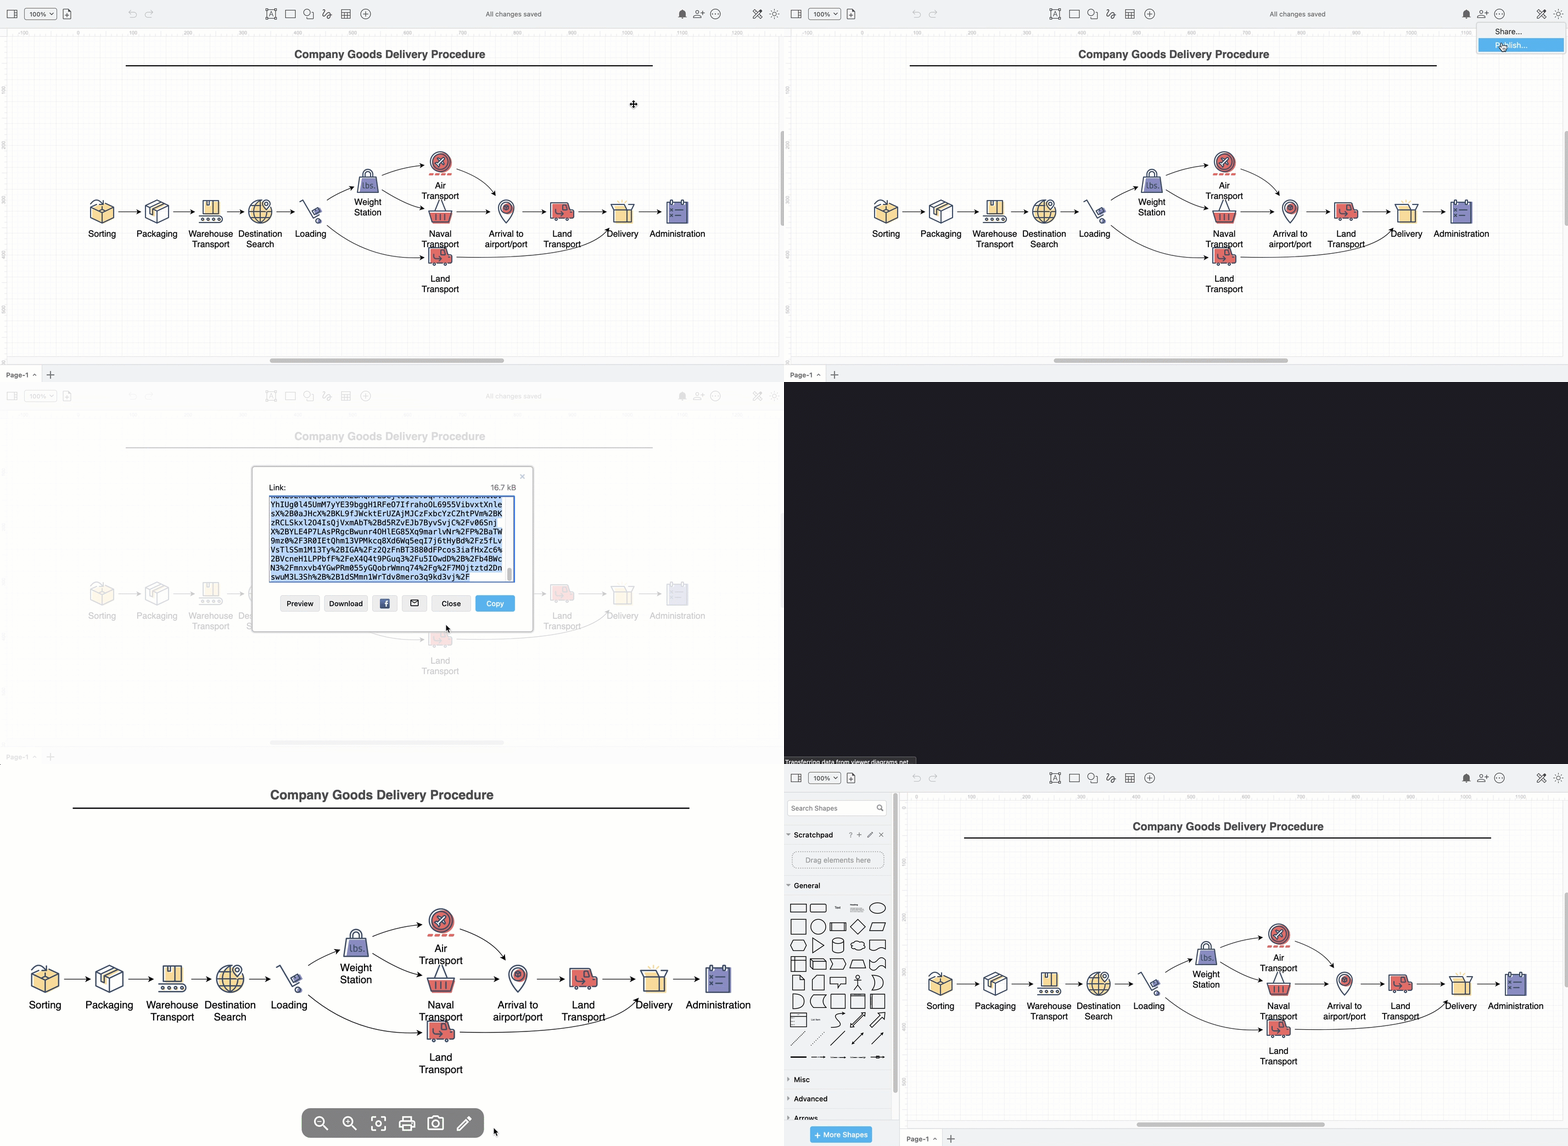
Select Publish, choose the settings you want to use and click Create to generate a link with your diagram data encoded into it. You can share this (long) link and the recipient will open a copy of the diagram in either the viewer or the editor, depending on the the publish settings you selected.
Use the modern mode menu
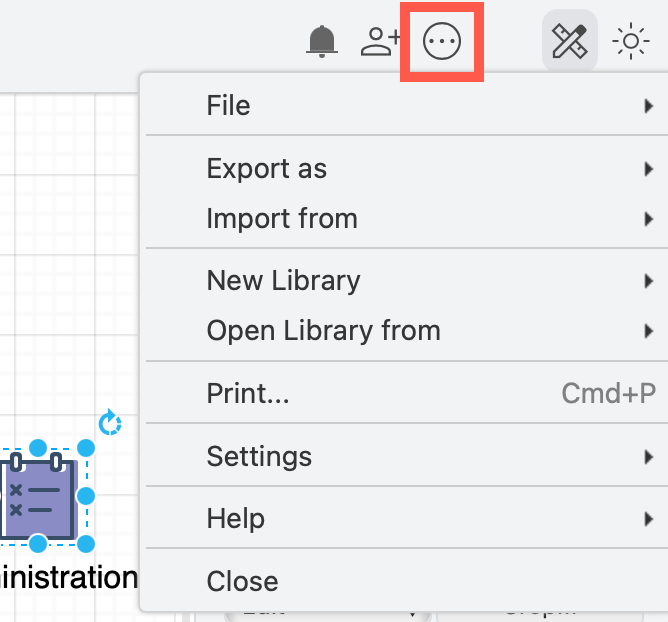
Click on ... (three dots) at the right end of the toolbar to open the settings and import/export menu. You can also open another diagram file, work with custom libraries, and print you diagram via this menu.
Switch to dark mode
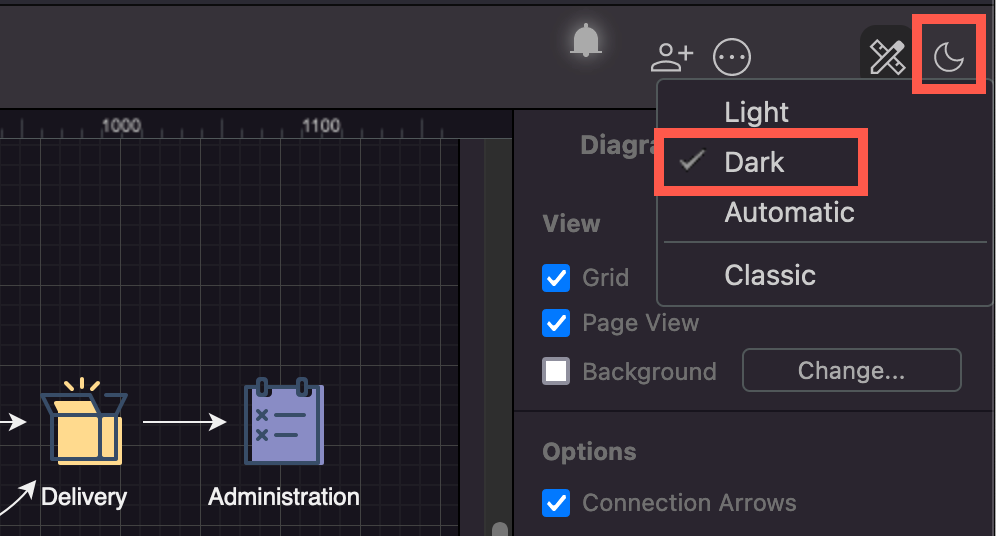
Click on the sun/moon in the far right of the toolbar and enable Dark to switch to dark mode. Alternatively, select Automatic to match your browser or operating system settings for dark/night mode.
Tip: Many diagrams in the template diagram will also work in dark mode - click on the magnifying glass in the top right of a diagram in the template library to see how it looks in dark mode.
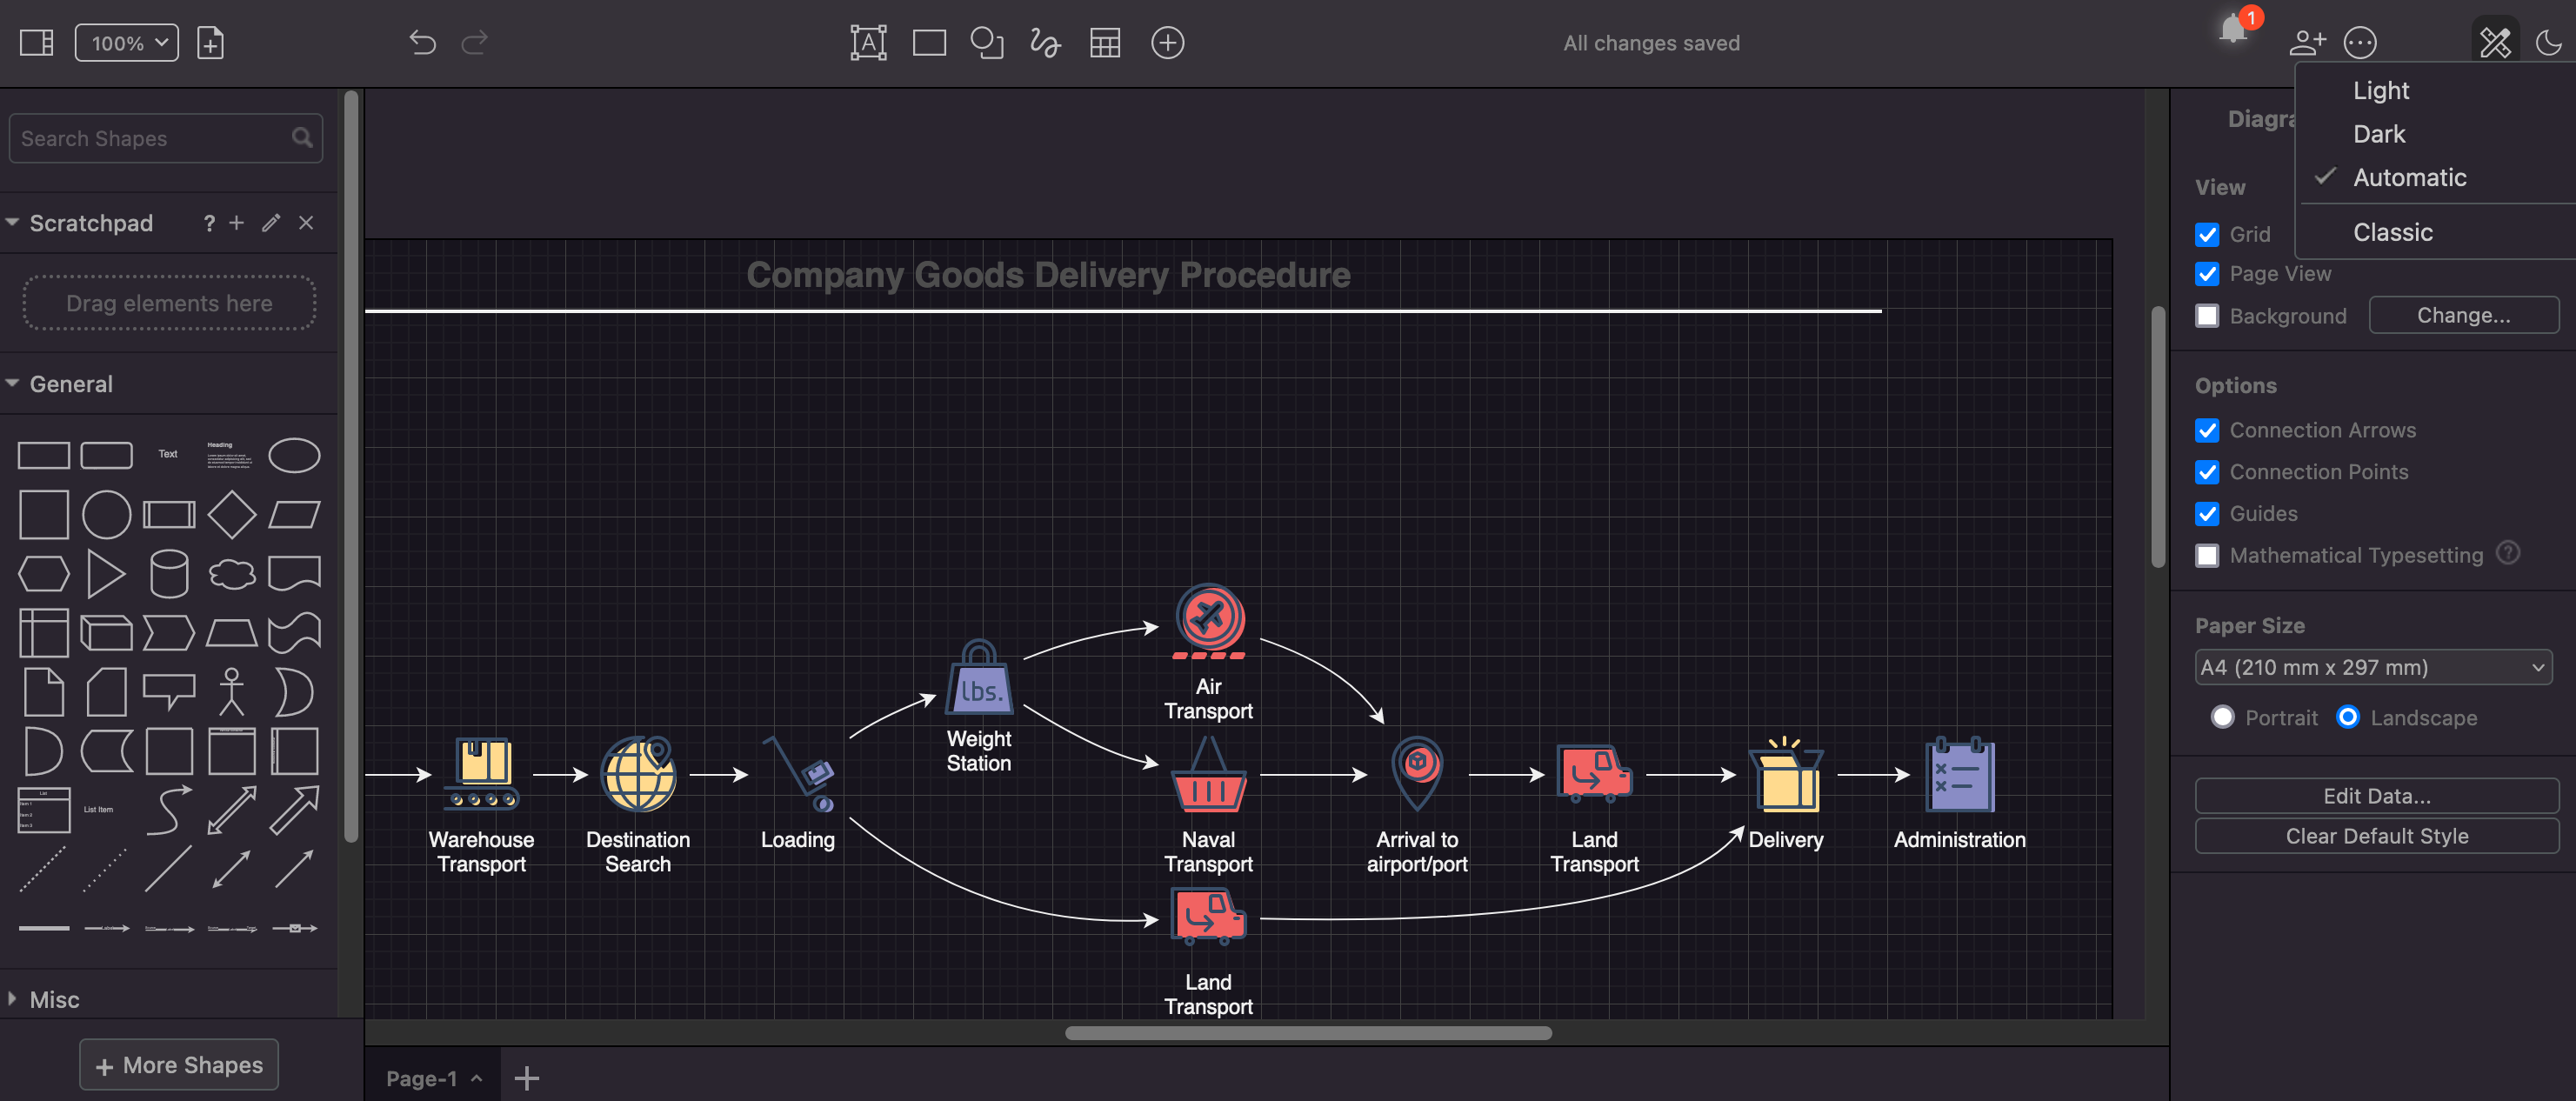
See notifications
If you have not selected a location to store your diagram file, once you make any changes, a warning will be displayed in the toolbar. Click on it and select a storage location to save your diagram.

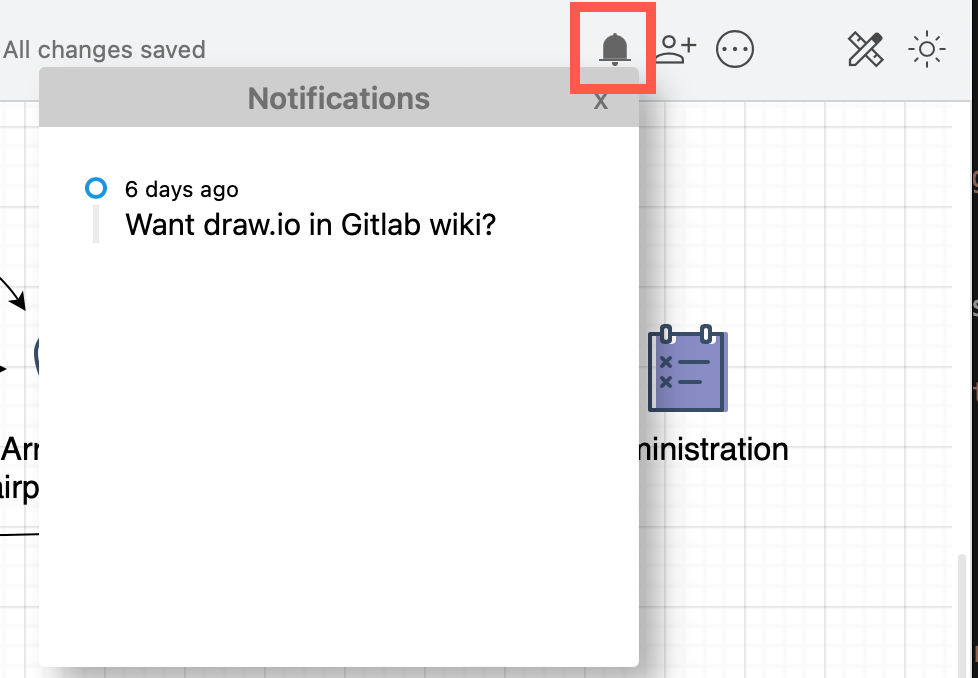
If there is news about diagrams.net, click on the bell to see these notifications. This won’t be displayed when there are no new notifications.
