Insert shapes, links, templates and more in diagrams.net
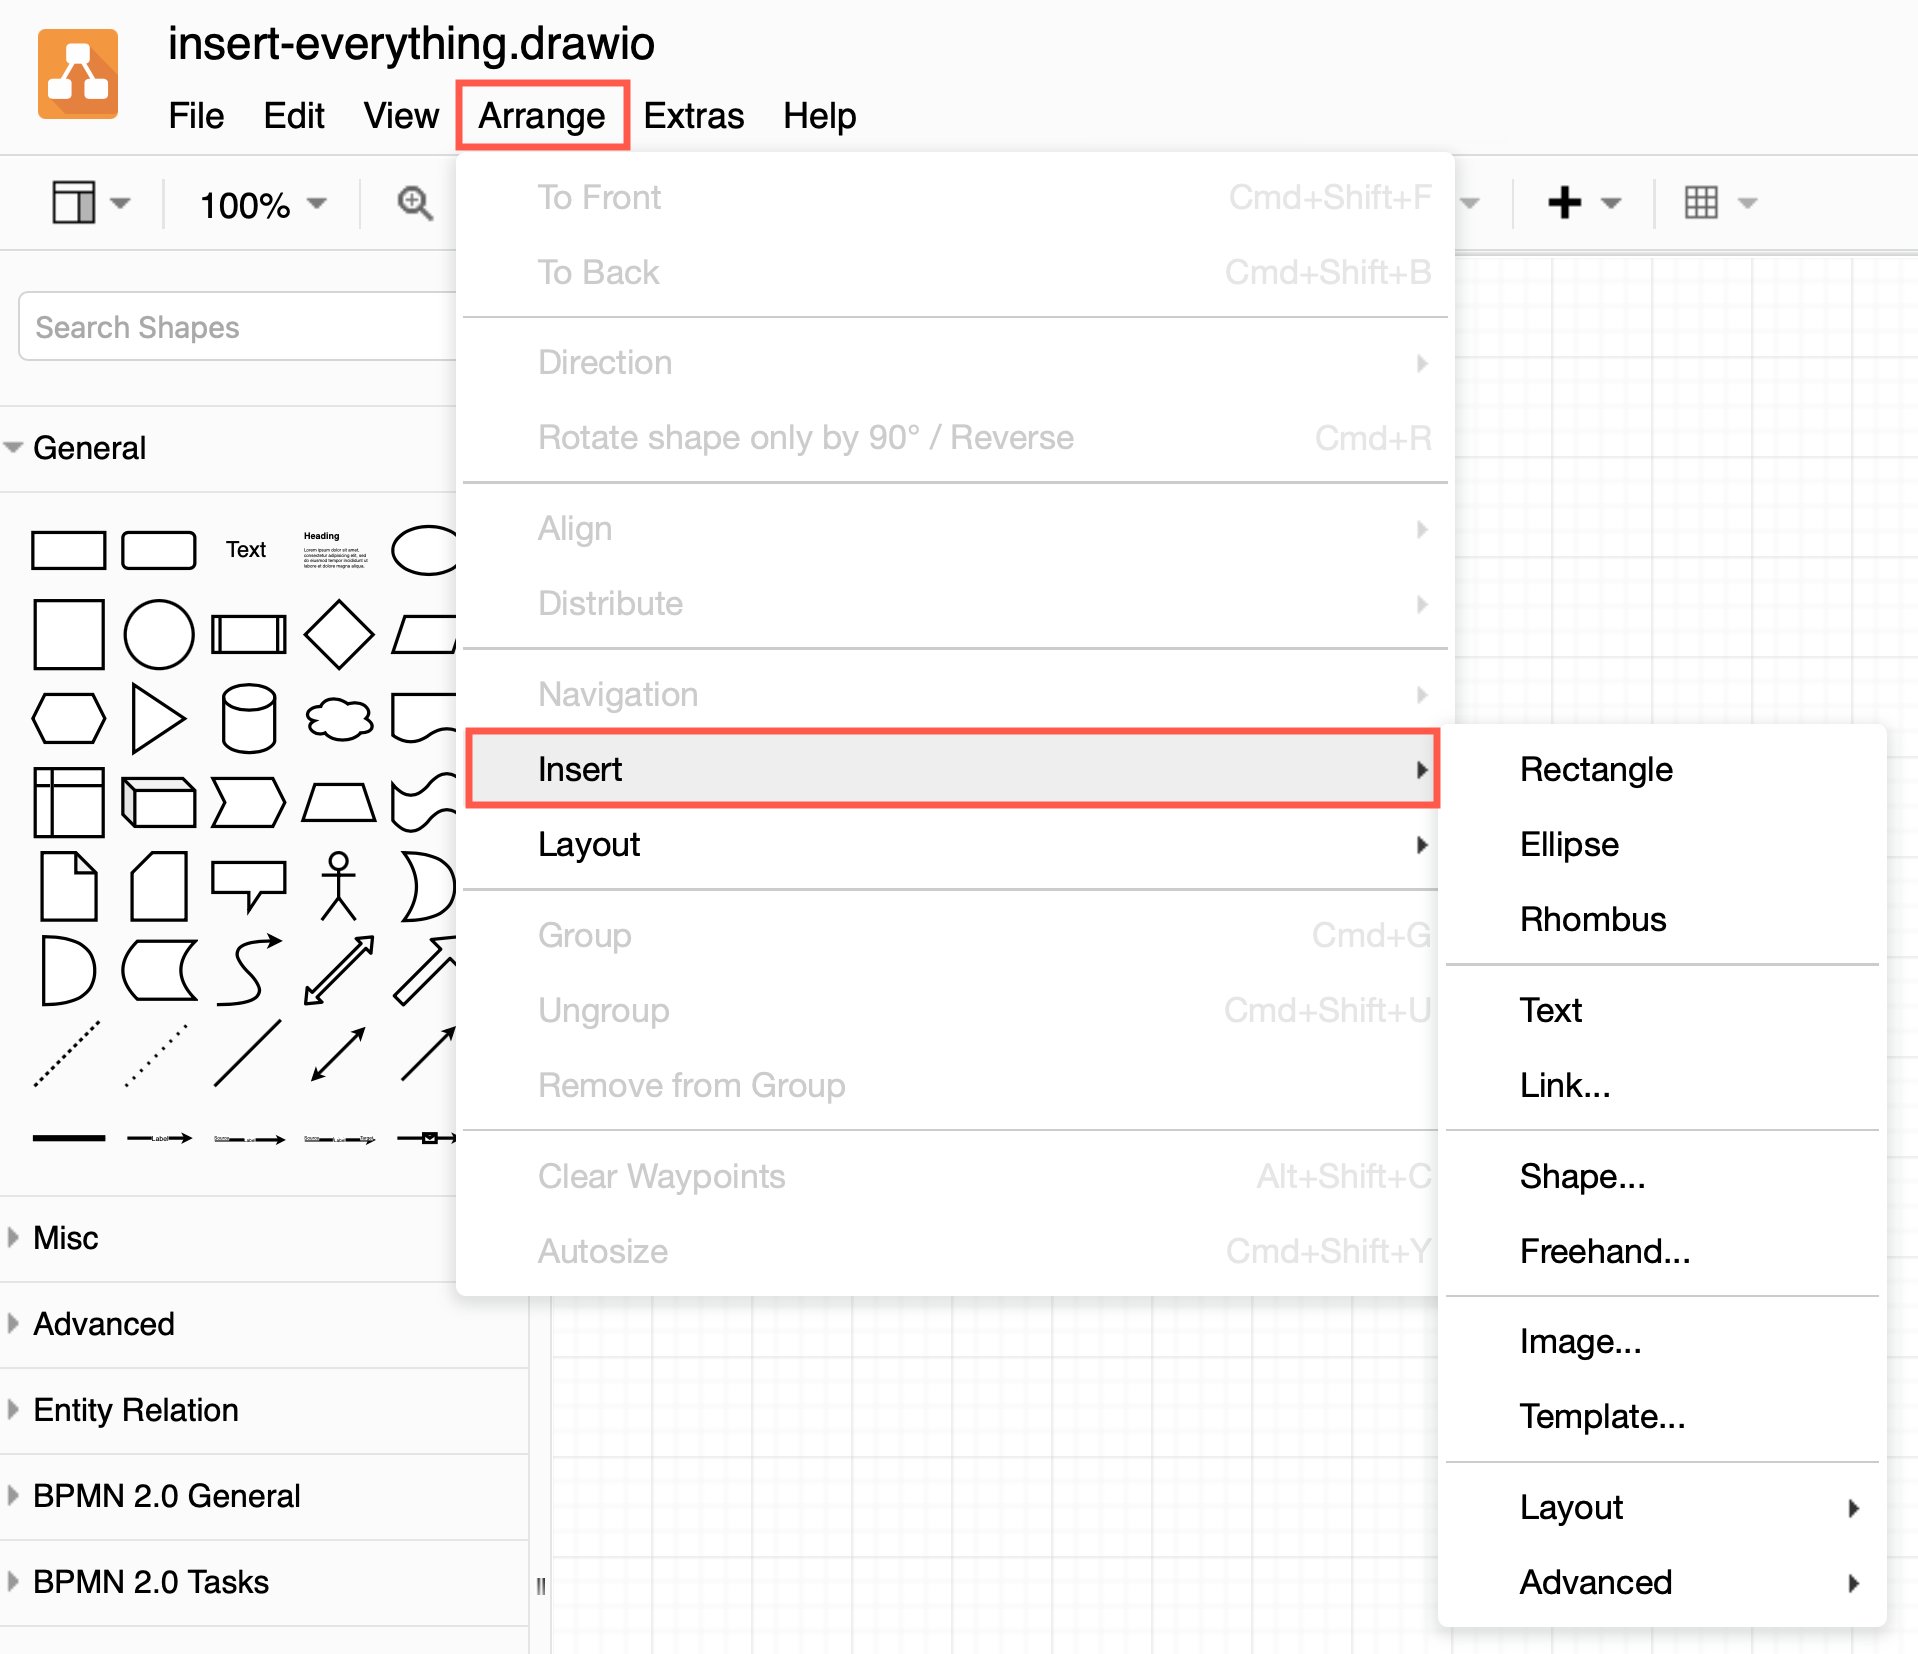
Use the Arrange > Insert submenu in the diagrams.net editor to insert various types of shapes and text elements onto the drawing canvas.
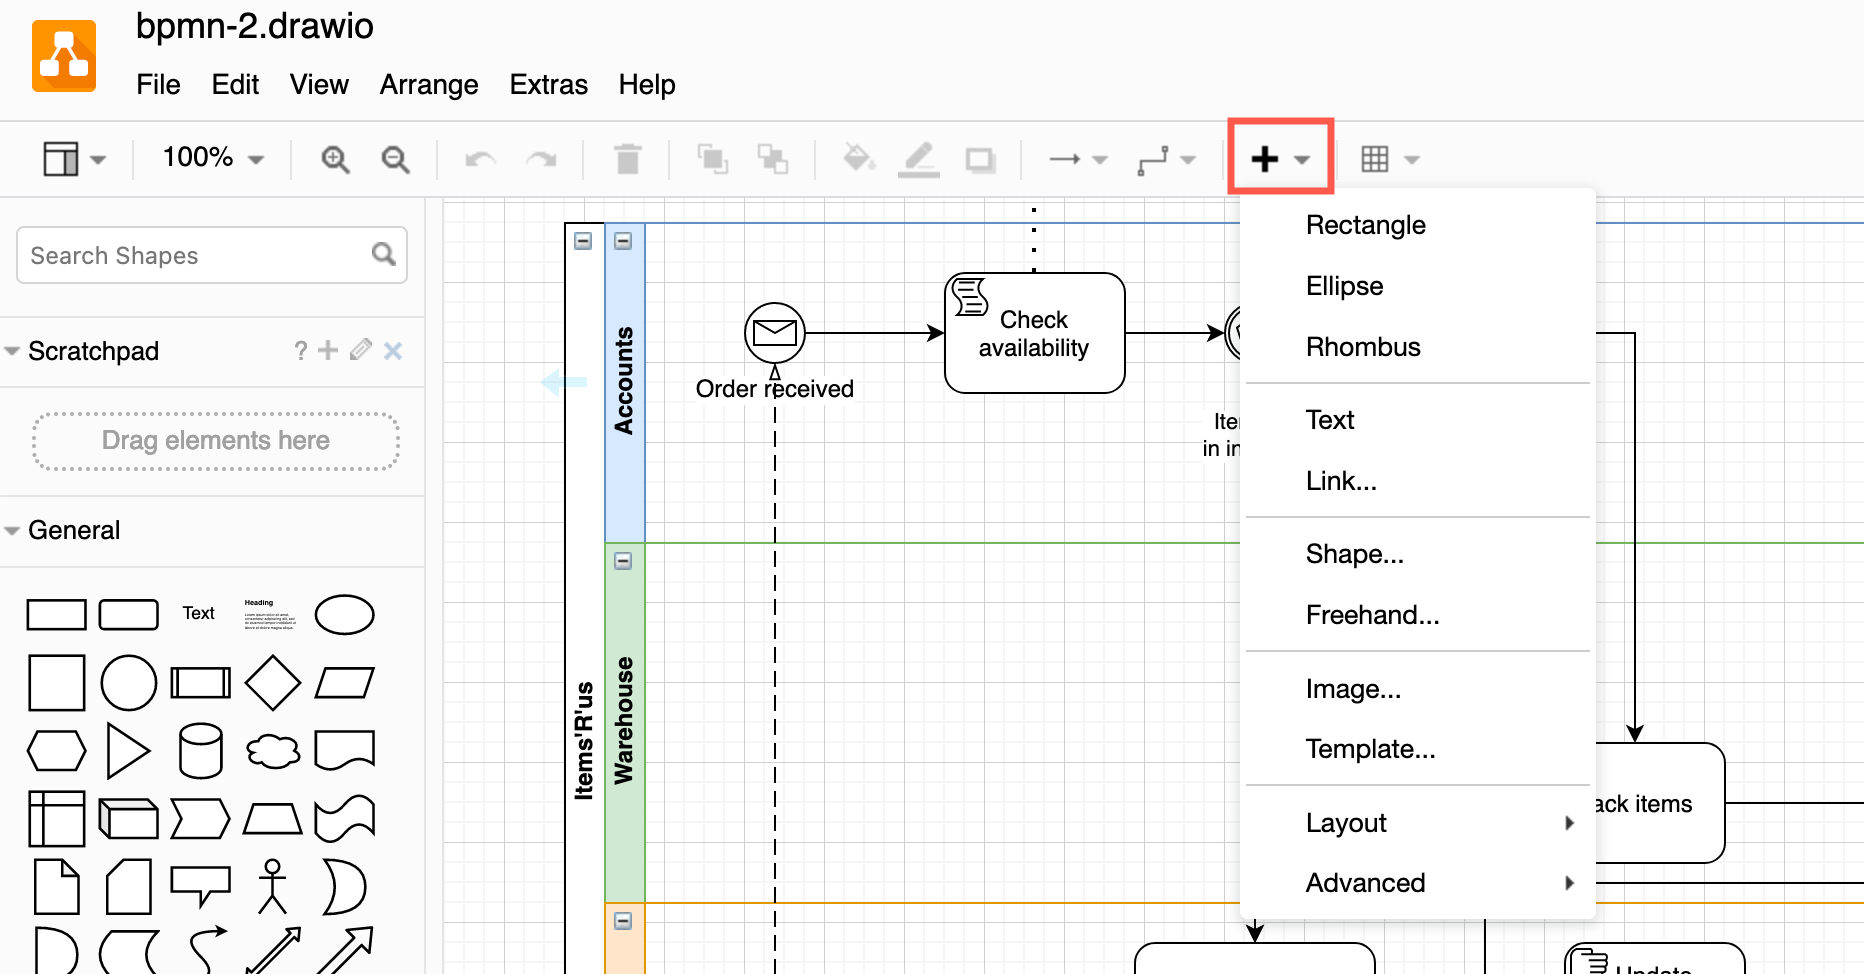
Alternatively, you can access the Insert tool (+) via the toolbar that is just above the drawing canvas.
What can you insert into a diagram?
Basic shapes: Select Arrange > Insert then select Rectangle, Ellipse or Rhombus to insert that shape.

Text or links: Select Arrange > Insert then select Text or Link to insert a text shape, or a rectangle with a link.

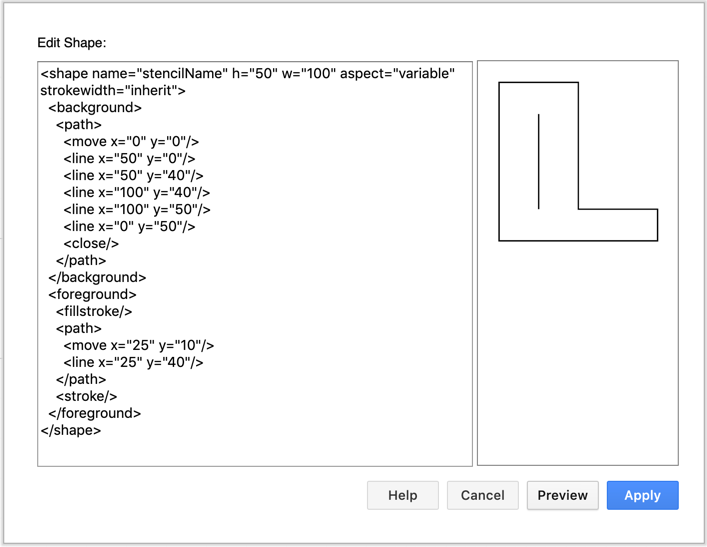
Custom shapes: Select Arrange > Insert > Shape then enter the XML that defines the geometry and style of your custom shape.
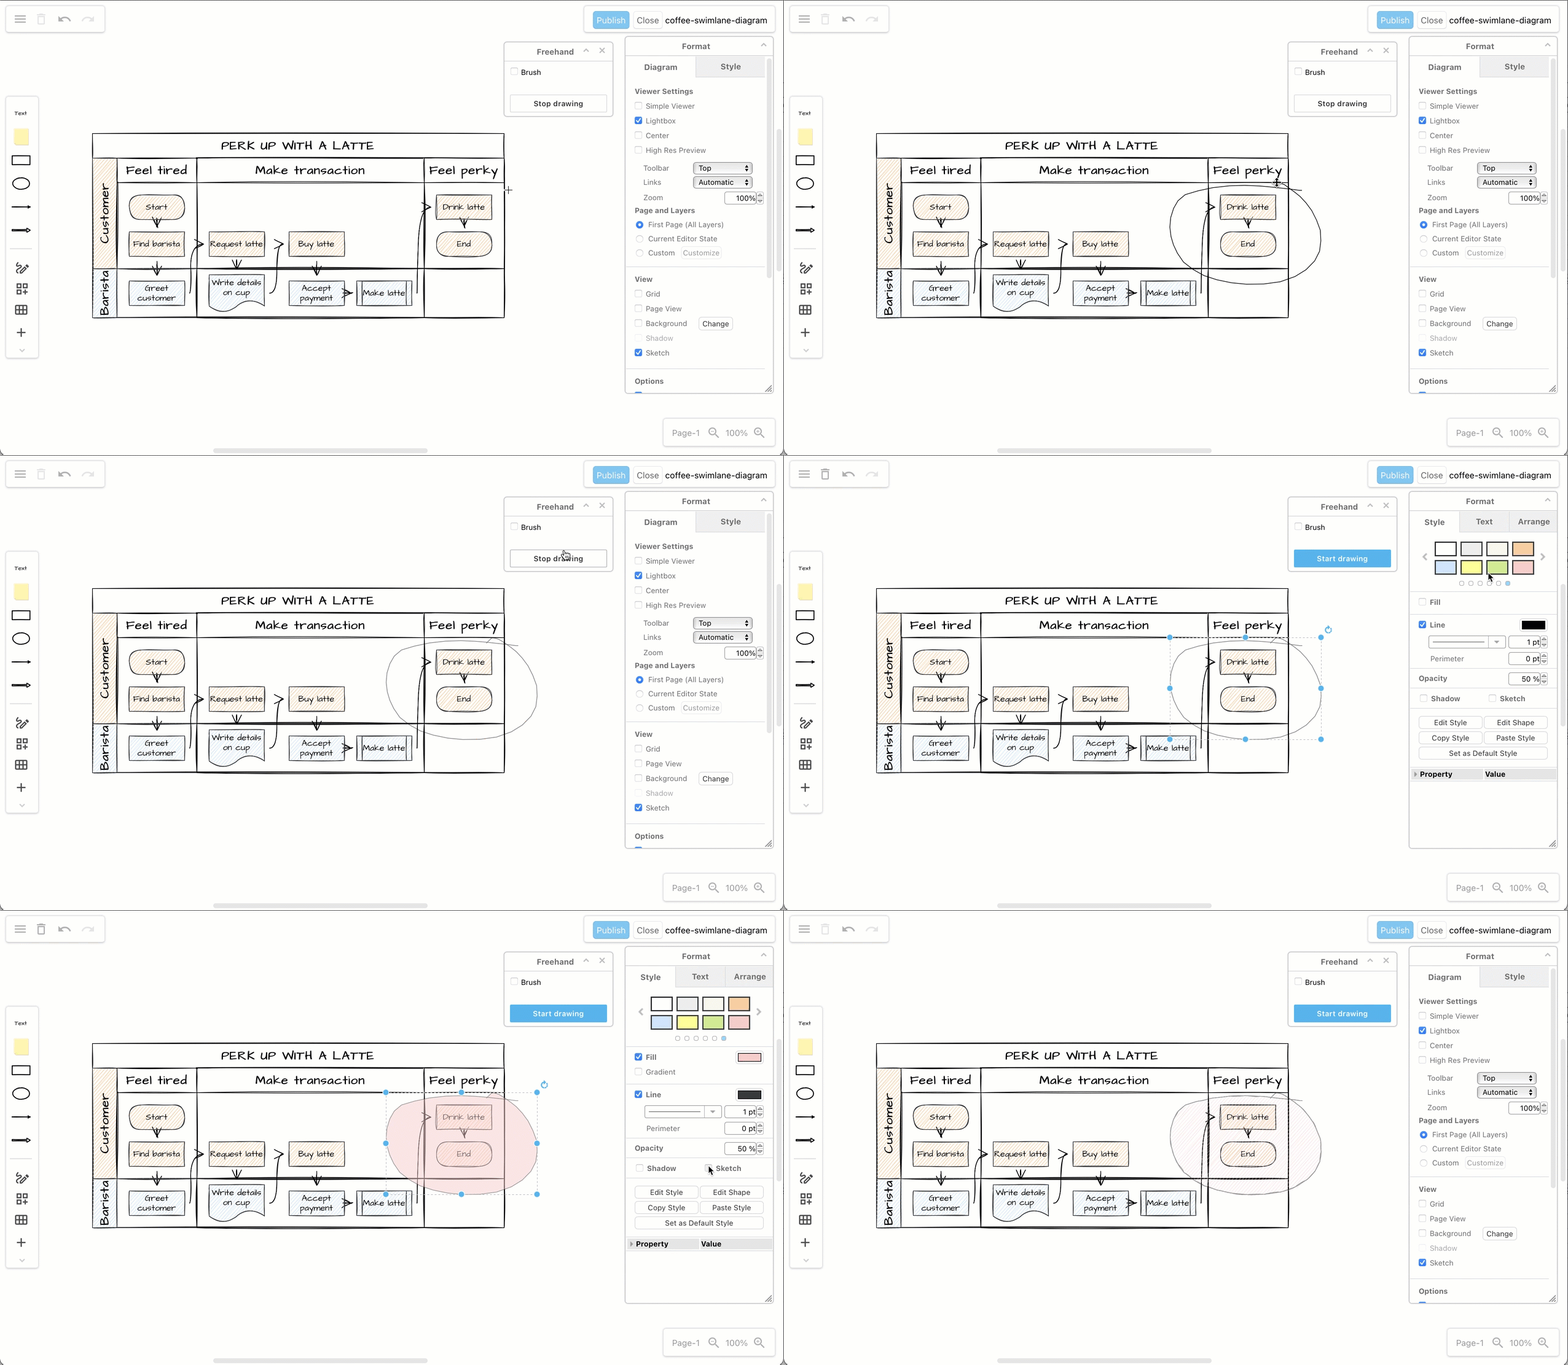
Freehand shapes: Select Arrange > Insert > Freehand, draw your freehand shape with your mouse, or pen/finger on a mobile device, and style it as you would any other shape.
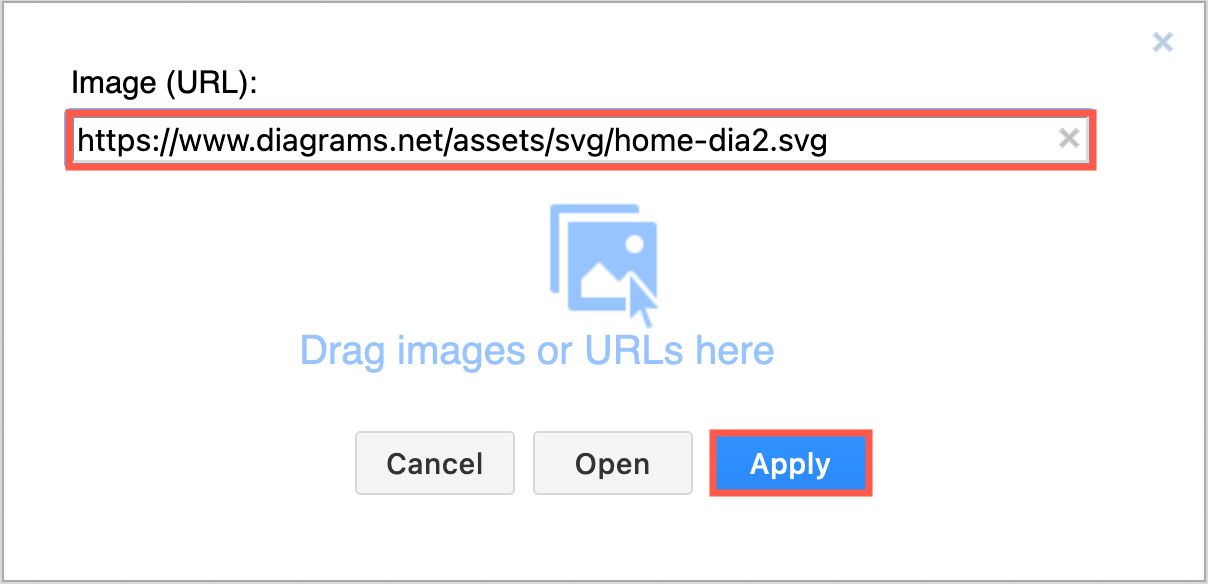
Images: Select Arrange > Insert > Image then add the URL to your image or drag it onto the dialog and click Apply.
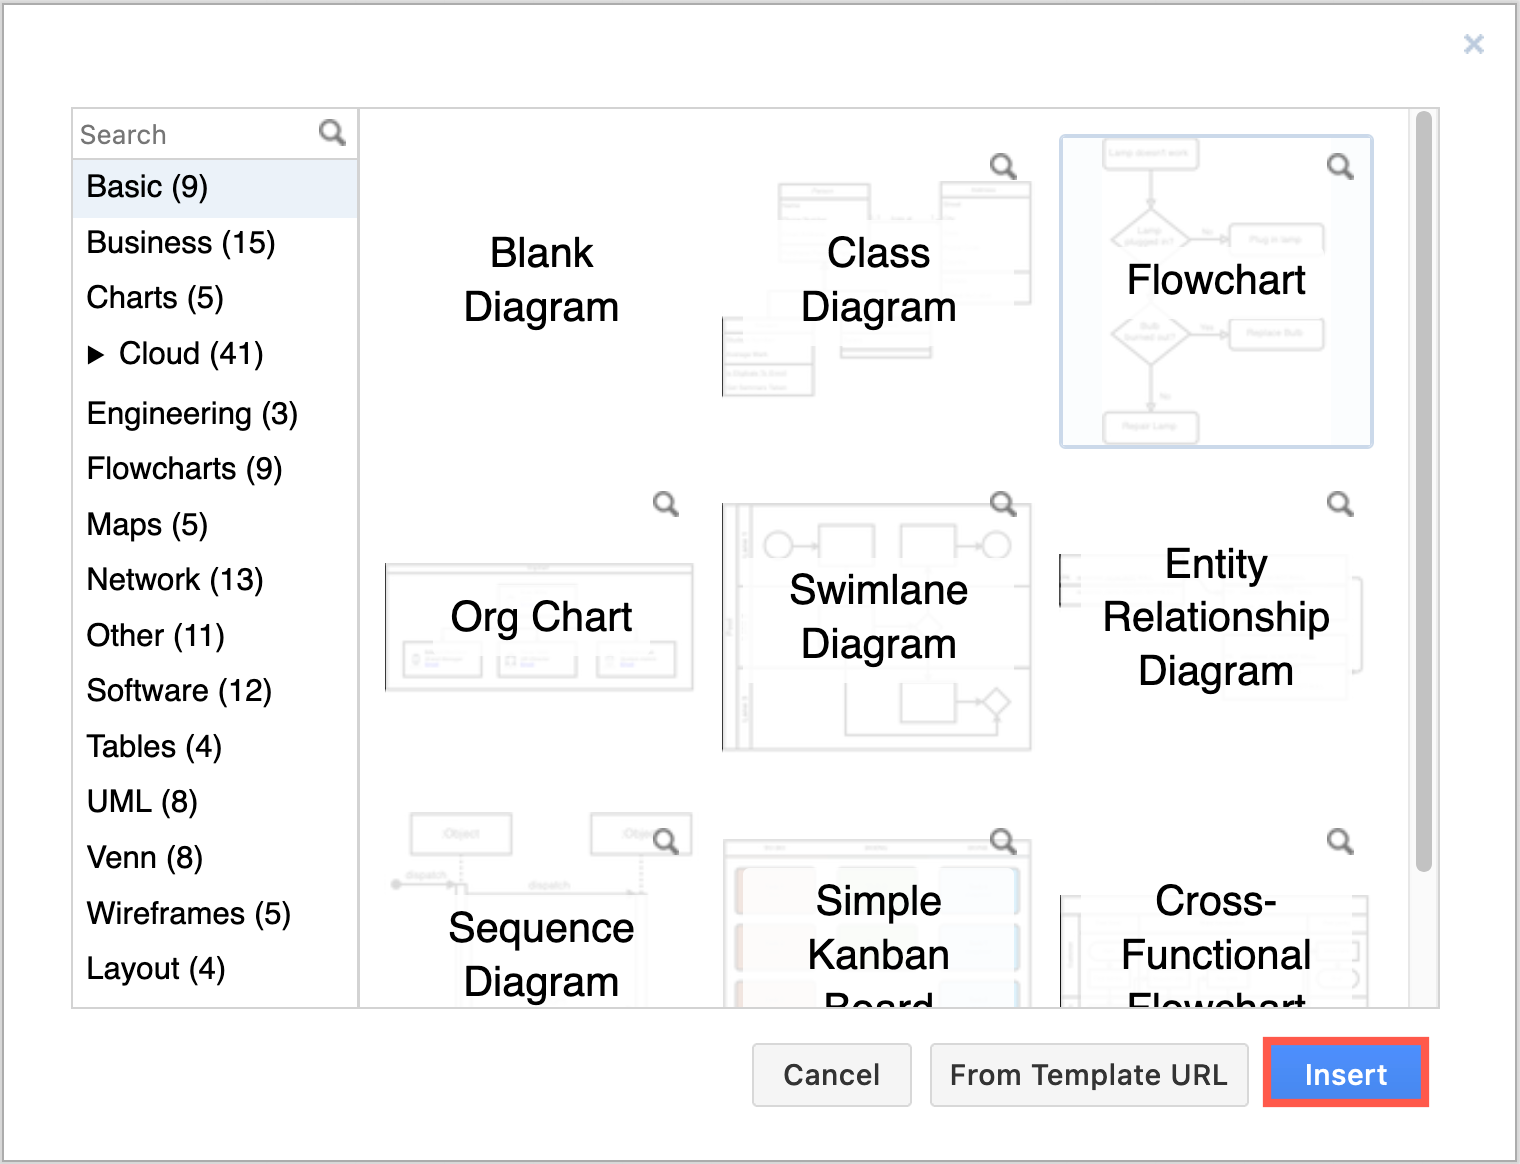
Templates: Select Arrange > Insert > Template, then select a template from the library, and click Insert to add it to the drawing canvas.
Layouts: Select Arrange > Insert > Layout, select the style of diagram layout you want to use, build the diagram in the dialog, and click Insert to add it to the drawing canvas. The layout tool will automatically rearrange the shapes in your diagram as you add them, keeping the spacing even and neat.

Diagrams from text: Select Arrange > Insert > Advanced > Text, enter text that represents a simple tree diagram or entities containing simple lists in the text field, select the type of diagram you want from the drop down list at the bottom of the dialog, then click Insert.
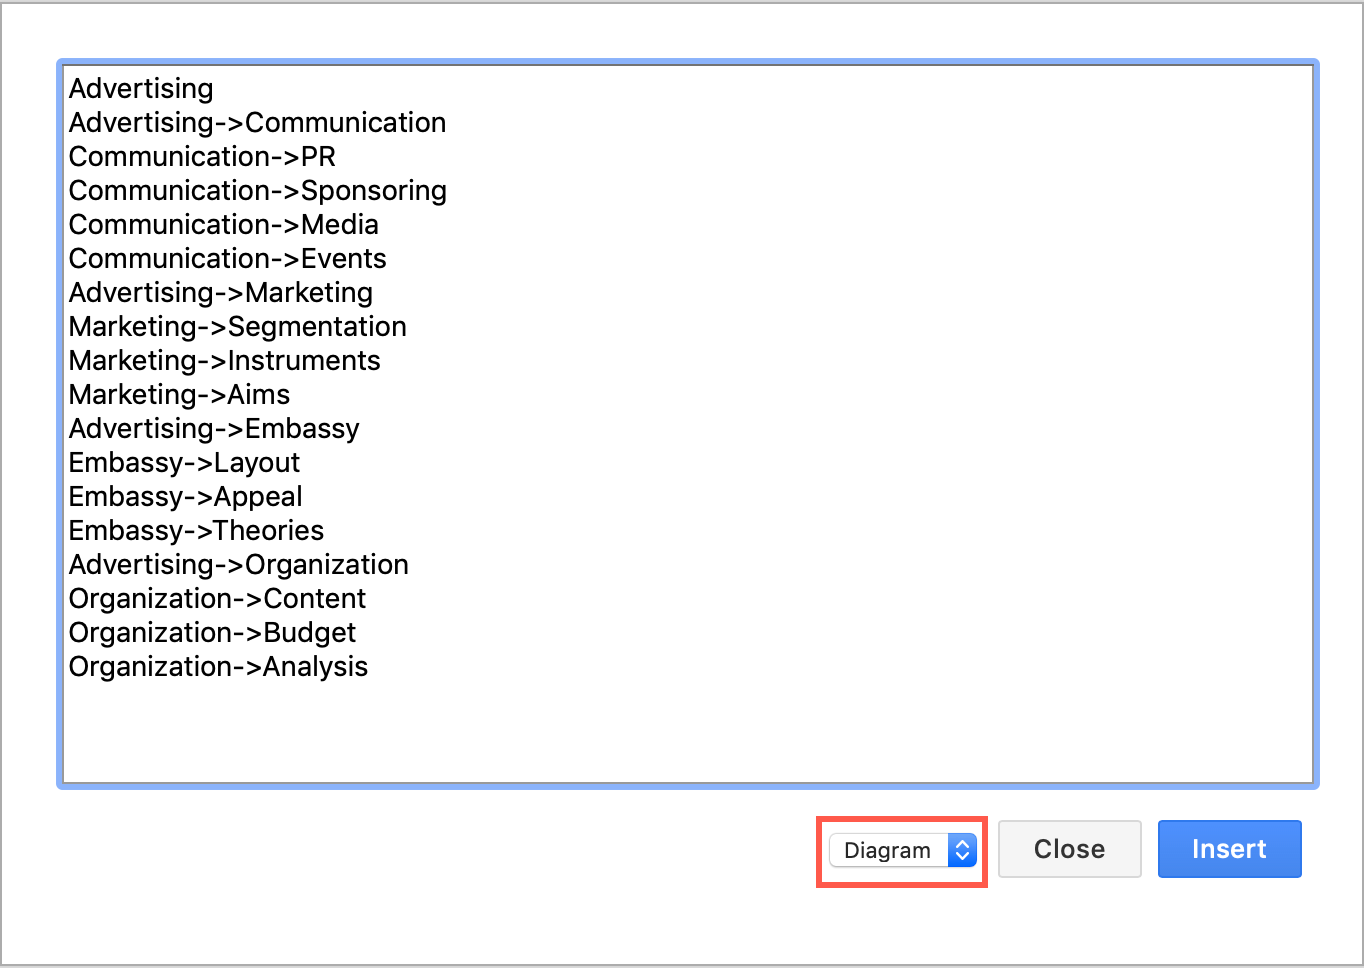
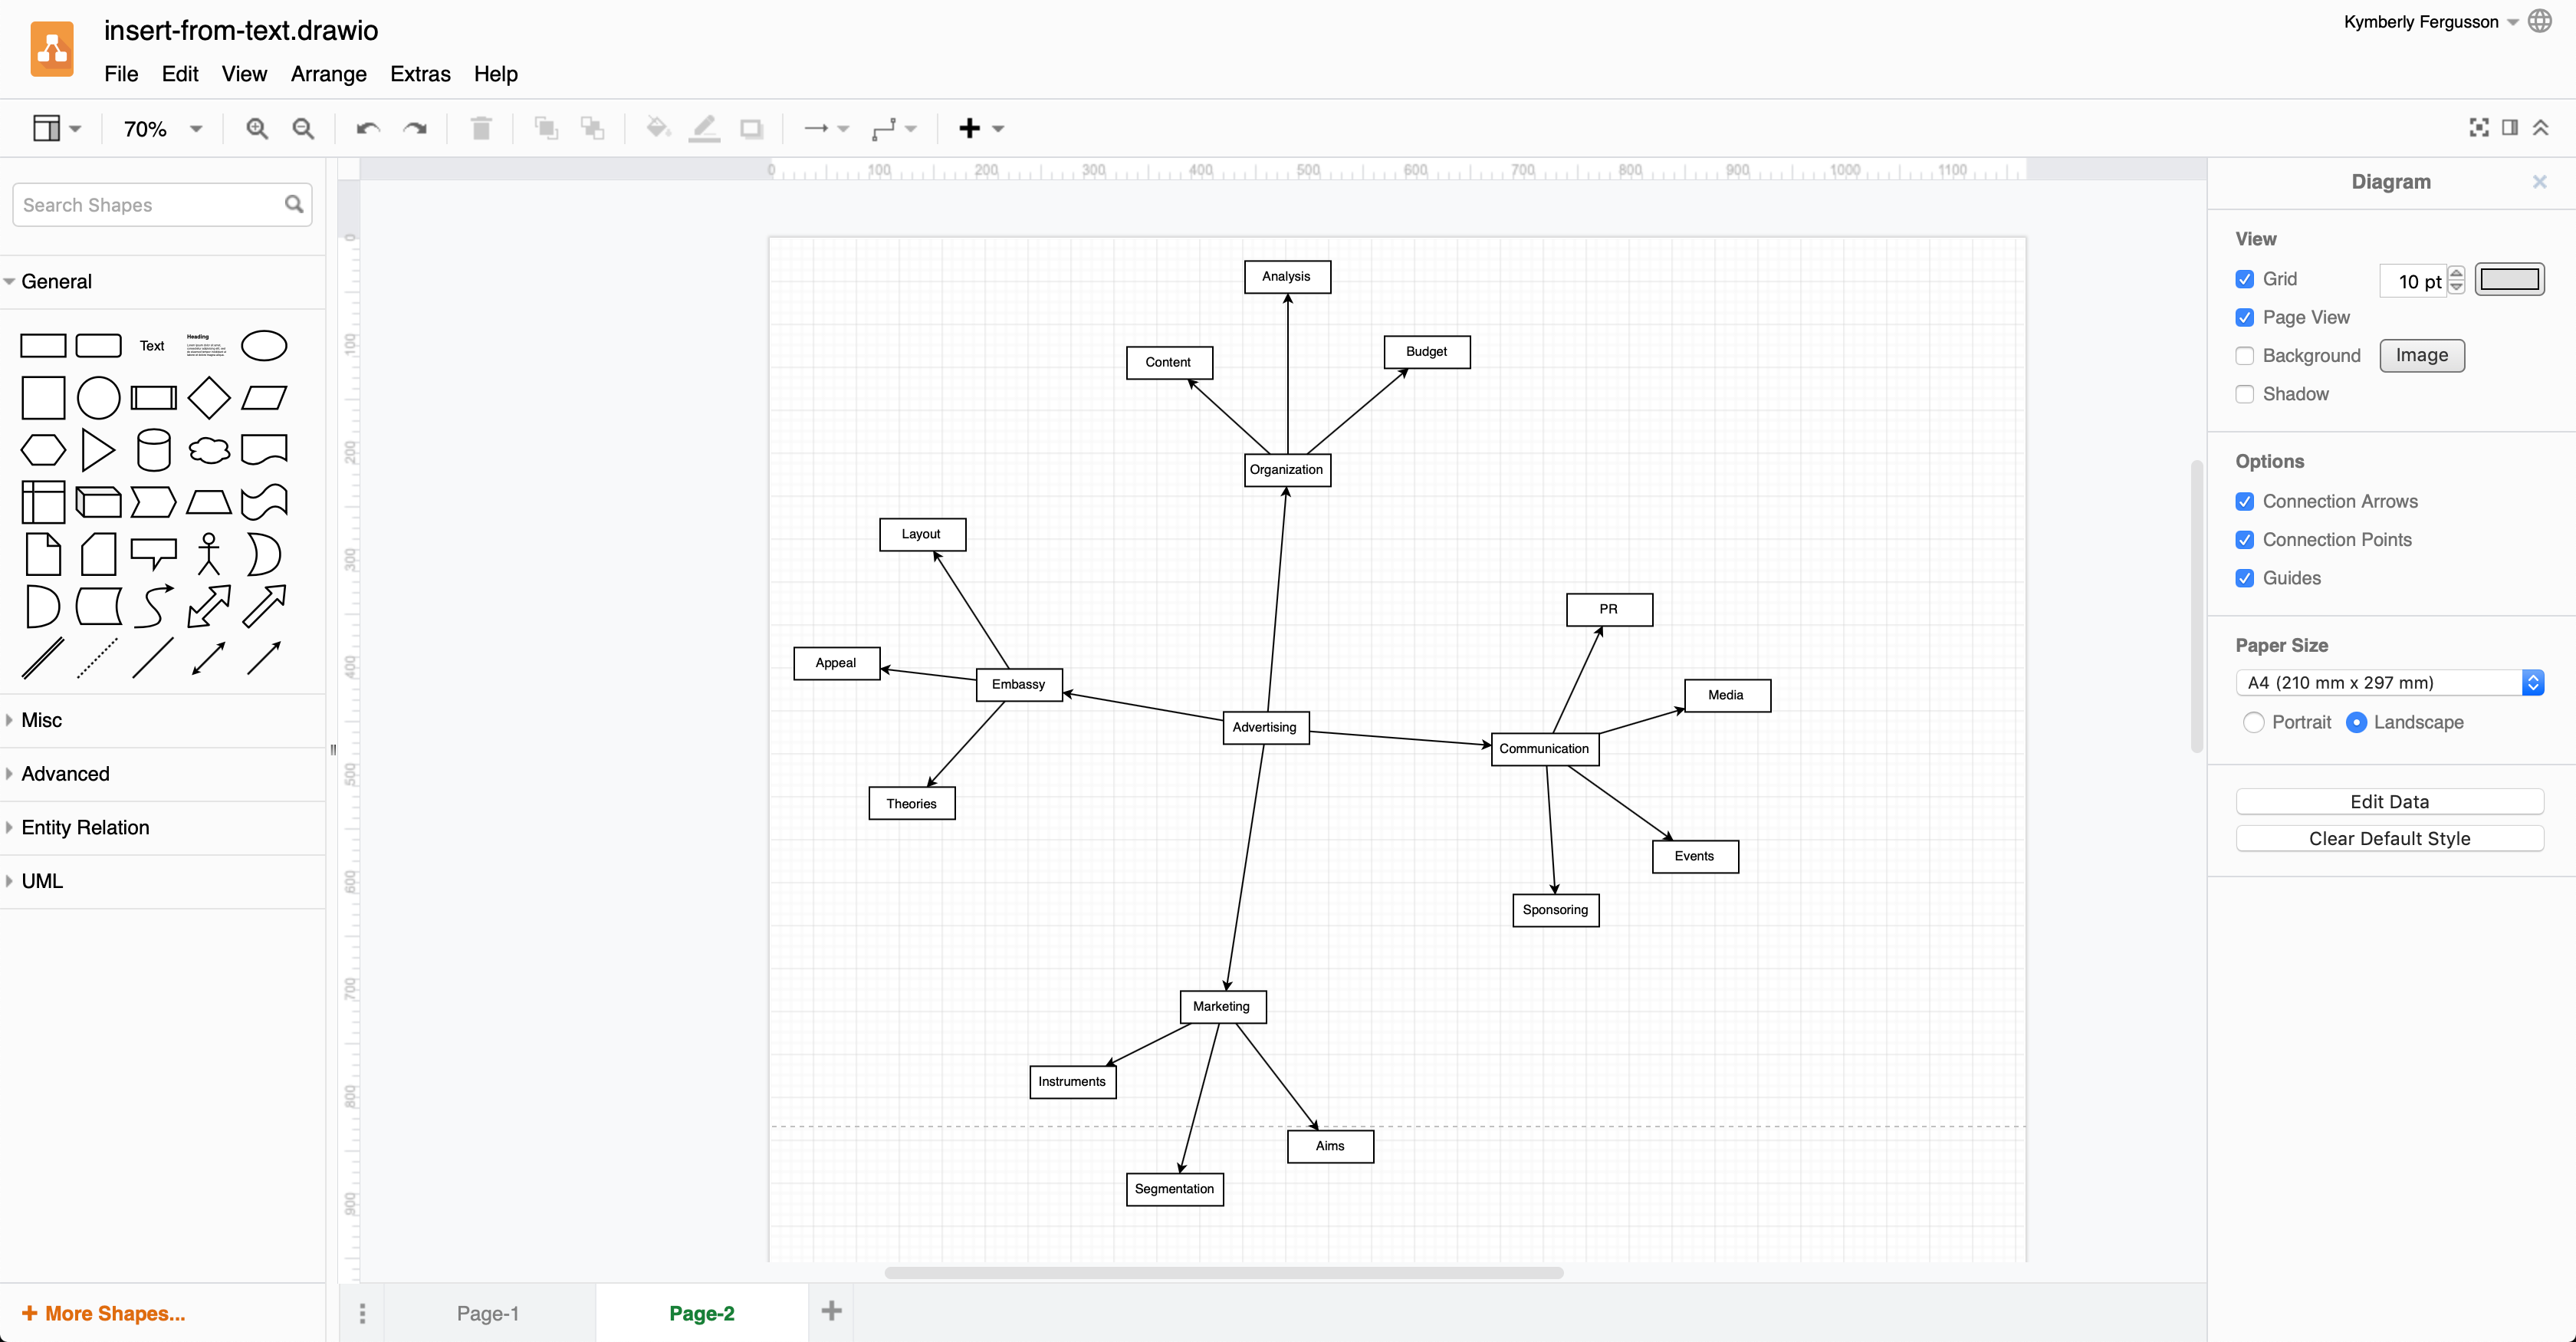
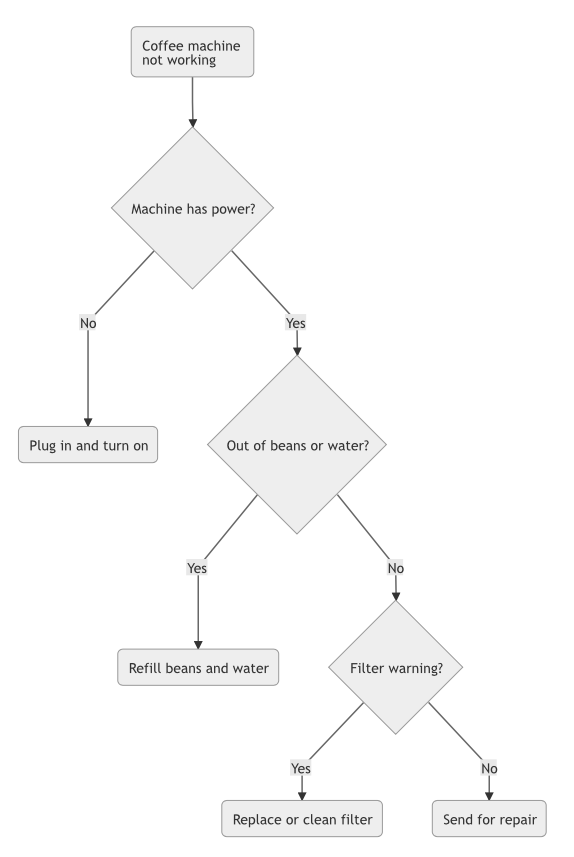
PlantUML and Mermaid diagrams: Select Arrange > Insert > Advanced, then select PlantUML or Mermaid. Enter the PlantUML or Mermaid code in the dialog, then click Insert to automatically generate a UML diagram or flow chart and insert it on the drawing canvas.

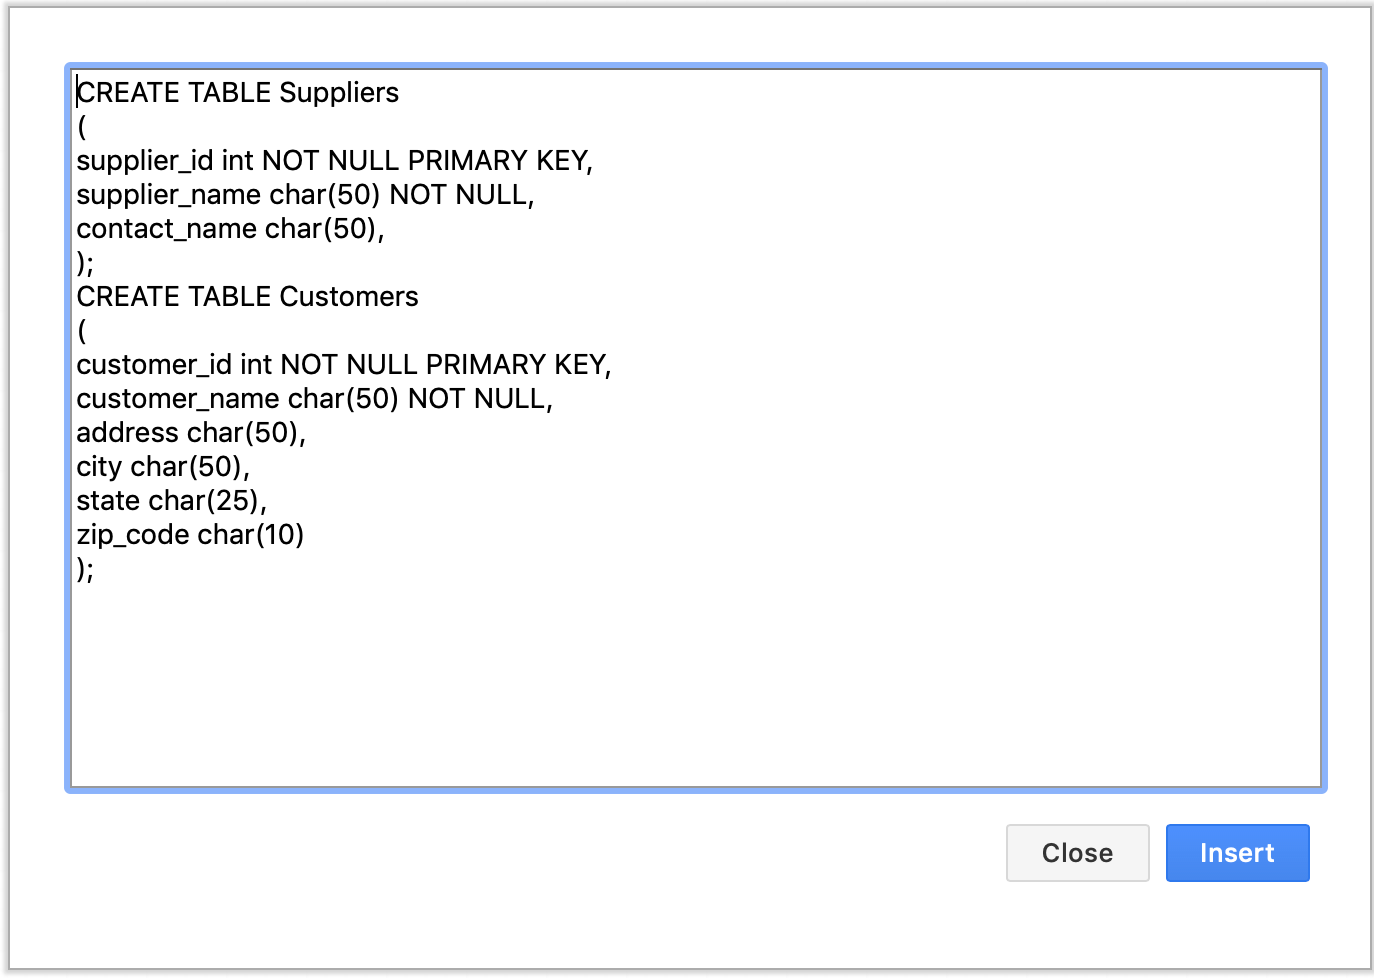
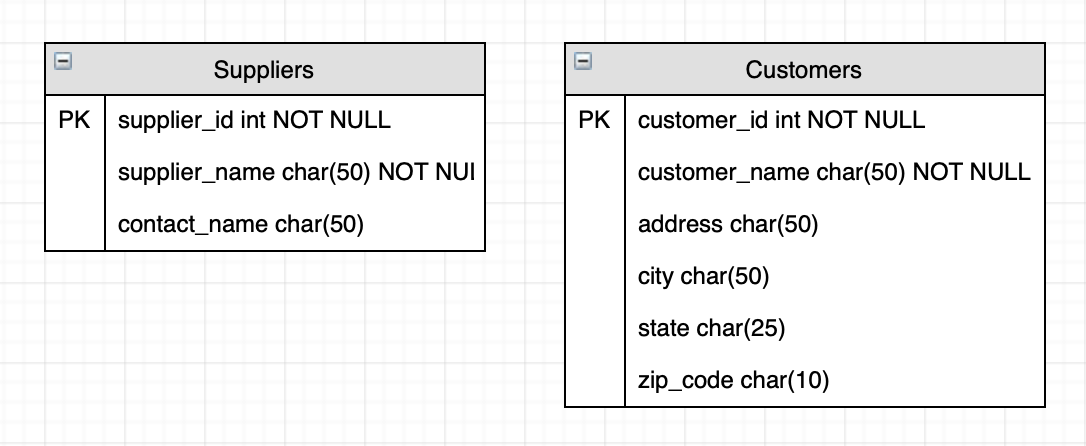
Database entities from SQL code: Select Arrange > Insert > Advanced > SQL, add the SQL code in the text field, then click Insert to add the entities to the drawing canvas.
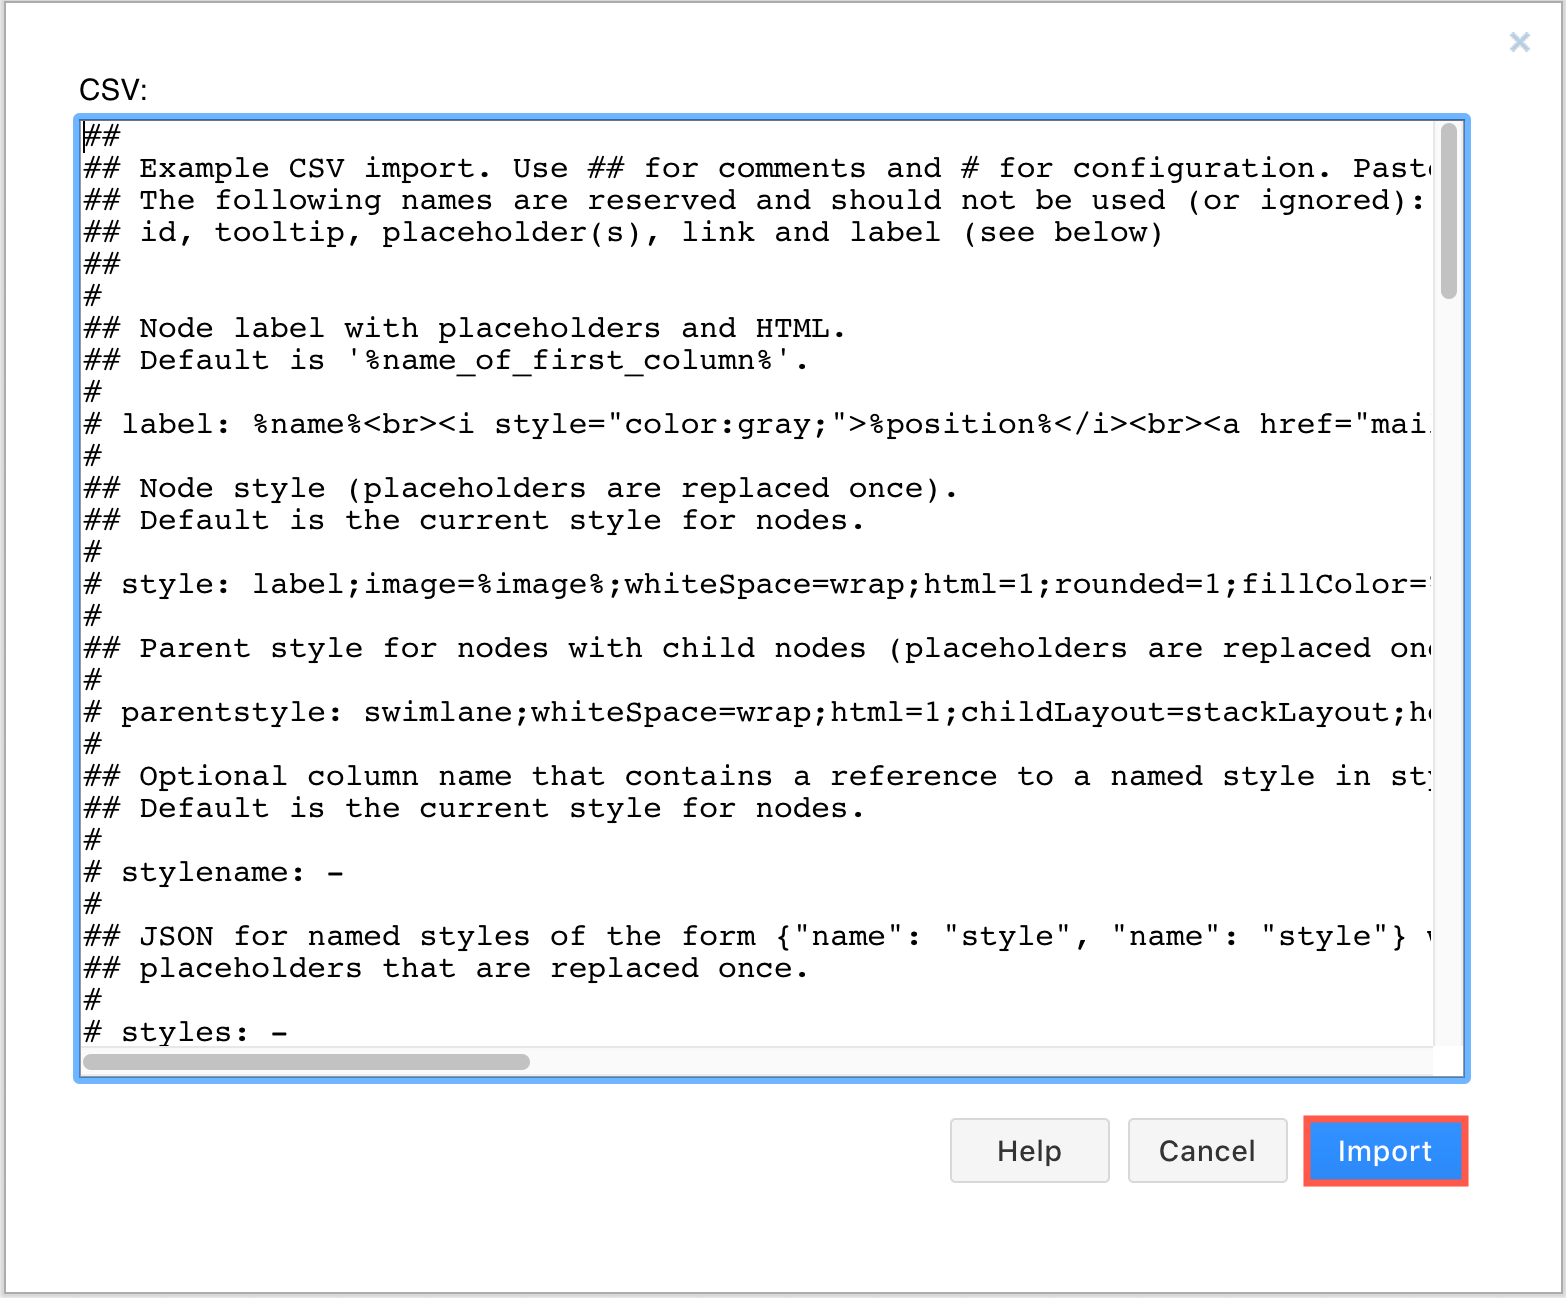
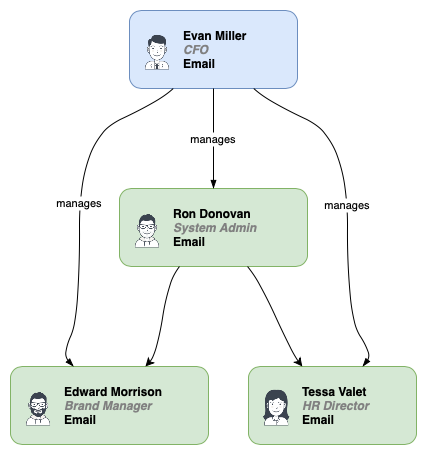
Diagrams from specially formatted CSV data: Select Arrange > Insert > Advanced > CSV, past the diagrams.net formatting and CSV data over the example in the text field, then click Import to automatically generate a diagram and insert it on the drawing canvas.
