Create a rack diagram in diagrams.net
diagrams.net
27 May 2020
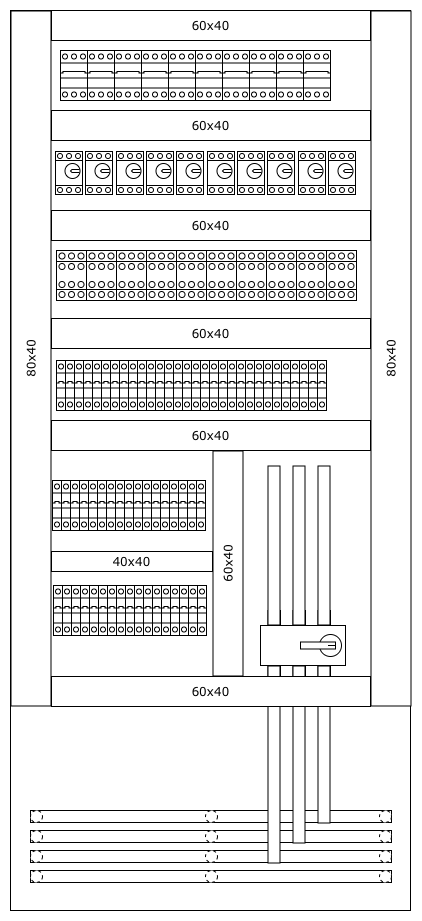
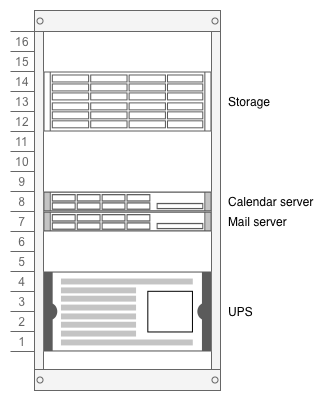
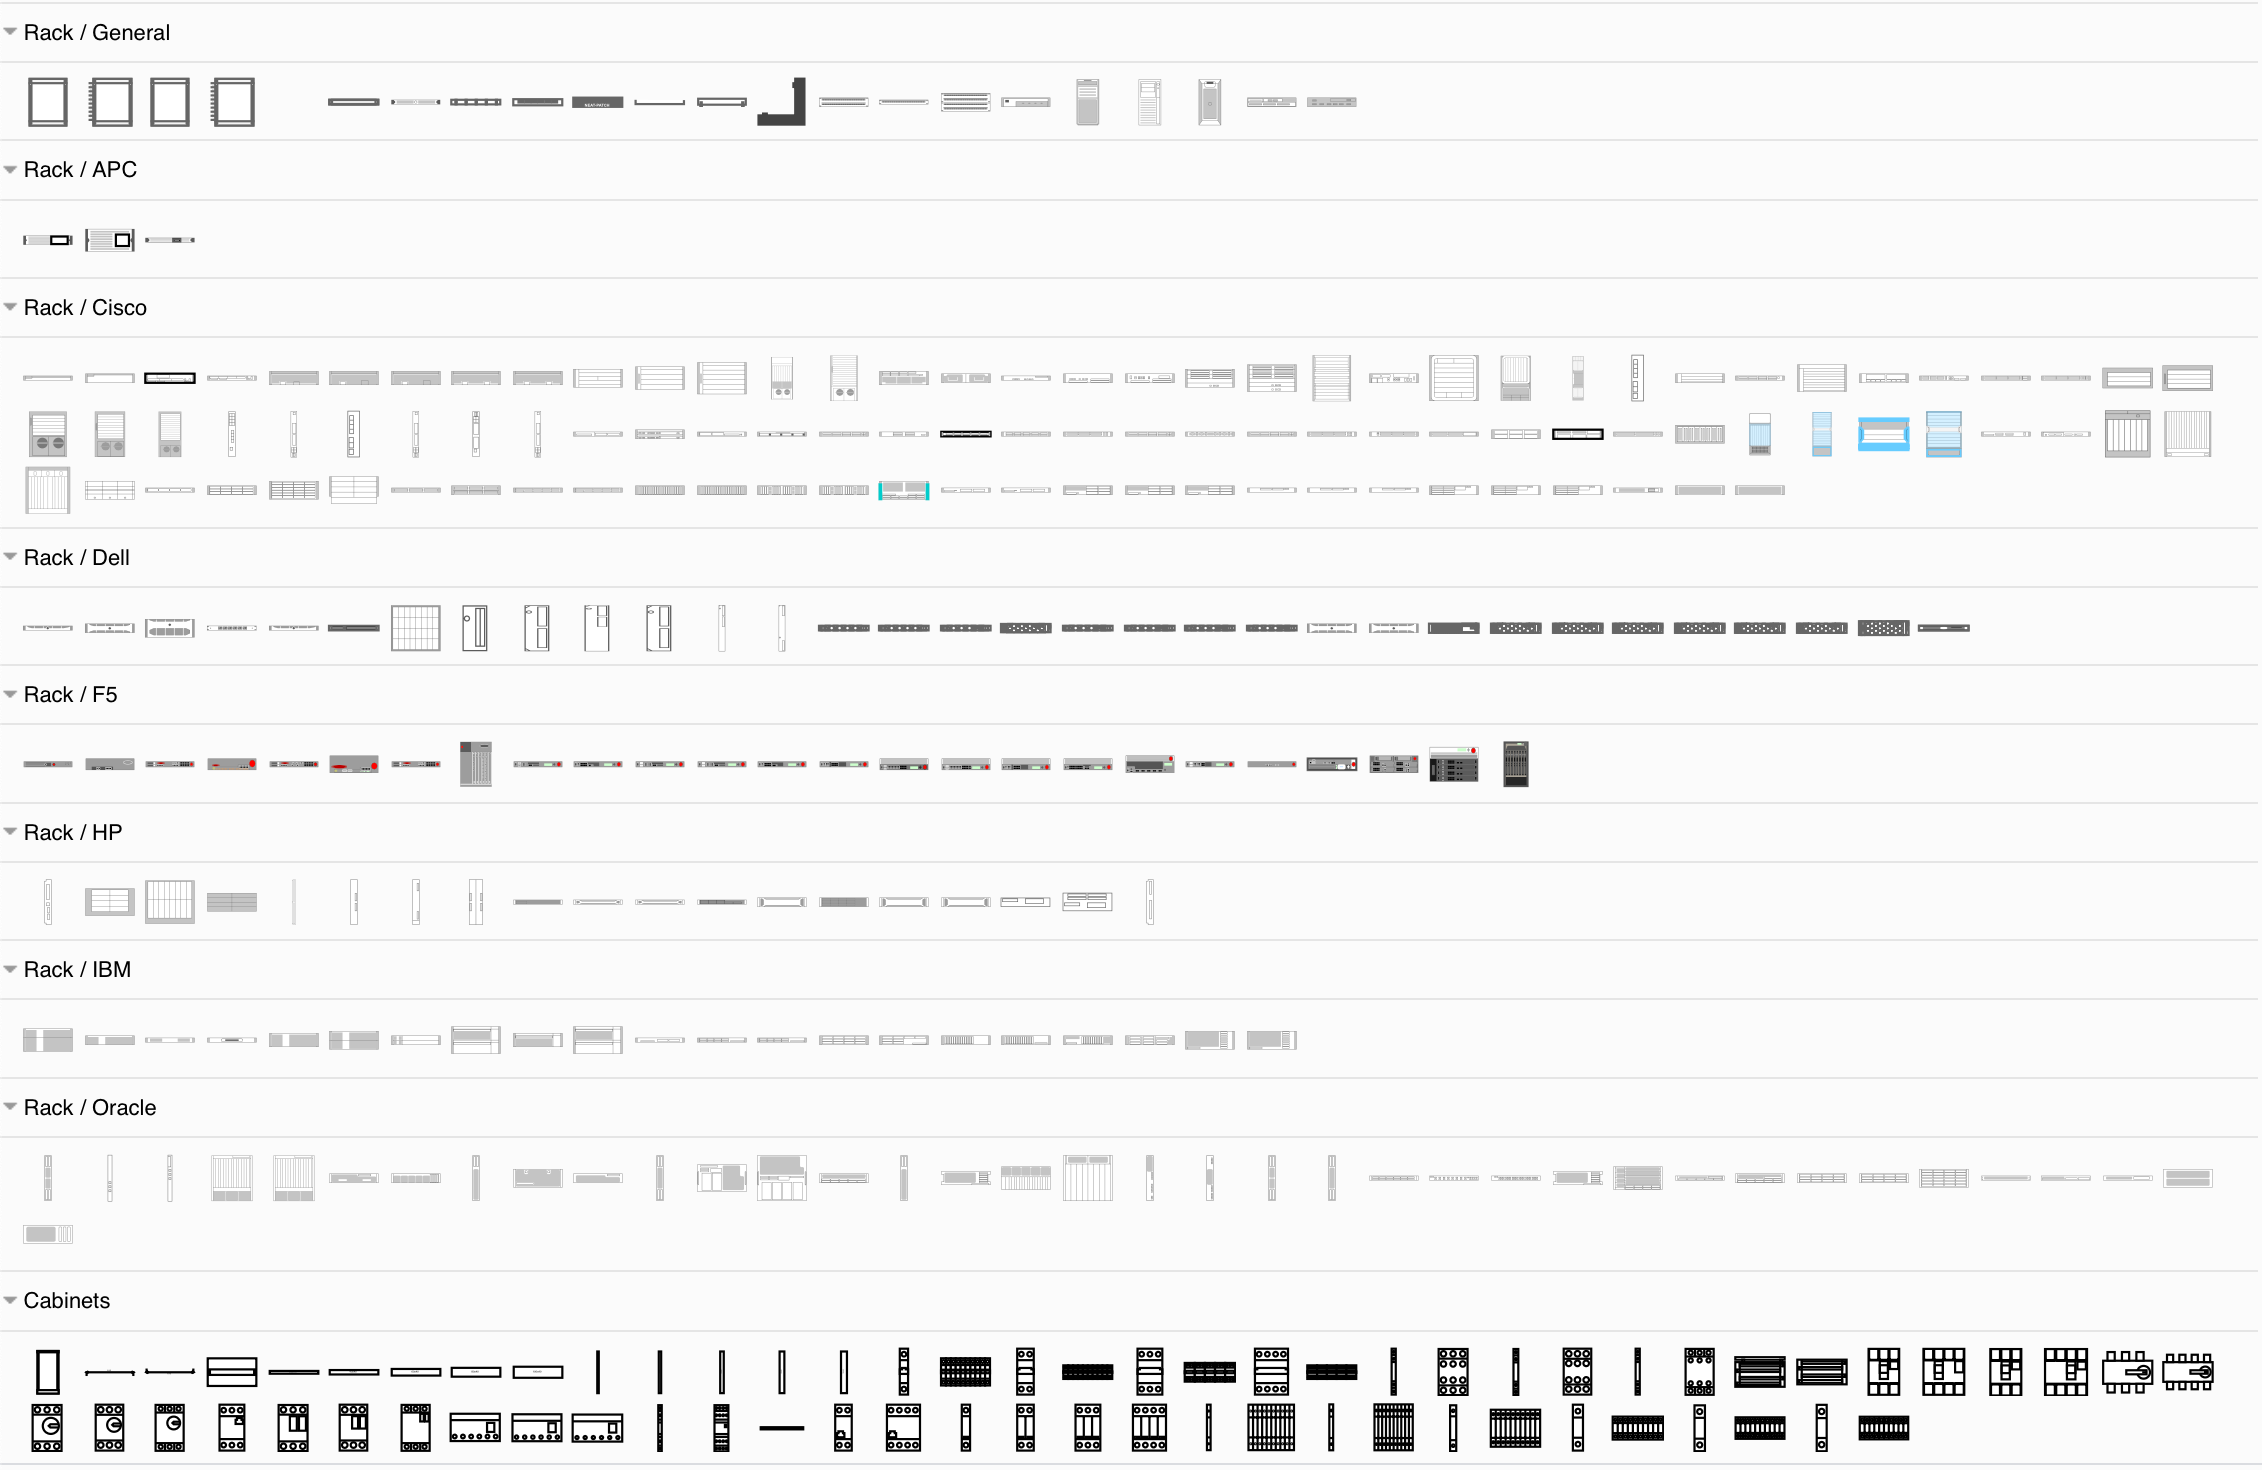
diagrams.net has a number of shape libraries and templates for creating rack diagrams. Both electronics cabinets can be visualised, as well as IT racks with servers and networking hardware, including those provided by specific vendors like APC, Cisco, Dell, F5, HP, IBM and Oracle.
Enable the rack shape libraries
- In the diagrams.net editor, click on More Shapes at the bottom of the left panel.
- Enable the Rack checkbox under Networking. Enable Cabinets under Other if you want to create an electronics cabinet diagram.
- Click Apply. The shape libraries will appear in the left panel.
Alternatively, use the libs URL parameter and go directly to https://app.diagrams.net/?libs=rack;cabinets&splash=0
Create a rack diagram
First, add a cabinet shape to the drawing canvas. Some are numbered, others are not numbered.
- Resize the cabinet: drag the blue circles at the top or bottom. This automatically adds additional rack space.
- Reorder the numbered rack: With the cabinet selected, expand the properties section in the style tab of the right-hand format panel. There you will find a property
Display Numbers. Change the value of this property to use increasing or decreasing numbers up the rack.
Add shapes to the cabinet or rack
- Drag any of the component shapes into the middle of the cabinet or rack. If you aren’t sure what hardware a shape represents, hover over it in the shape library to see its name.
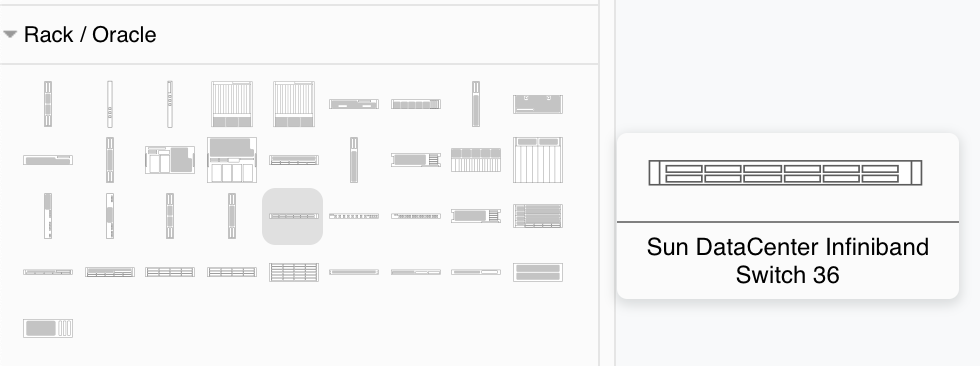
- Reposition the components: drag them up or down to change their slot.
- Resize the components: Select the shape, then drag the blue circle at the top or bottom of the component.
- Label a component: Double click on the component, type the label then press
Enterto add a label to the right side of the rack. - Delete a component: Select a component, then press
Delete. - Replace a component: Drag a different shape from the shape library, hover over the component you want to replace until the replace arrow appears, then release.
- Search for a component: In the shape search field at the top of the left panel, enter your search term to find matching shapes, e.g.
1U Server.
Basic IT server rack
Rack diagram templates
diagrams.net includes a couple of templates for a rack and an electronics cabinet.
- To add a template to the drawing canvas, select Arrange > Insert > Template from the menu. Alternatively, create a new diagram and you’ll see the template dialog.
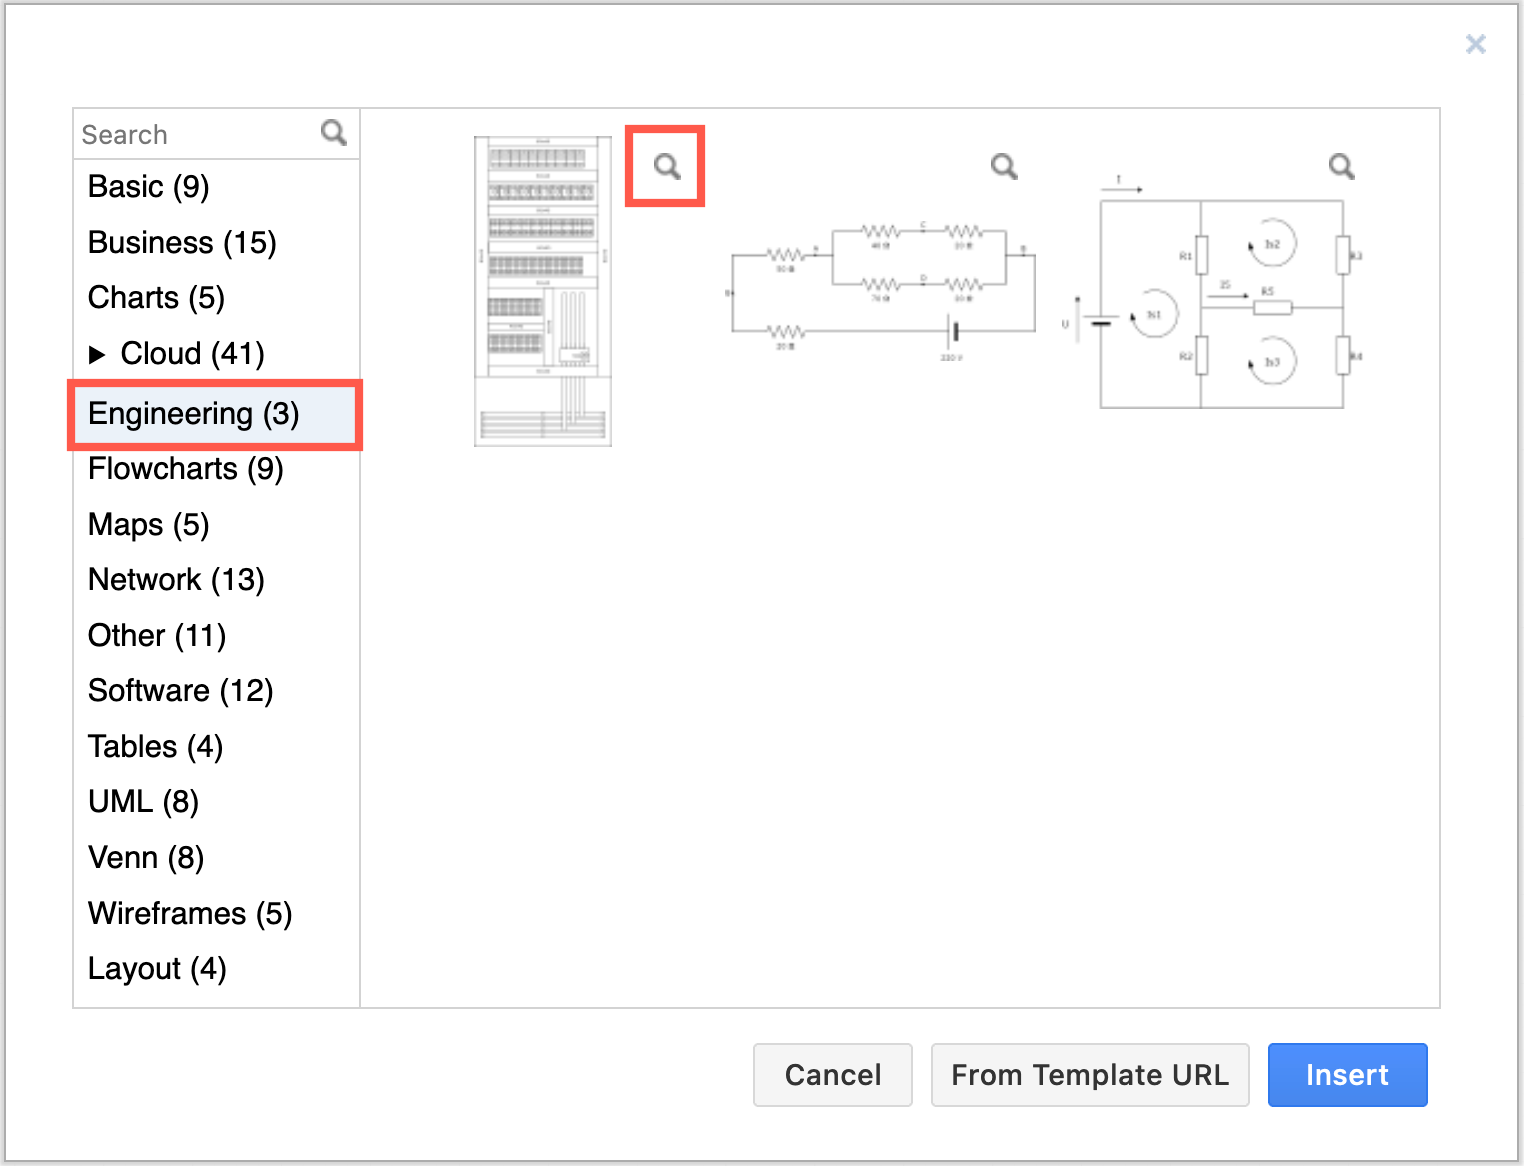
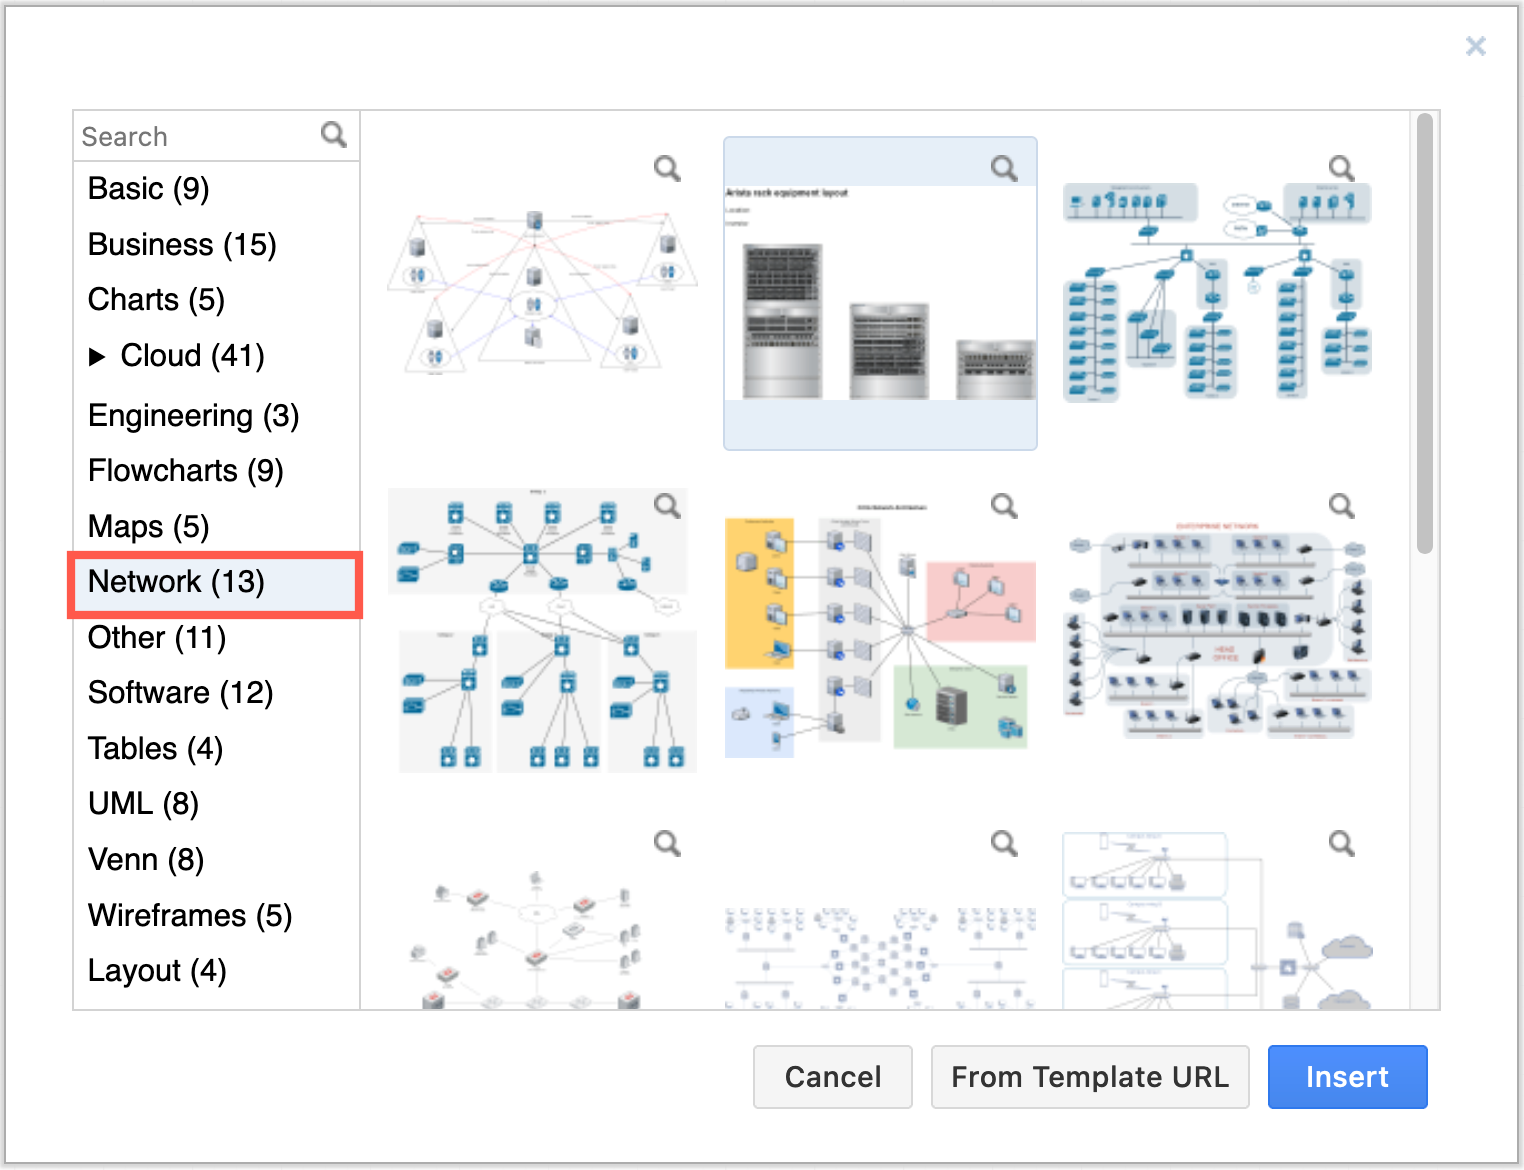
- To see a larger preview of the template, click on the magnifying glass in the top right. Select one of the templates:
- The electronics cabinet template is in the Engineering section.
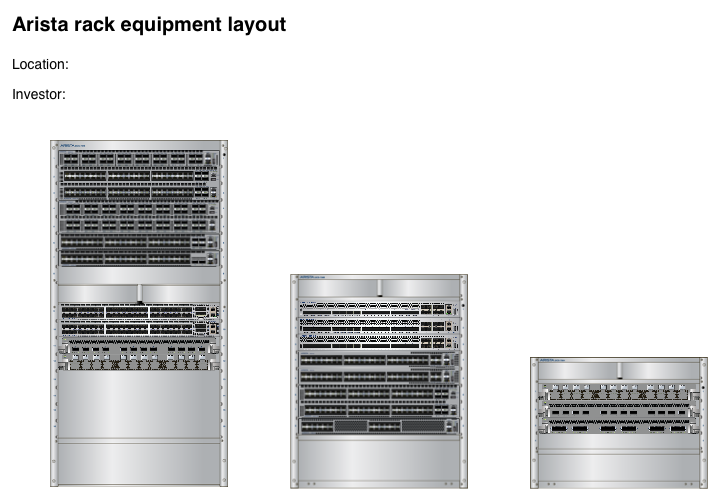
- The Arista rack equipment template is in the Network section.
- The electronics cabinet template is in the Engineering section.
- Click insert to add it to the drawing canvas.