Using draw.io in Jira Cloud
draw.io is a fully featured diagramming tool, with large shape libraries and templates for a wide range of diagrams.
Jira administrators: Before any diagram can be added to a Jira issue, an administrator must install the draw.io app in the Jira Cloud instance. Jump to the administration section below.
Jira users: If you are new to diagramming, learn the layout of the draw.io editor first, and then create a simple flowchart to learn the basics of diagramming.
Getting started
With the draw.io app for Jira Cloud, you can embed diagrams in issues in four different ways.
We recommend that you embed a diagram from a Confluence Cloud instance to take advantage of the real-time collaboration tools, data security, customisation, mass import, diagram search and versioning capabilities.
Alternatives:
- Store the diagram file in the issue itself (below)
- Embed a diagram from Google Drive
- Embed a diagram from OneDrive
Any changes you make to an embedded diagram file will automatically update diagrams on any Jira Cloud issues its embedded on.
To store diagram files directly attached to Jira Cloud issues, follow the steps in the sections below.
Attach a new diagram to a Jira Cloud issue
- Click on the Actions in the top right of an issue and select _Add draw.io diagram.

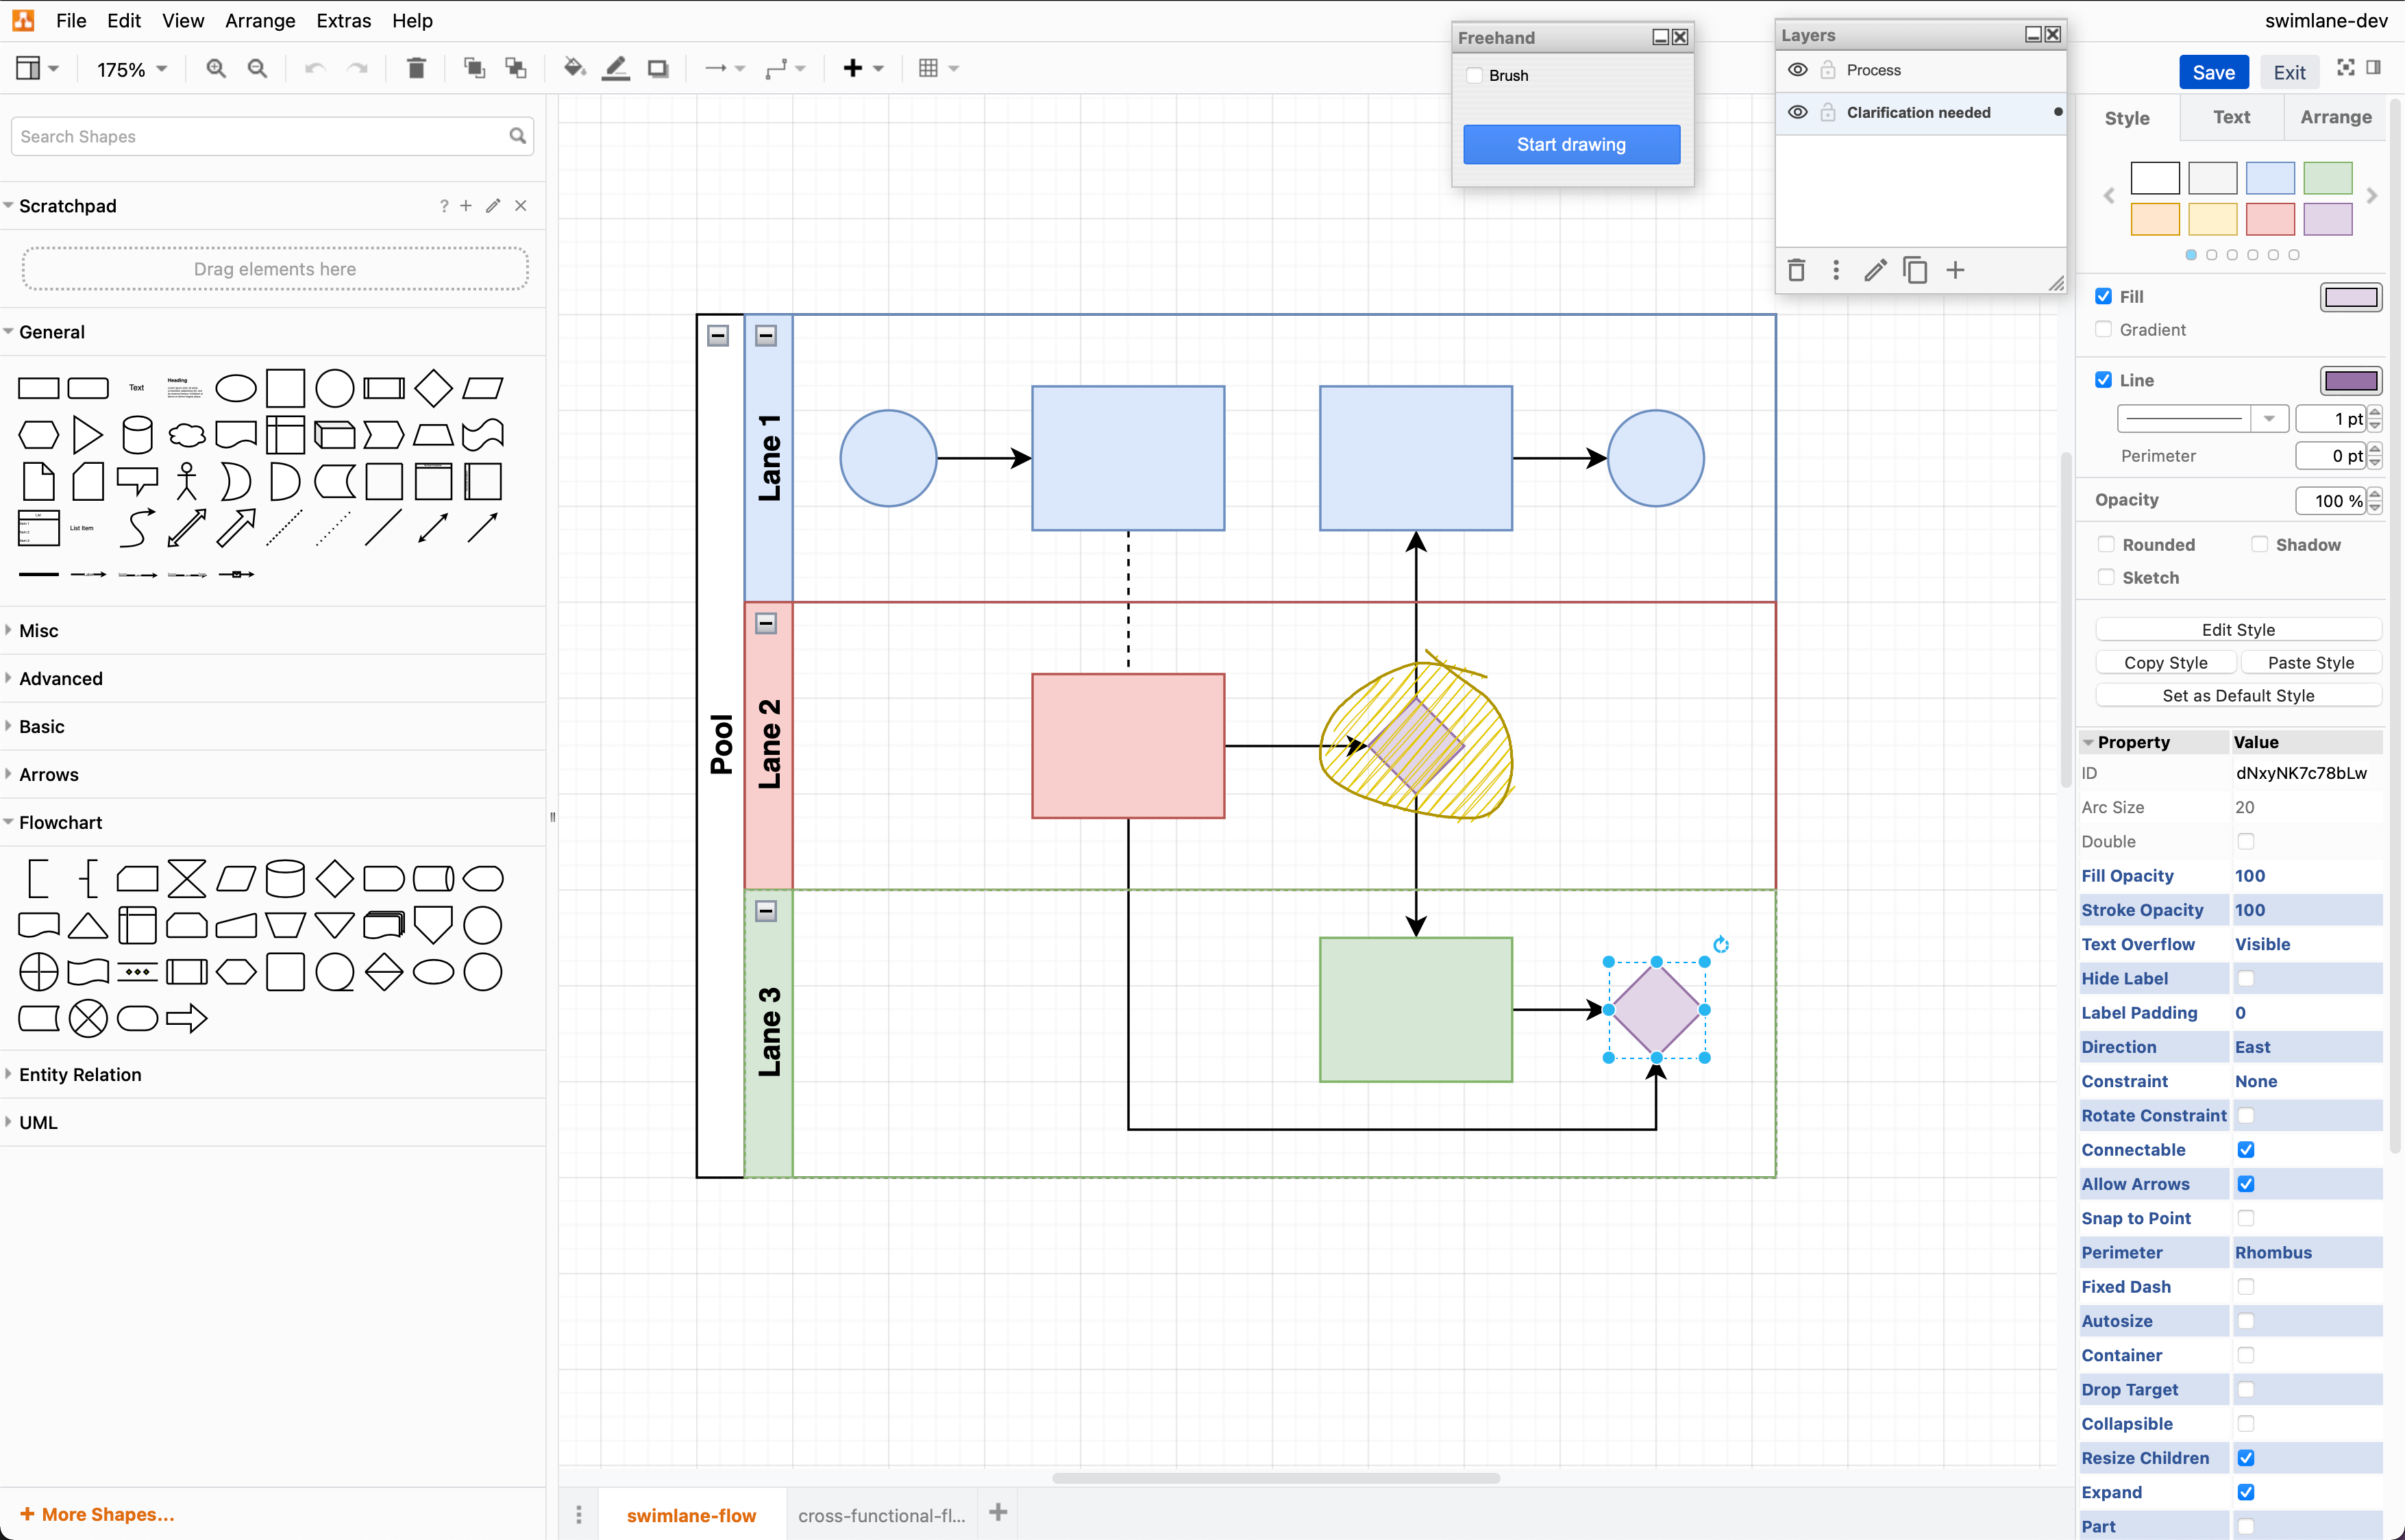
- Create your diagram in the draw.io editor. When you save your diagram, you’ll be prompted to provide a filename.
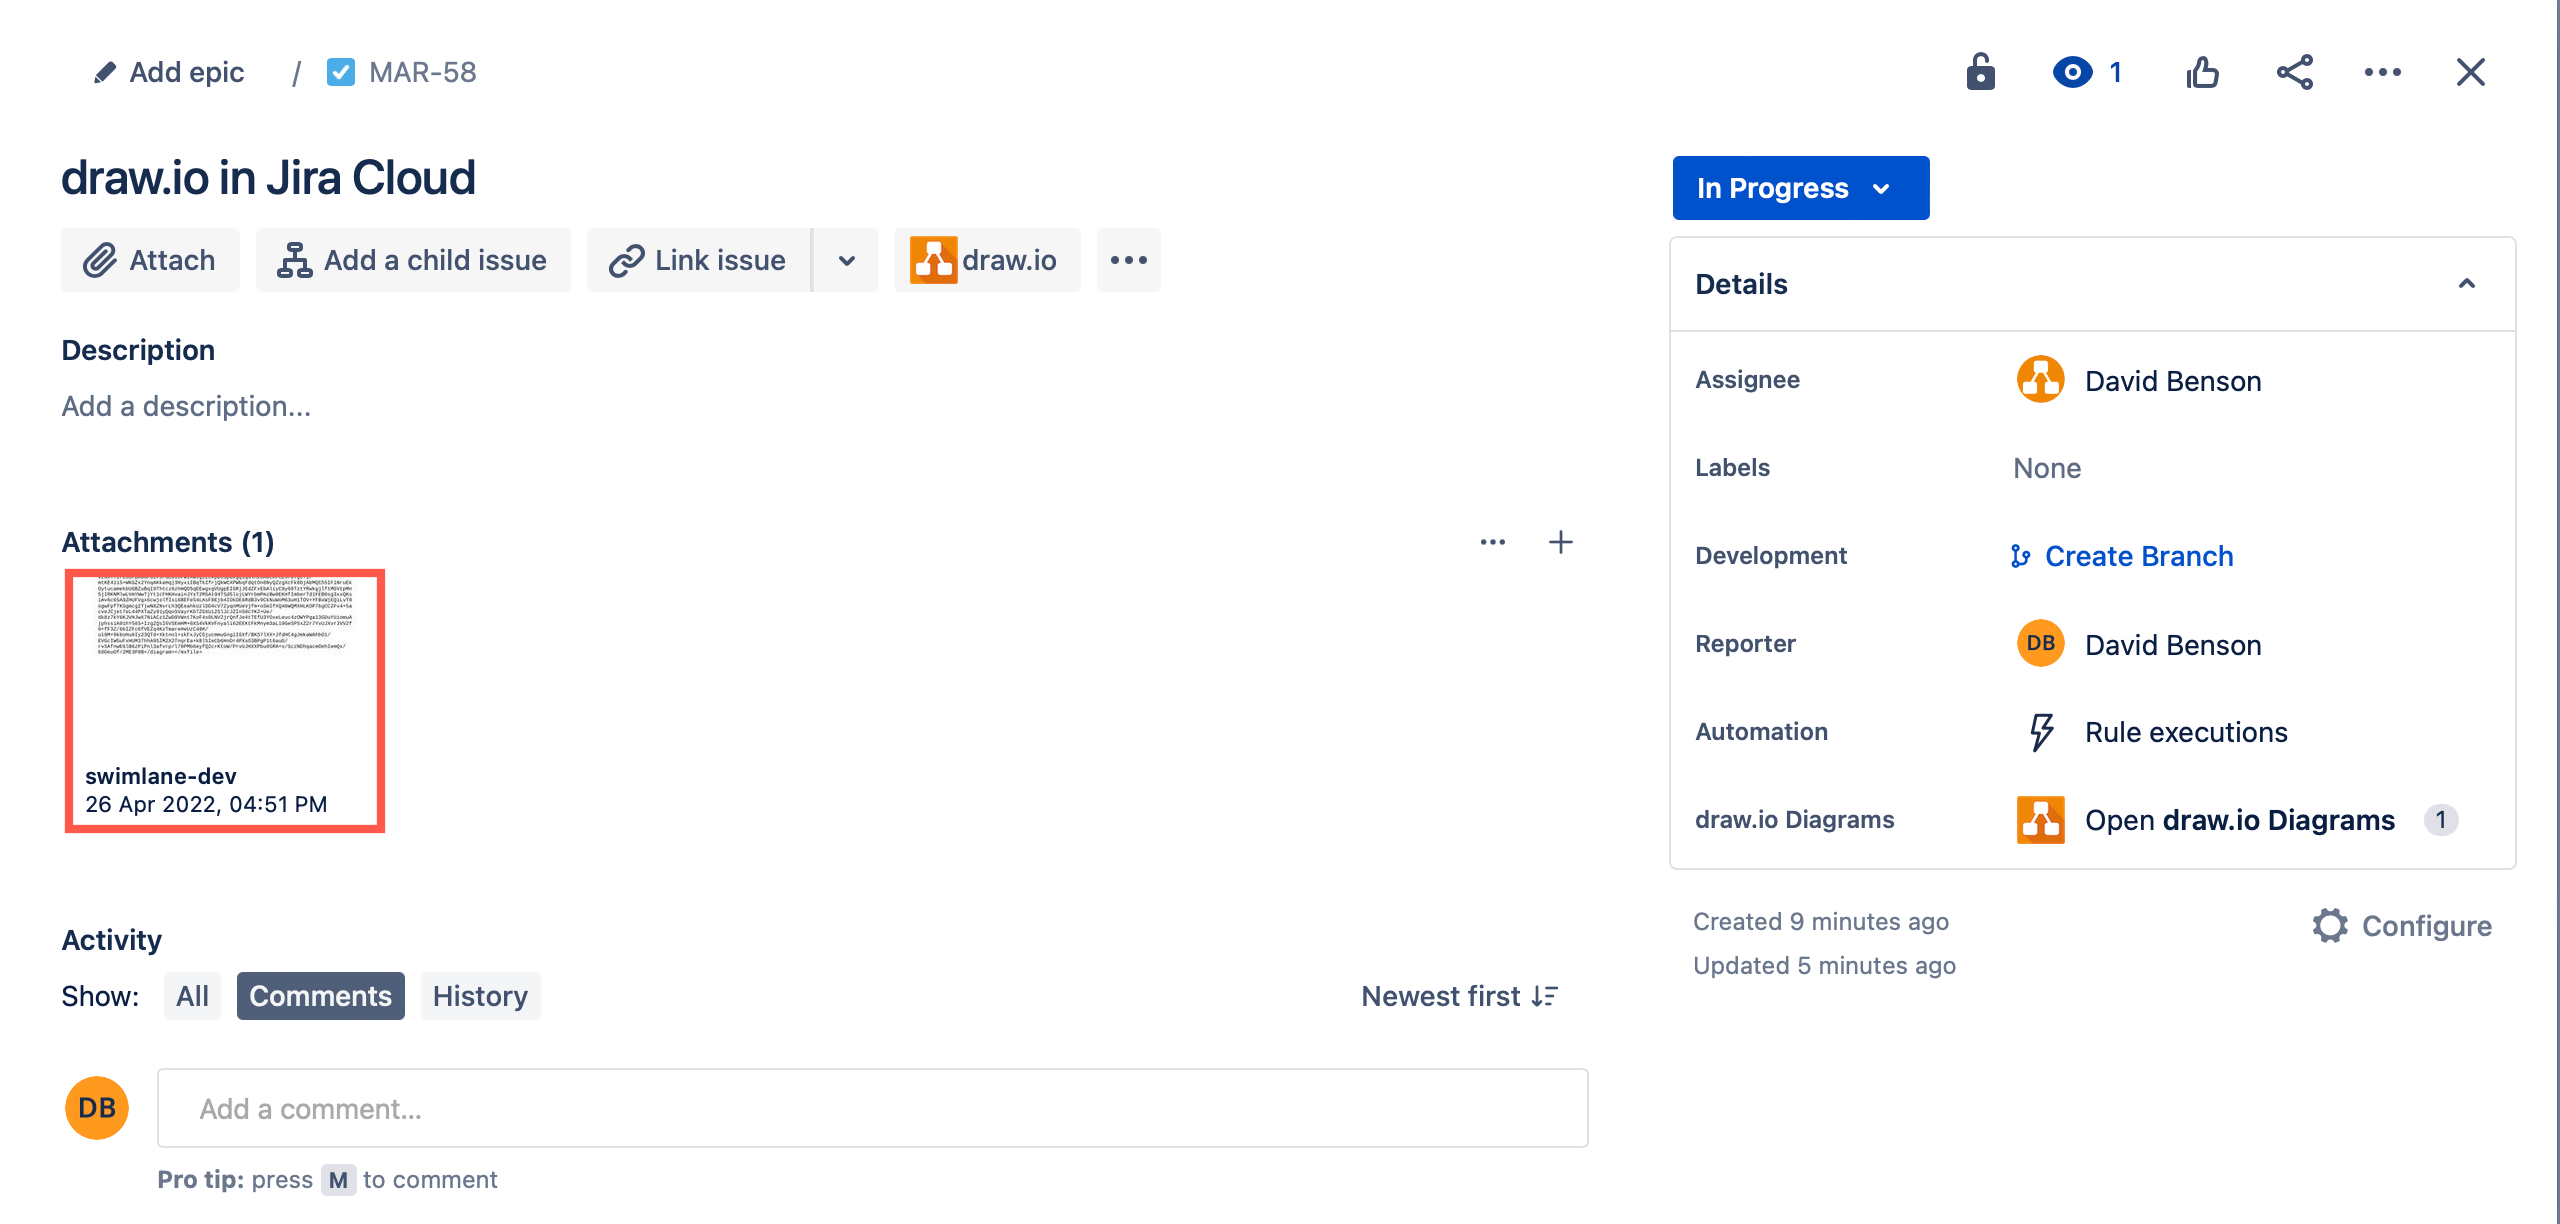
Your diagram will be added as a file attached to the issue.
See the draw.io diagrams on a Jira issue
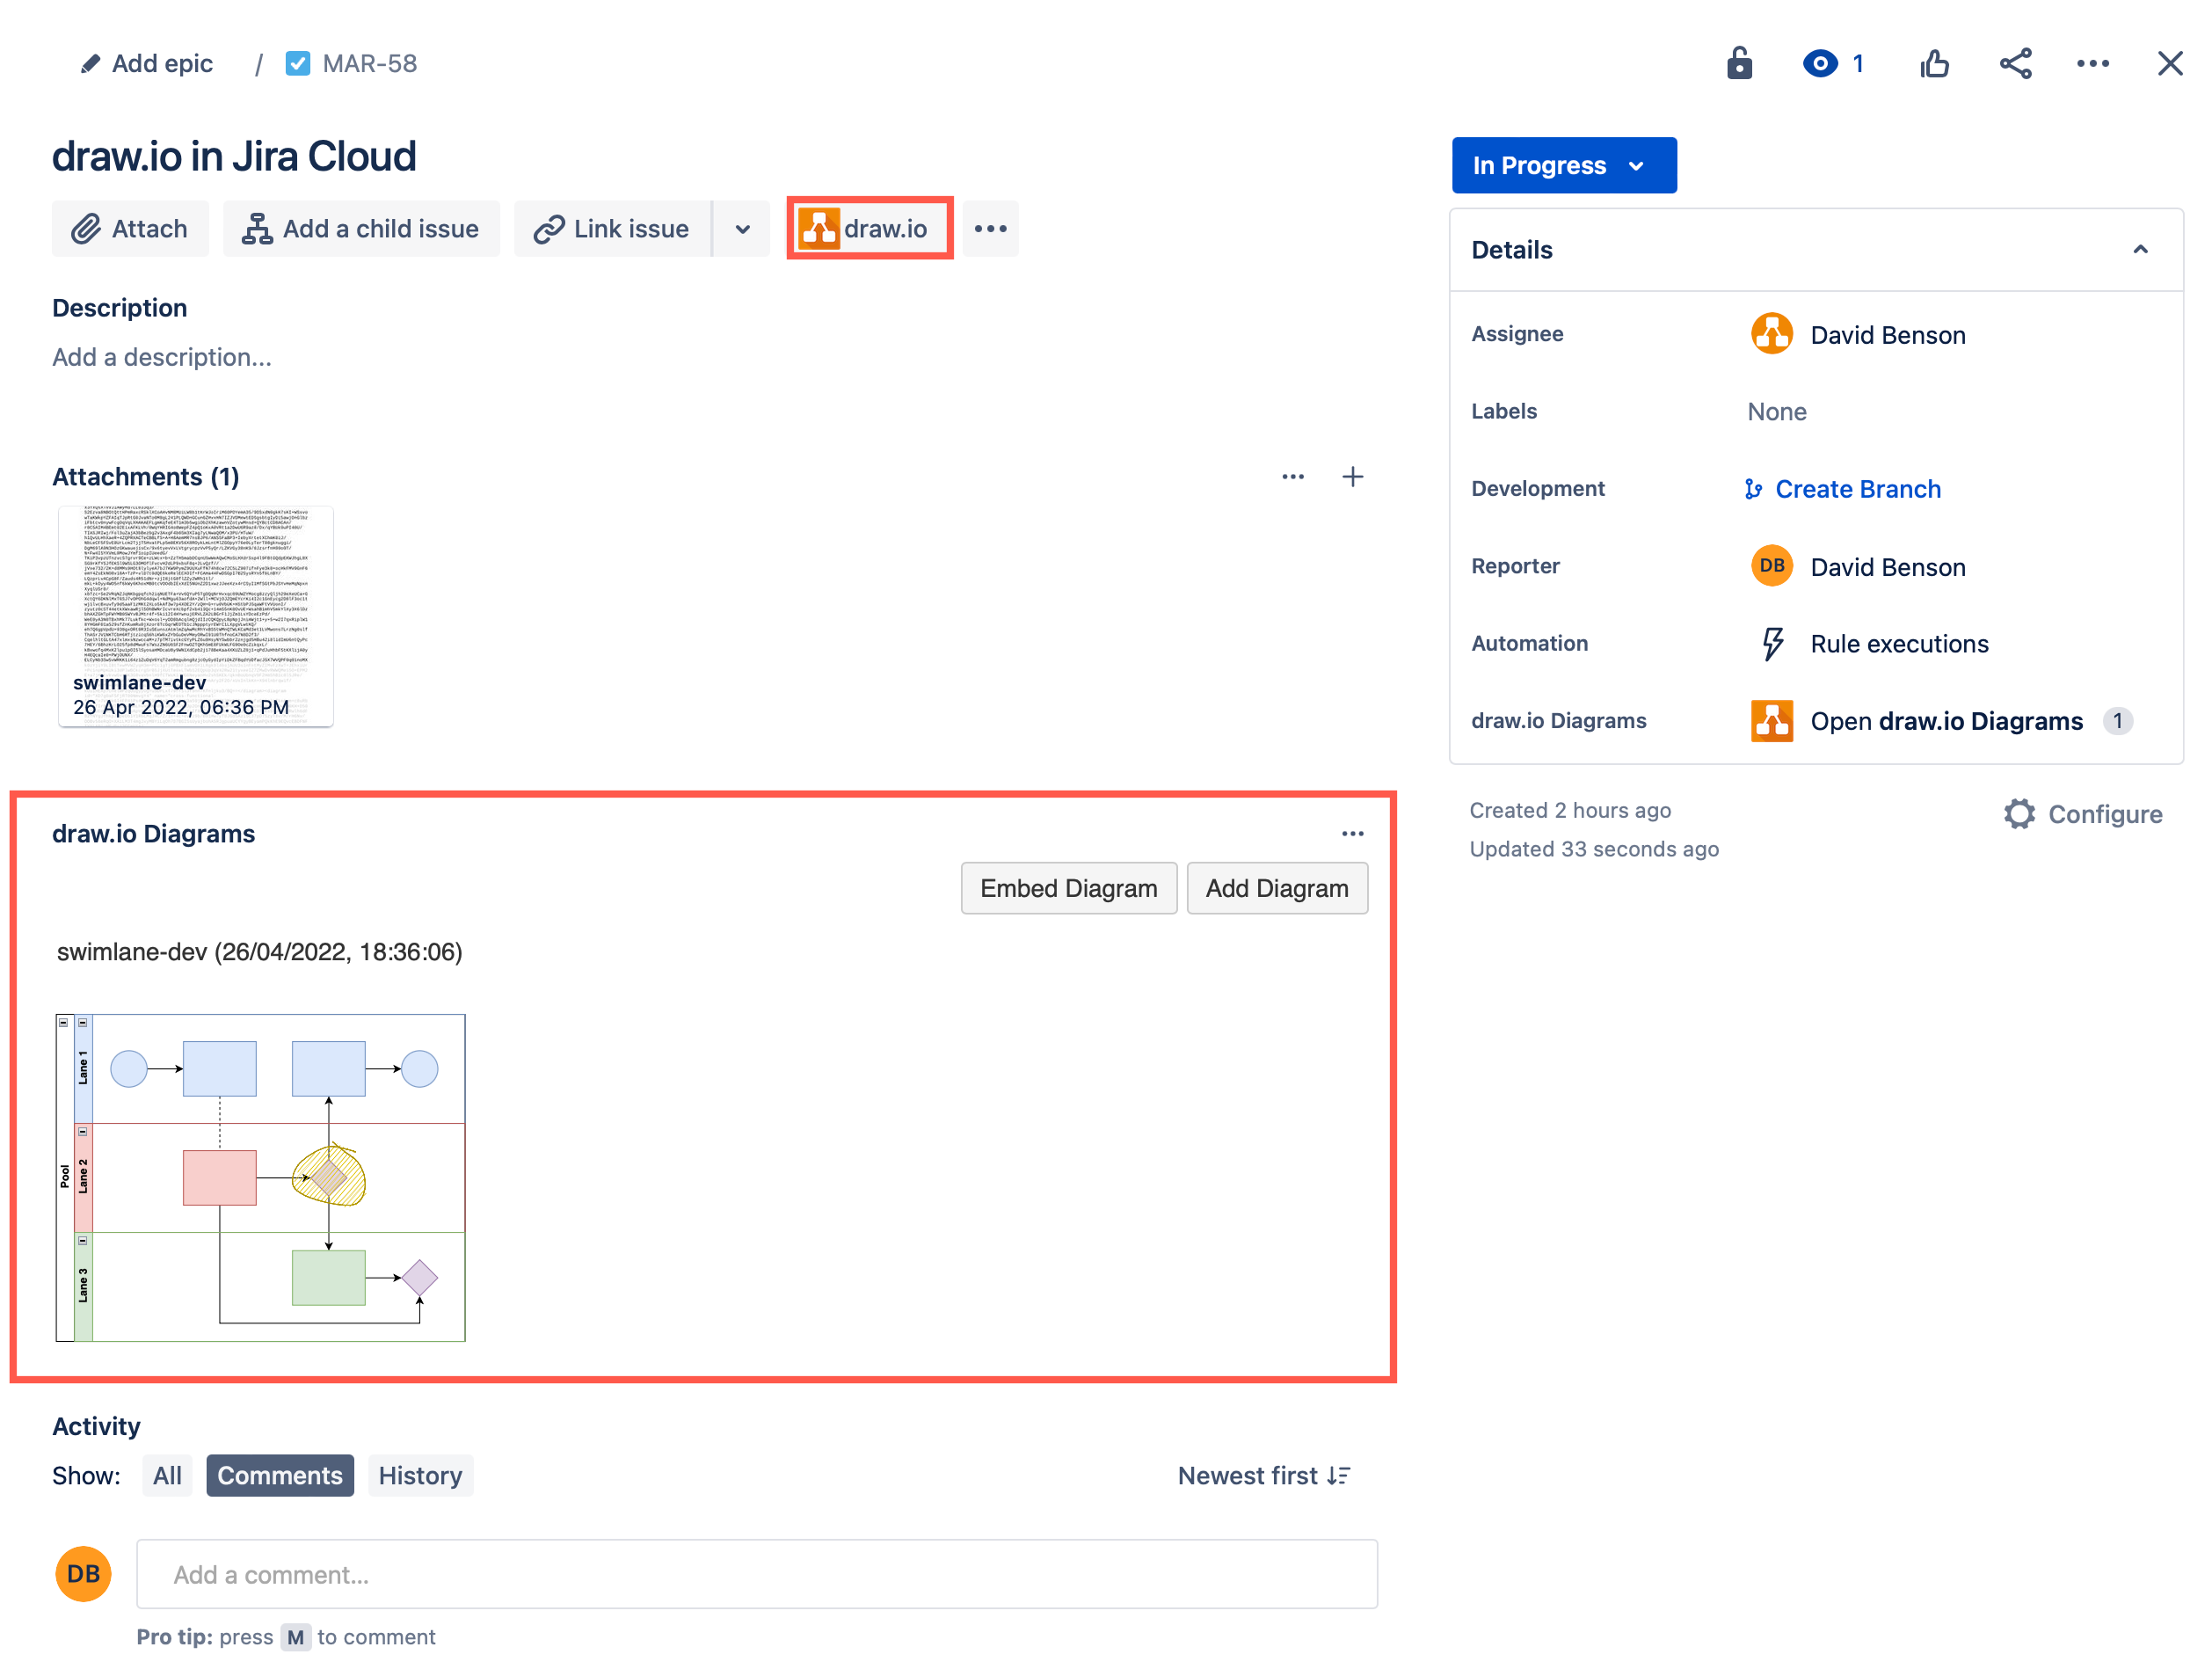
By default, the draw.io Diagrams section is not displayed in Jira issues to keep them as uncluttered as possible.
- Click on the draw.io icon directly above the issue description to display the draw.io Diagrams section.
View a diagram
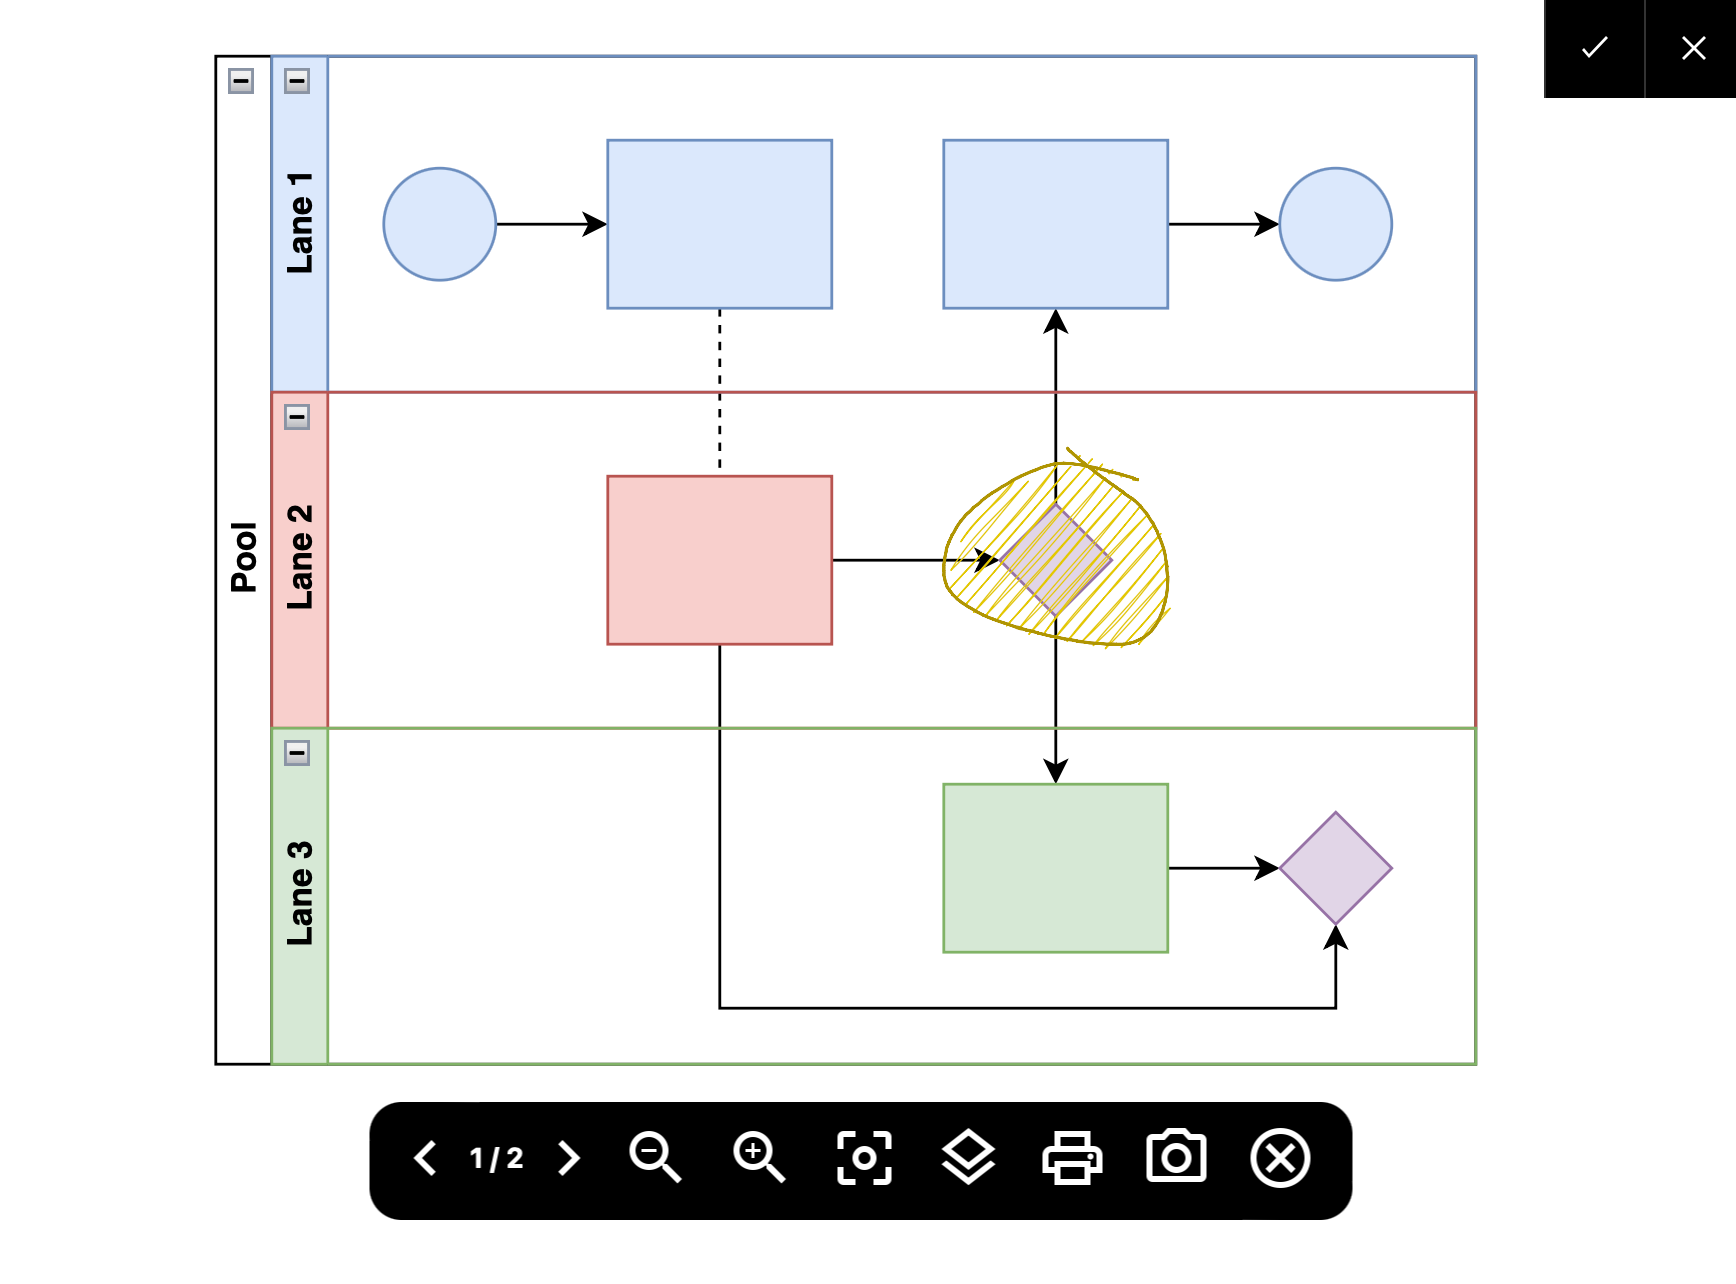
- Click on the thumbnail in the draw.io Diagrams section in the Jira issue to open it in the lightbox viewer.
- Hover over the diagram to see the viewer toolbar.
- Zoom in and out, print or export the diagram from this toolbar.
- If the diagram has them, step through diagram pages and select the layers to display.
- Click on the cross or the tick in the top right to return to the Jira issue.
Edit a diagram attached to a Jira issue
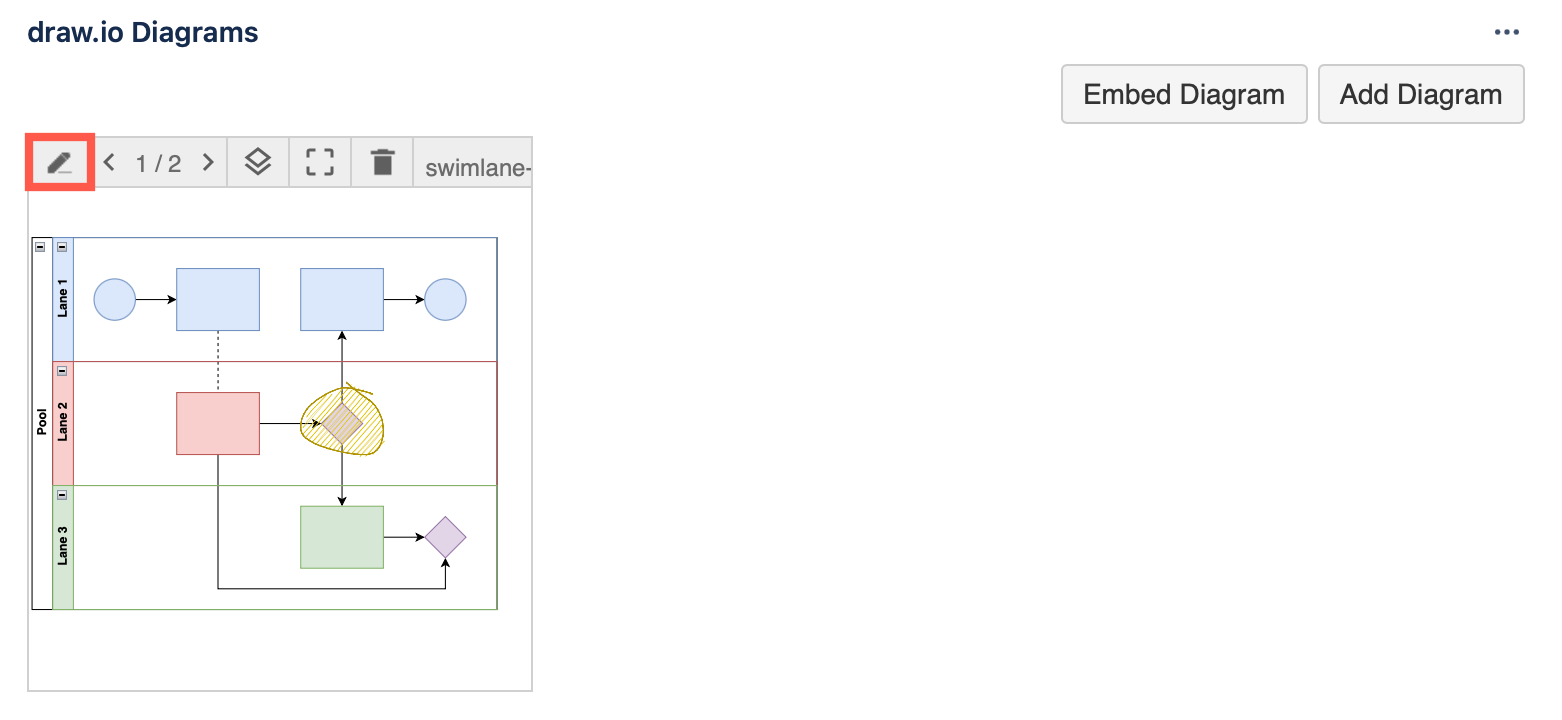
- Hover over the thumbnail in the draw.io Diagrams section in the Jira issue and click on the pencil icon to edit the diagram.
Delete a diagram from a Jira issue
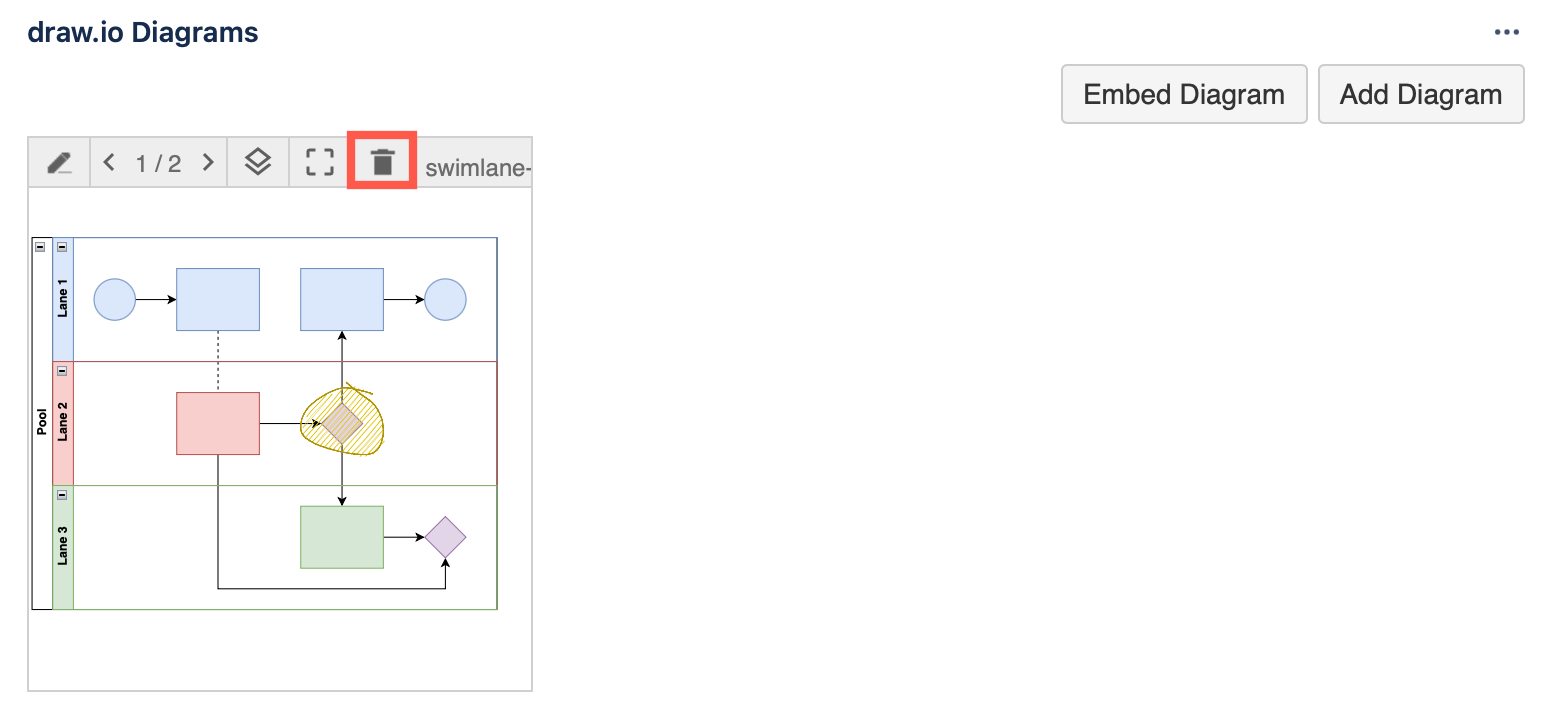
- Hover over the thumbnail in the draw.io Diagrams section in the Jira issue and click on the trash can icon (delete).
Export or print a diagram from a Jira issue
From within the draw.io editor
- Select File > Export as and select the format you want to export the diagram as.
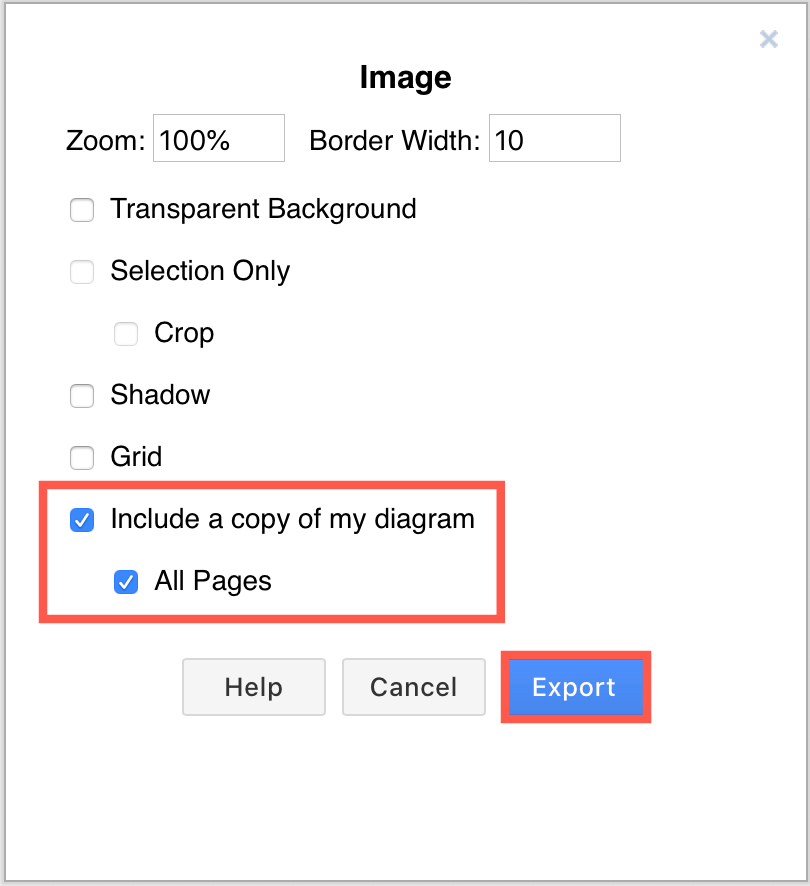
- Choose the export options that apply. These will depend on what format you export to. For example, exporting to a PNG image:
Learn more about exporting diagrams
From the lightbox viewer
Note: Image files generated from the lightbox viewer do not include the diagram data, unlike if you export to a PNG file from within the draw.io editor.
- Click on the diagram attached to the Jira issue to open it in the lightroom viewer.
- Use the toolbar to view the diagram page and select the layers you want to include.

- Click on the Export tool (camera) to generate a PNG image thumbnail, or Print to print the diagram.
- Right-click on the generated PNG thumbnail and download it. Left-click on the thumbnail to open the image in a new browser tab.

Administration and licensing
- Install the draw.io for Jira Cloud app in your instance via the Atlassian Marketplace
- Open the app management pages in Confluence and Jira Cloud
- Data storage and flow of user data in draw.io for Confluence and Jira Cloud
- Check access rights for draw.io in Jira Cloud
- Migrate draw.io from Jira Server or DC to Jira Cloud
Security and Licensing
- draw.io is an Atlassian Cloud Fortified app
- Advantages of a bring-your-own-storage model
- Get a community draw.io license for Confluence or Jira Cloud
- Find the draw.io app version and SEN in Jira Cloud
- License draw.io for Confluence and Jira Cloud correctly
- What happens to diagrams when the draw.io app license for Confluence or Jira Cloud becomes invalid?