Use tags in diagrams to select, hide and display related shapes and connectors
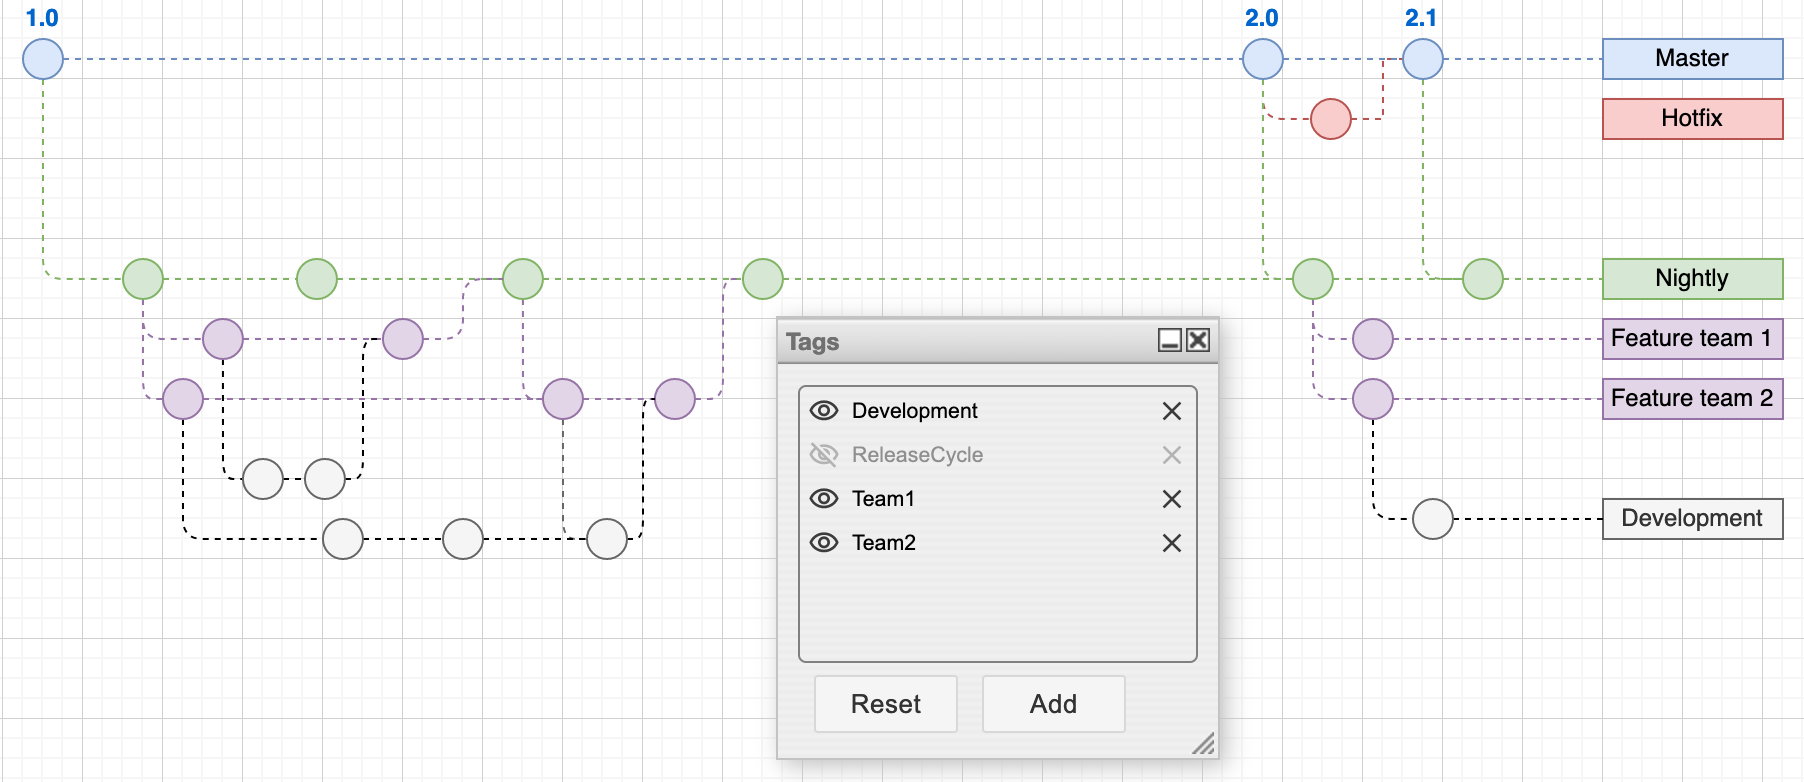
You can now use tags on shapes and connectors which allows you to select, hide or display multiple elements in your diagram. With tags, you don’t need to group shapes into a fixed combined shape, or place them on one layer before you select, hide or display the tagged shapes.
You can assign multiple tags to each shape and connector, which allows for more complex actions when selecting, hiding or displaying the tagged elements via the new Tags dialog.
Tags and real-time collaboration: If you are collaborating on a diagram file at the same time as other editors, your view of which tagged shapes and connectors are visible or hidden does not affect what the others see as they edit the diagram.
Open the Tags dialog
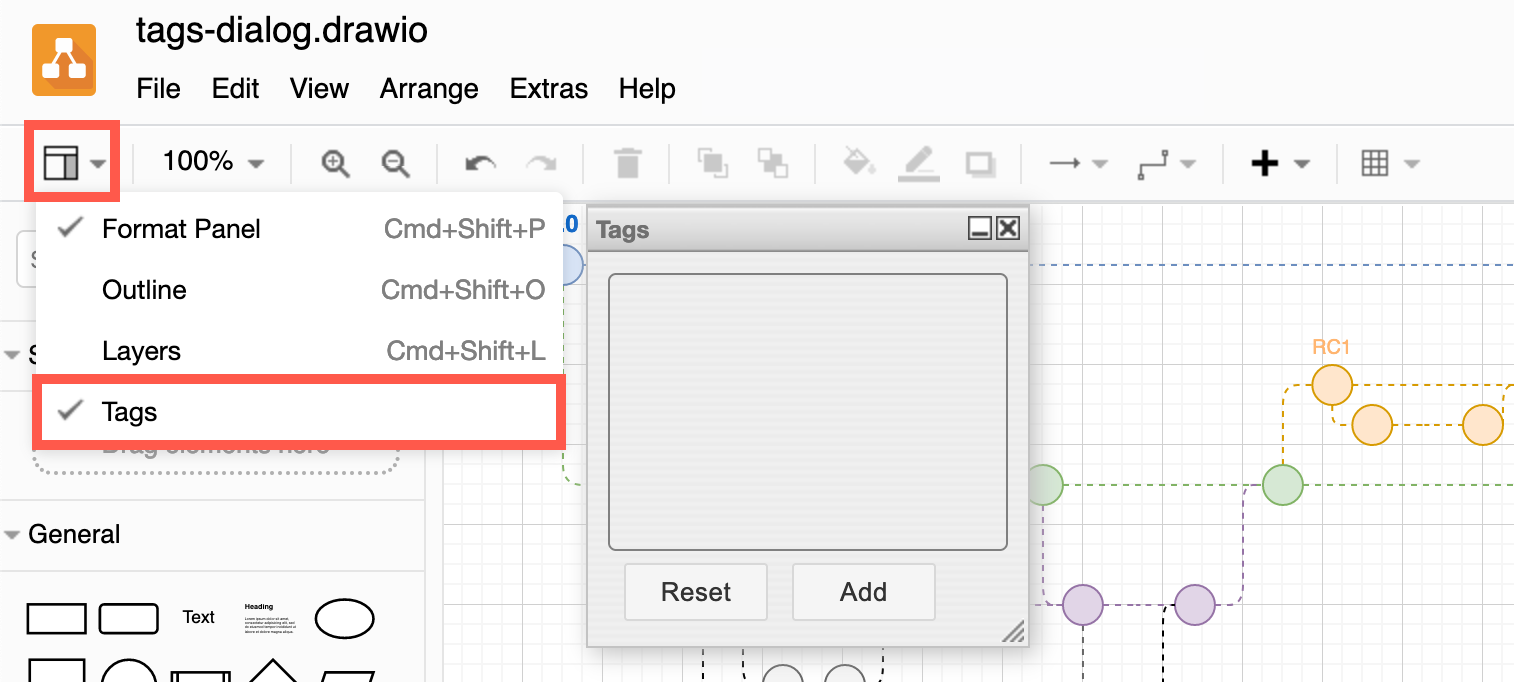
To work with tags, open the tags dialog in one of two ways.
- Select View > Tags from the menu.
- Click on the panels tool in the toolbar, then enable Tags.
Add new tags, remove and assign tags
Tags are case sensitive. It is best to consistently use a case style for all tags - for example CamelCase or all lowercase.
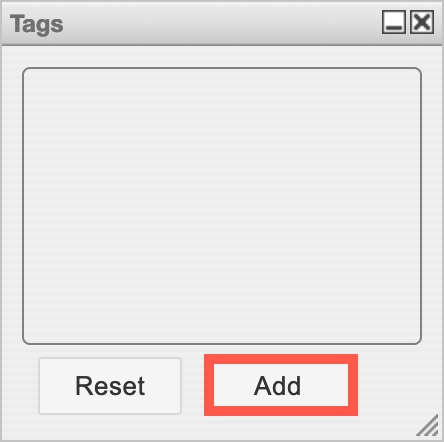
- In the Tags dialog, click Add.
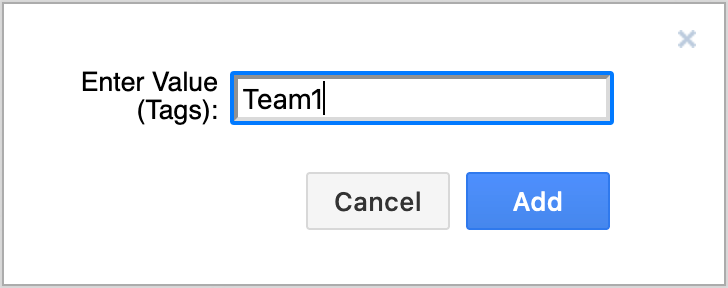
- Enter the name of the tag without spaces - use CamelCase, underscores or dashes to separate words - and click Add.
The new tag will appear in the Tags dialog, and be applied to any shapes and connectors that were selected at the time.
If nothing was selected when you added the new tag, you can now assign it to shapes and connectors in your diagram.
Remove a tag
With nothing selected in the diagram, click on the cross next to the tag name you want to delete.
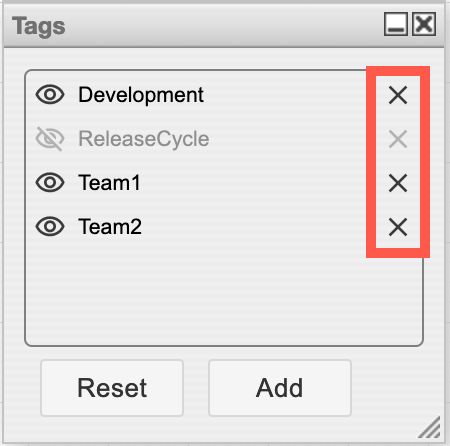
Assign tags to shapes
- Select one or more shapes or connectors.
- In the Tags dialog, click on the checkbox to the right of the tag names you want to assign those diagram elements to.
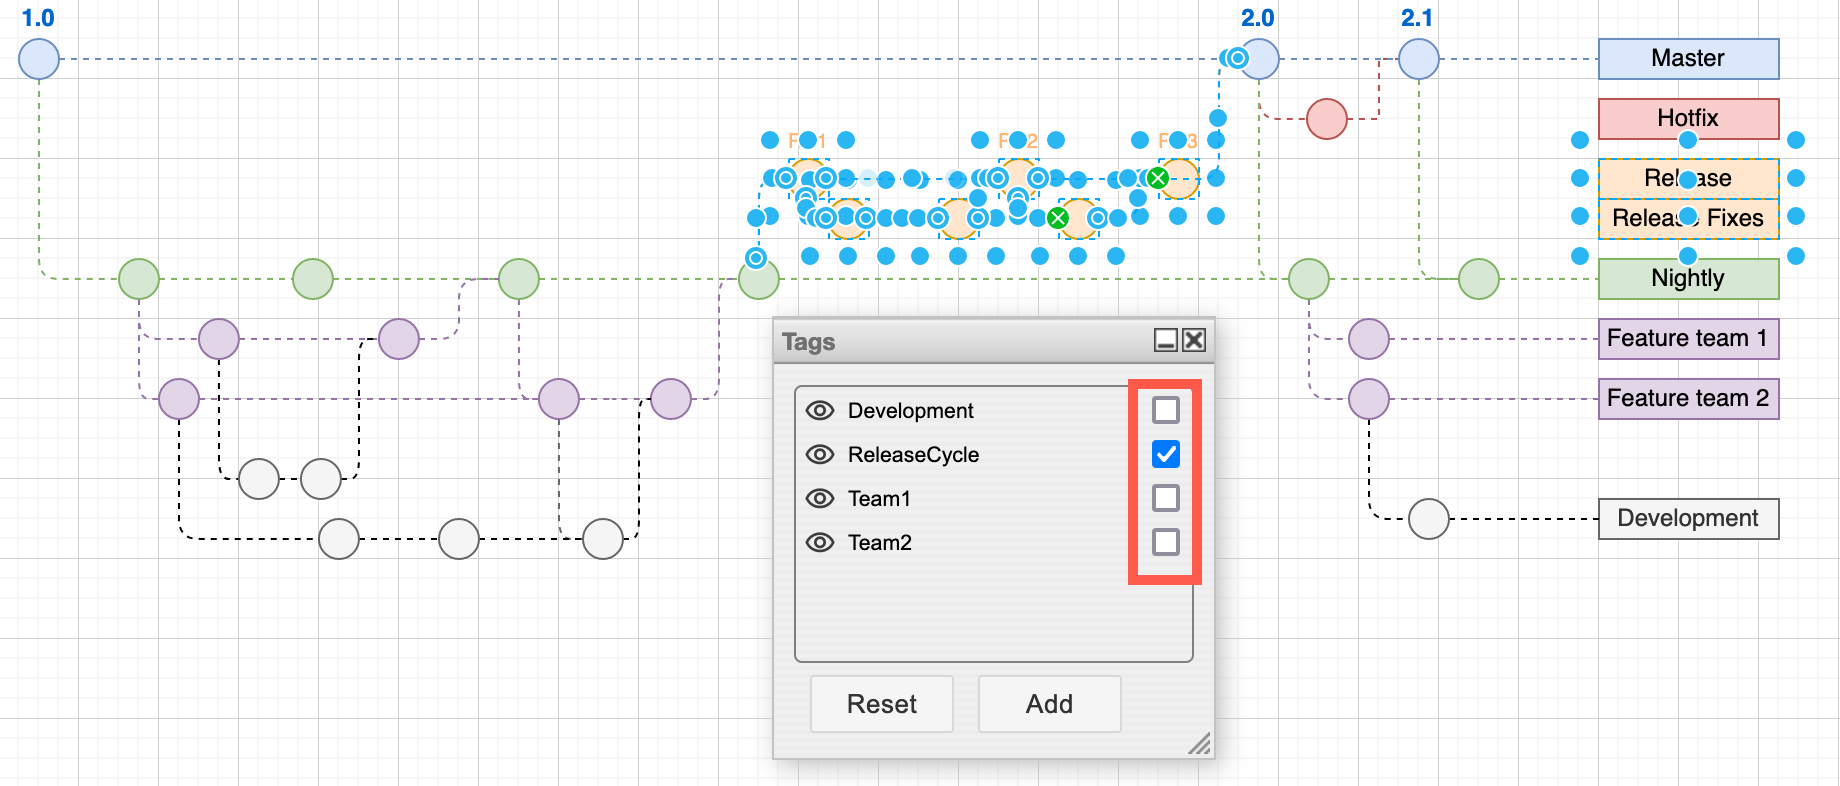
Click on the checkbox again next to the tag name to remove the tag from the selected shapes and connectors.
Work with tags in the diagrams.net editor
Now that you have assigned shapes and connectors to tags, you can select, hide and display them through the Tags dialog. Different parts of the Tags dialog function as toggles for different things.
Click on the eye next to a tag name to hide or display shapes and connectors with that tag. If they have multiple tags assigned to them, they will not be hidden unless all of their assigned tags are hidden.
Click on the tag name itself to display only those shapes and connectors with that particular tag (as well as those with no tag assigned). Shapes and connectors that are assigned other tags will be hidden. Click on the tag name again to display the other tags.
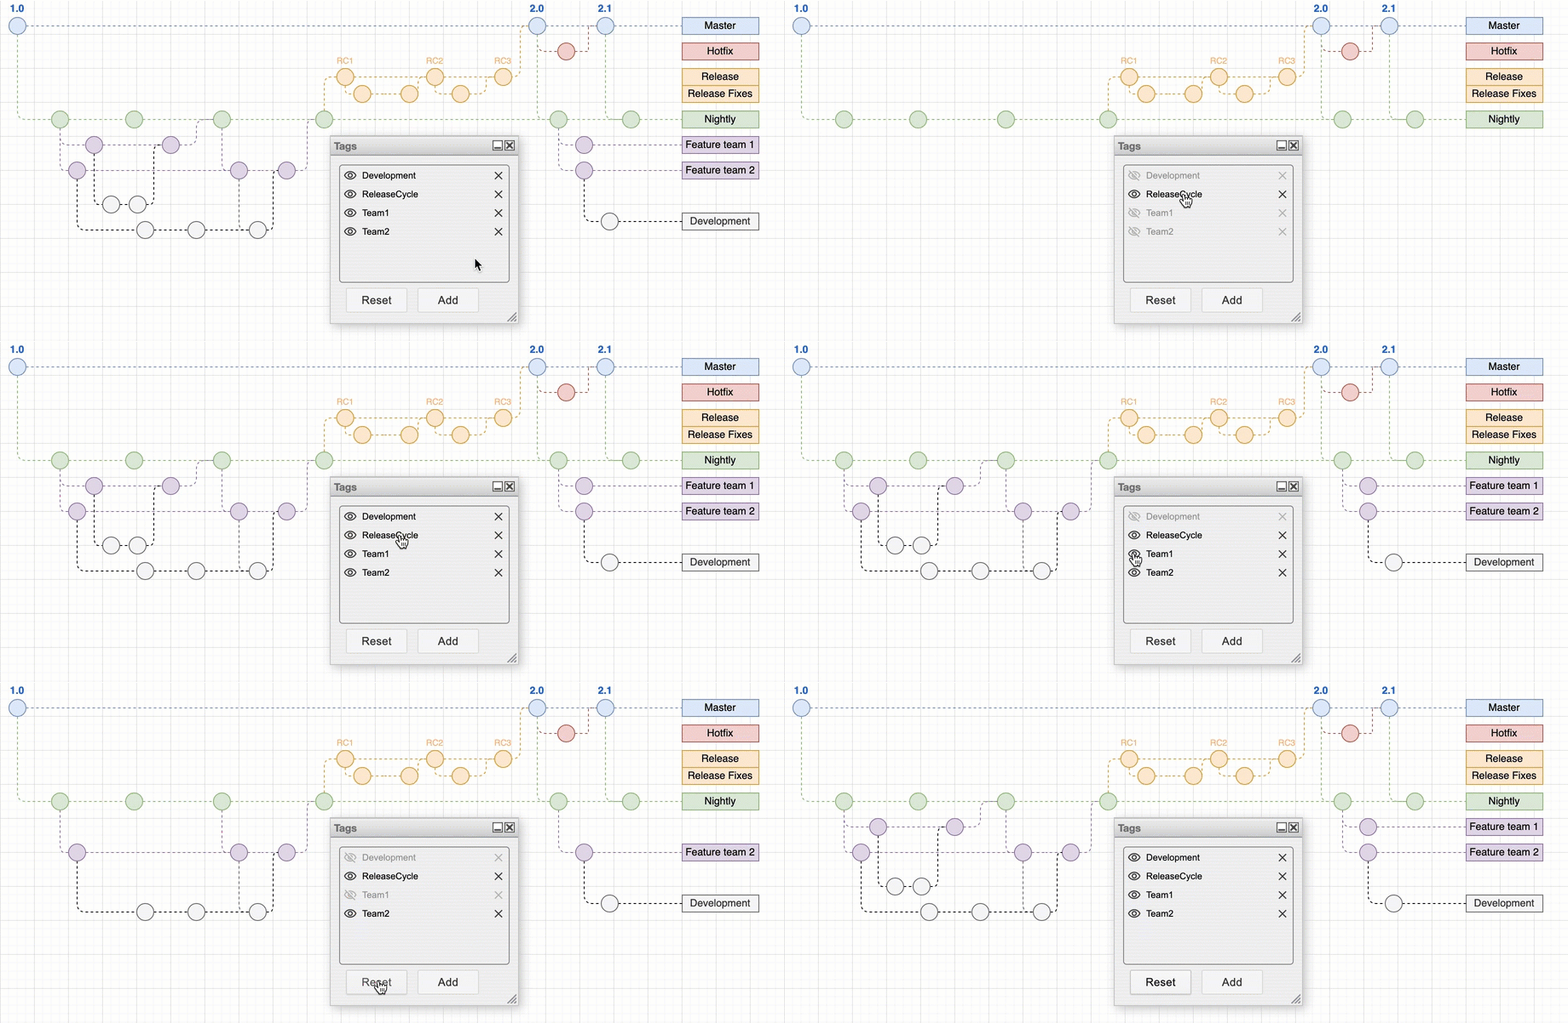
Hold down Shift and click on the eye next to a tag name to hide all shapes and connectors with a tag, and only display untagged diagram elements. Click again to display all elements, or click on Reset at the bottom of the Tags dialog.
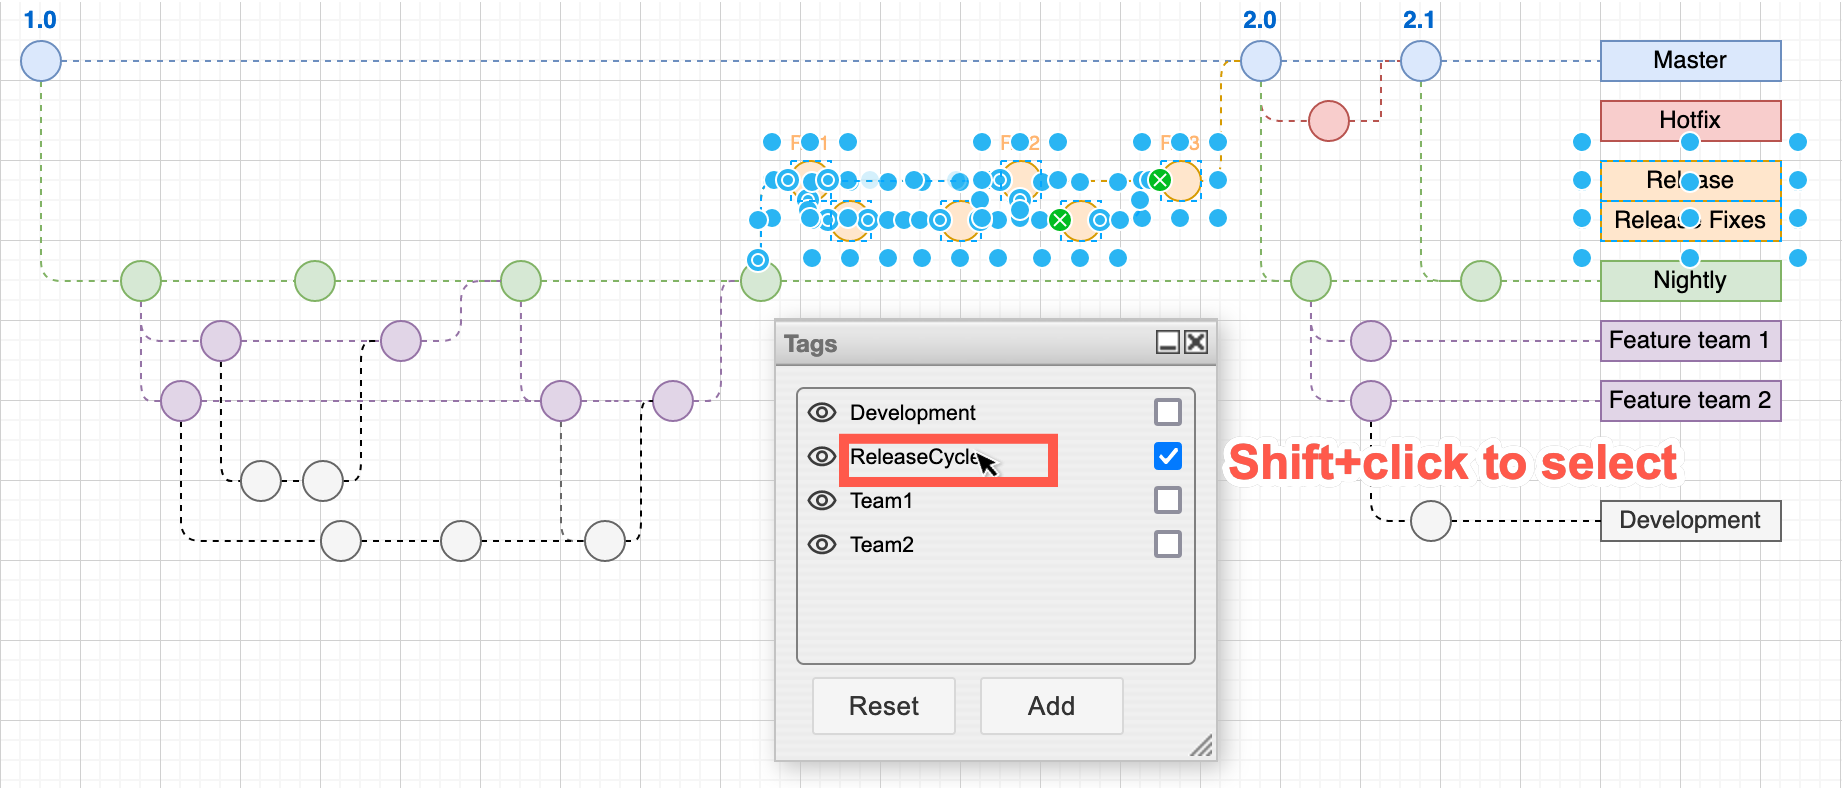
Hold down Shift and click on a tag name to select all of the shapes and connectors that have that tag.
Tags and container shapes: You can add tags to the child shapes inside container shapes, as well as to the parent container shape. When you hide the container shape, note that all child elements contained within the parent container shape will also be hidden.
Use tags in the diagrams.net lightbox viewer
Tags work much the same way in the lightbox viewer - click on the tags tool in the toolbar to see all the tags in the diagram.
- Click on the eye next to a tag to hide or display elements with that tag.
- Click on the tag name to display only those shapes and connectors with that tag (and those with no tag).
Shift+ click on a tag name to temporarily highlight elements with that tag.Shift+ click on any eye to hide or display all tagged elements.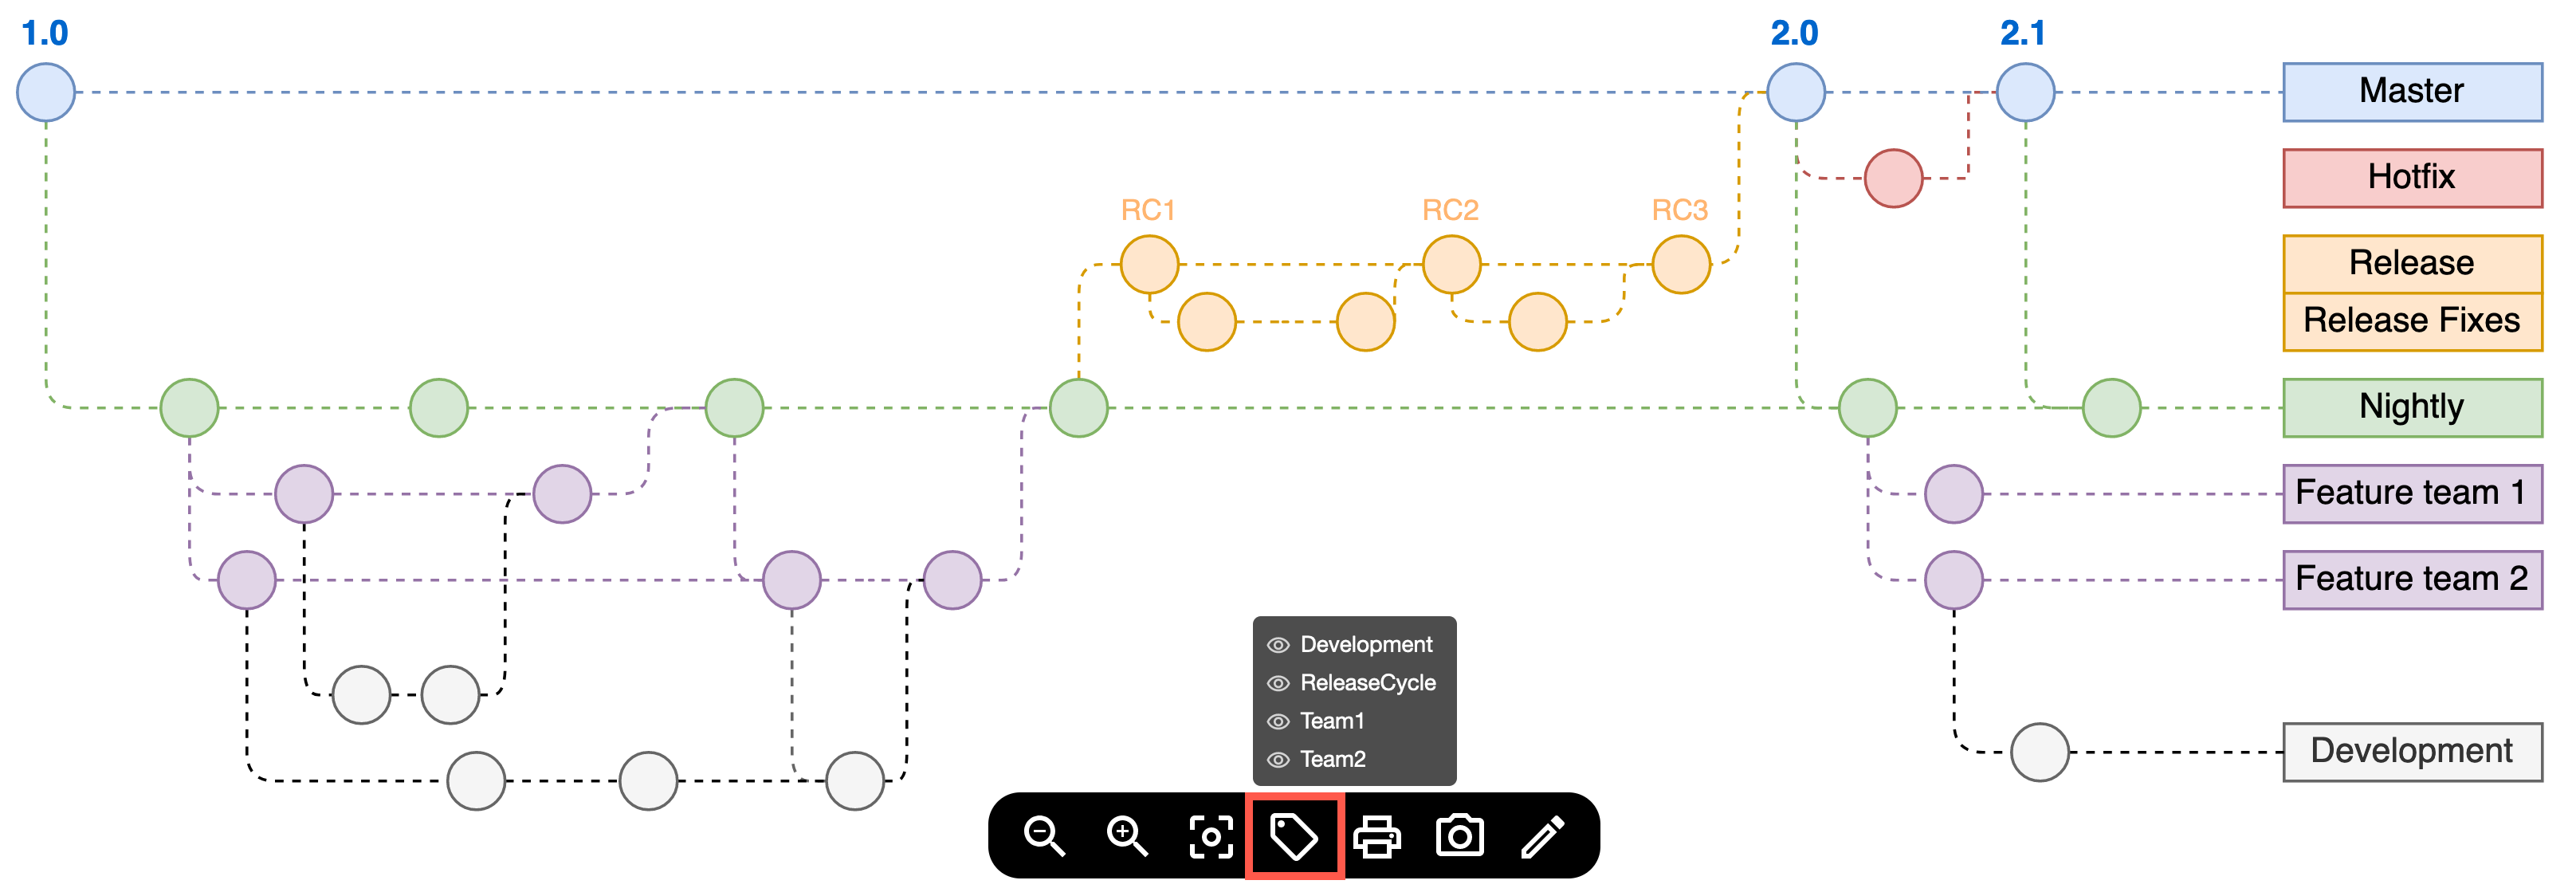
Note: If there are no tags, this will not be available in the toolbar.