Draw circular flowcharts
Flowcharts are one of the most used types of diagrams in all teams. But some process flows are circular or cyclical rather than a series of steps with a start and end. You can create circular flowcharts in diagrams.net and our draw.io branded apps in a number of ways.
New to diagramming?
If you aren’t sure where to start in the diagram editor, follow this tutorial to create a flowchart. You’ll learn the editor layout and all of the main features.
Arrange shapes into a circular flowchart
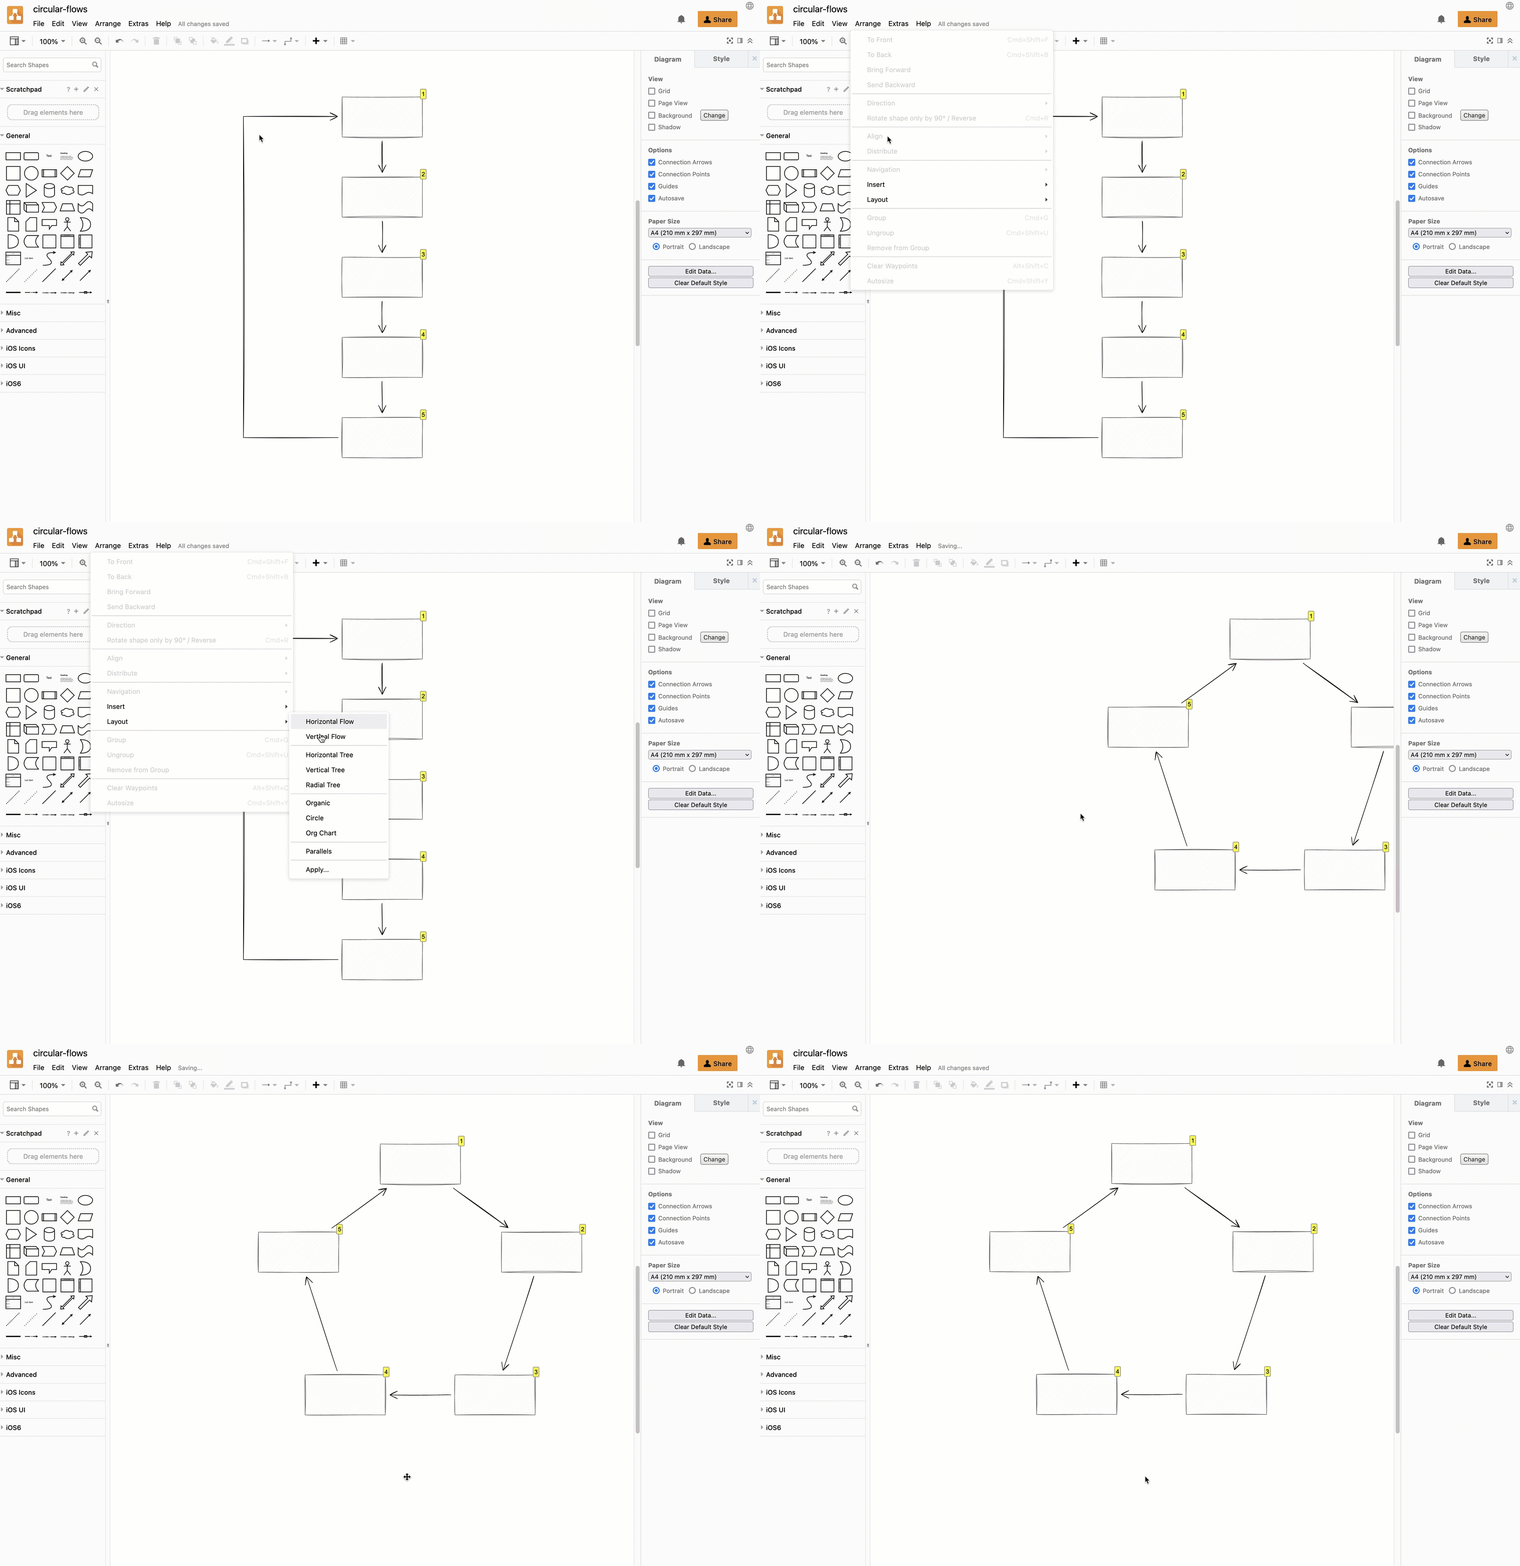
- Create your flowchart, and connect the final step back to the first step.
- Select Arrange > Layout > Circle from the menu to automatically arrange your diagram into an evenly spaced circle.
- To curve the connectors, select all edges (
Ctrl+Shift+E/Cmd+Shift+E), and select Curved from the Line drop down list in the Style tab of the format panel on the right, then pull out the central waypoint in each connector to curve it.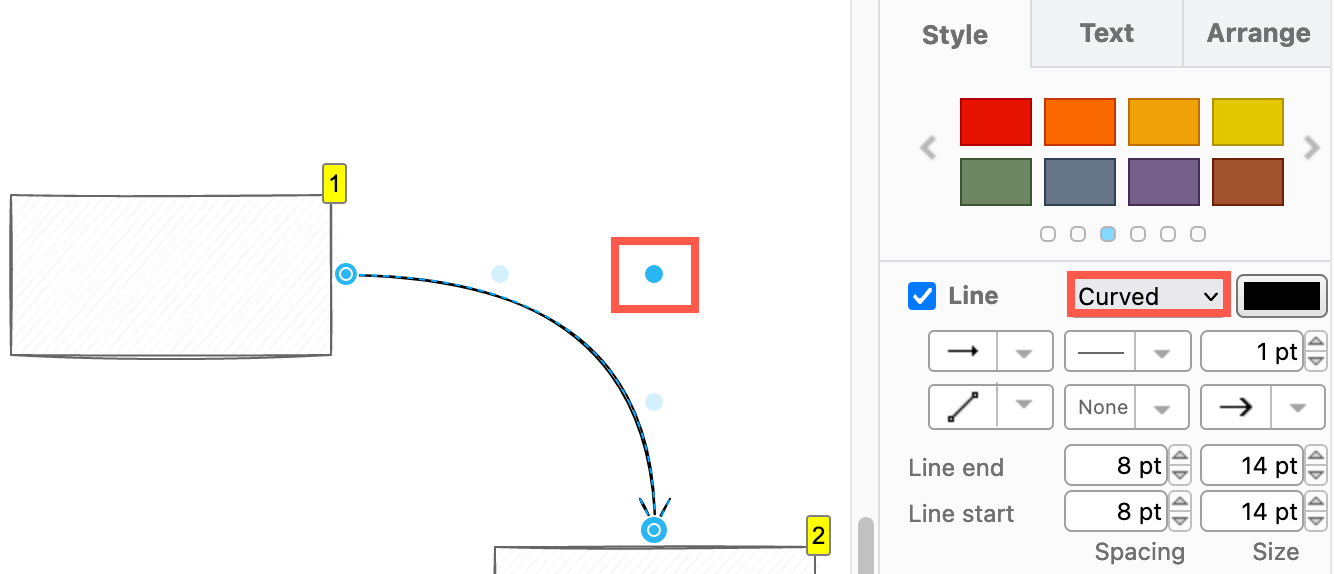
Tip: The Enumerate shape property (under the Properties section in the Style tab) automatically applies numbering to the top right of the selected shapes and/or connectors.
Explore the shape libraries
There are many arrows,and other shapes that can be used to create circular flowcharts and cycle diagrams.
- Click on More Shapes at the bottom of the left panel, then select the shape libraries you would like to use.
You’ll find various curved and bent arrow shapes in the Arrows shape library, and bent connectors in the Misc (Basic) shape library.
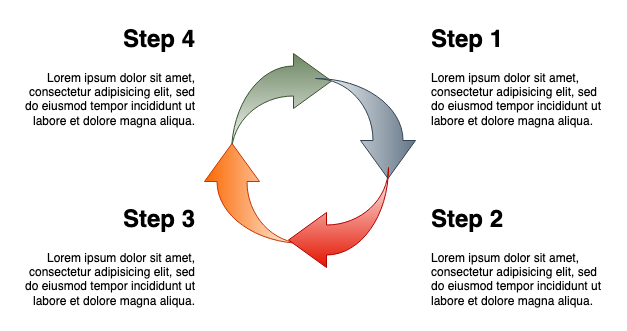
For example, this four step process uses the Textbox shape from the General shape library and the Jump-in Arrow from the Arrow shape library. Use the Arrange tab in the format panel to rotate a shape precisely, or drag the rotate symbol to position the shapes as you need.
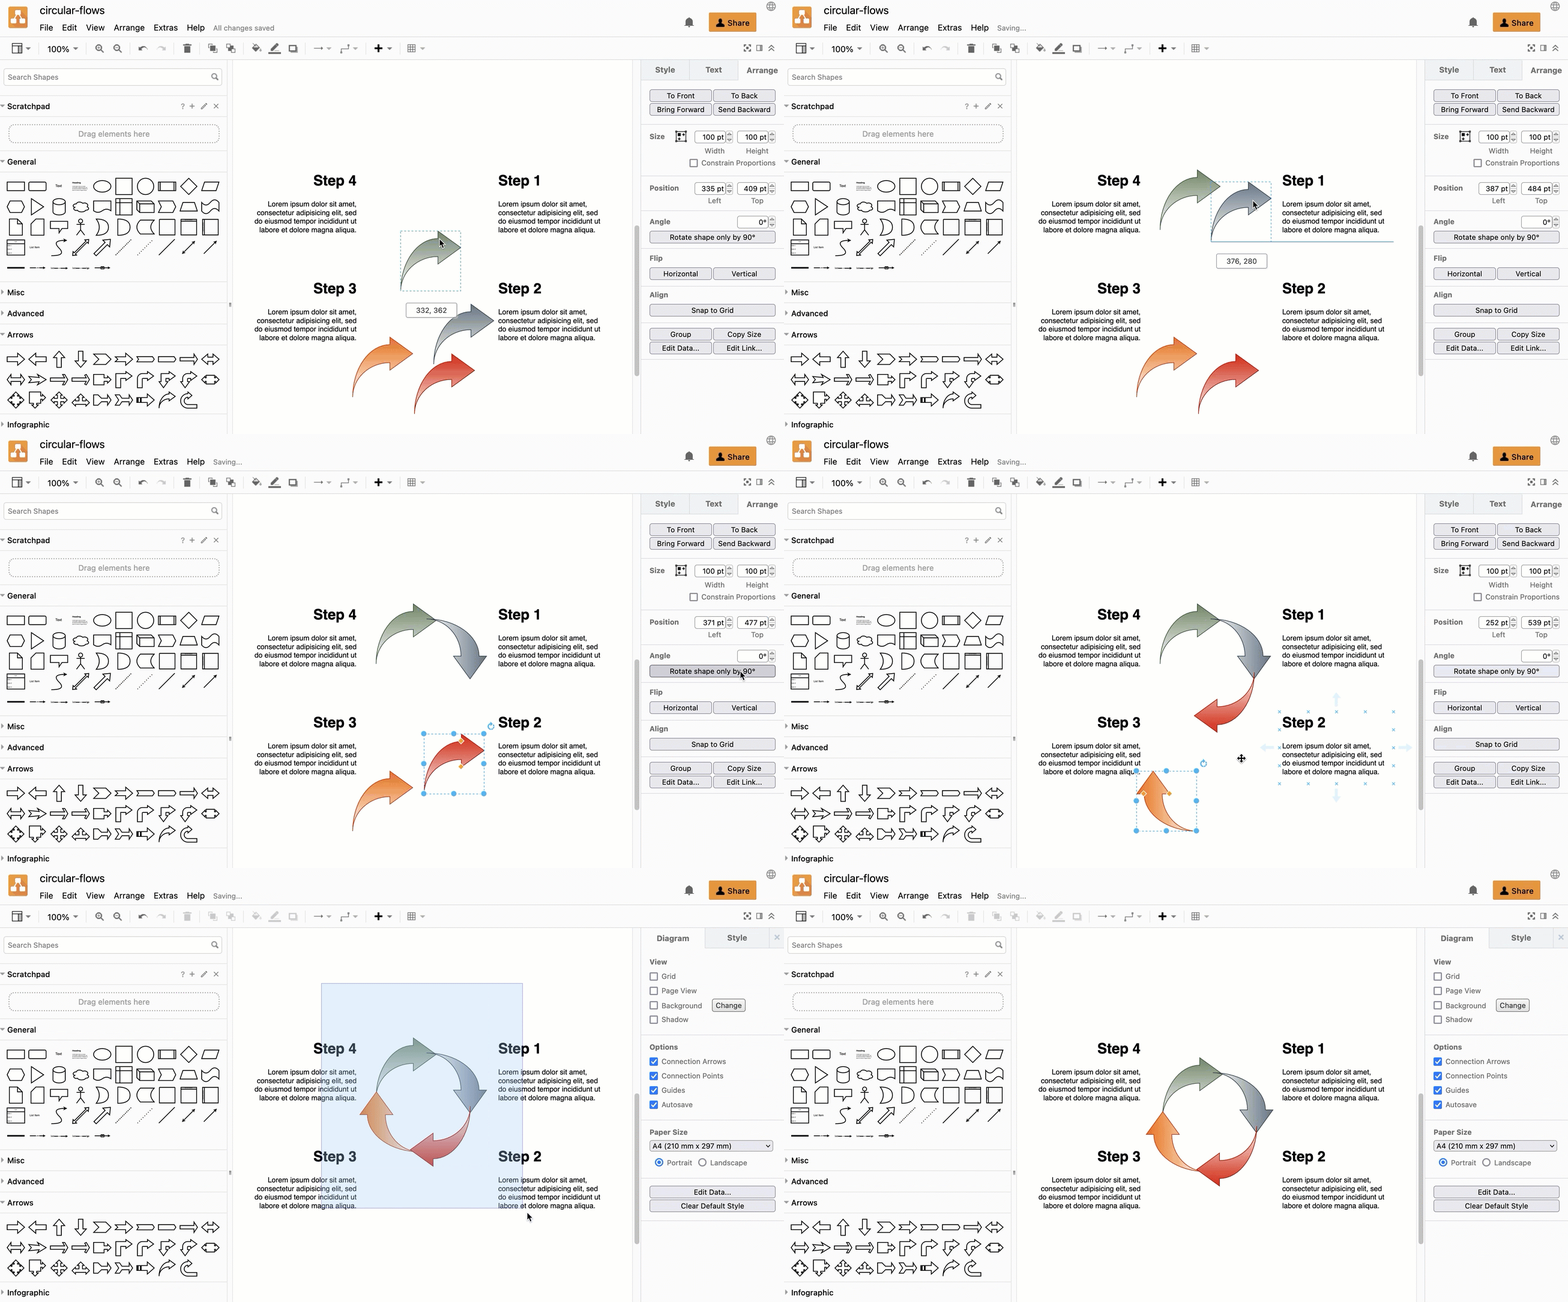
Note: Many of the arrow shapes are not connectors, and therefore can’t be bent using waypoints.
Use the infographic library
There are several groups of shapes in the infographic shape library that are useful for diagramming cyclical processes.
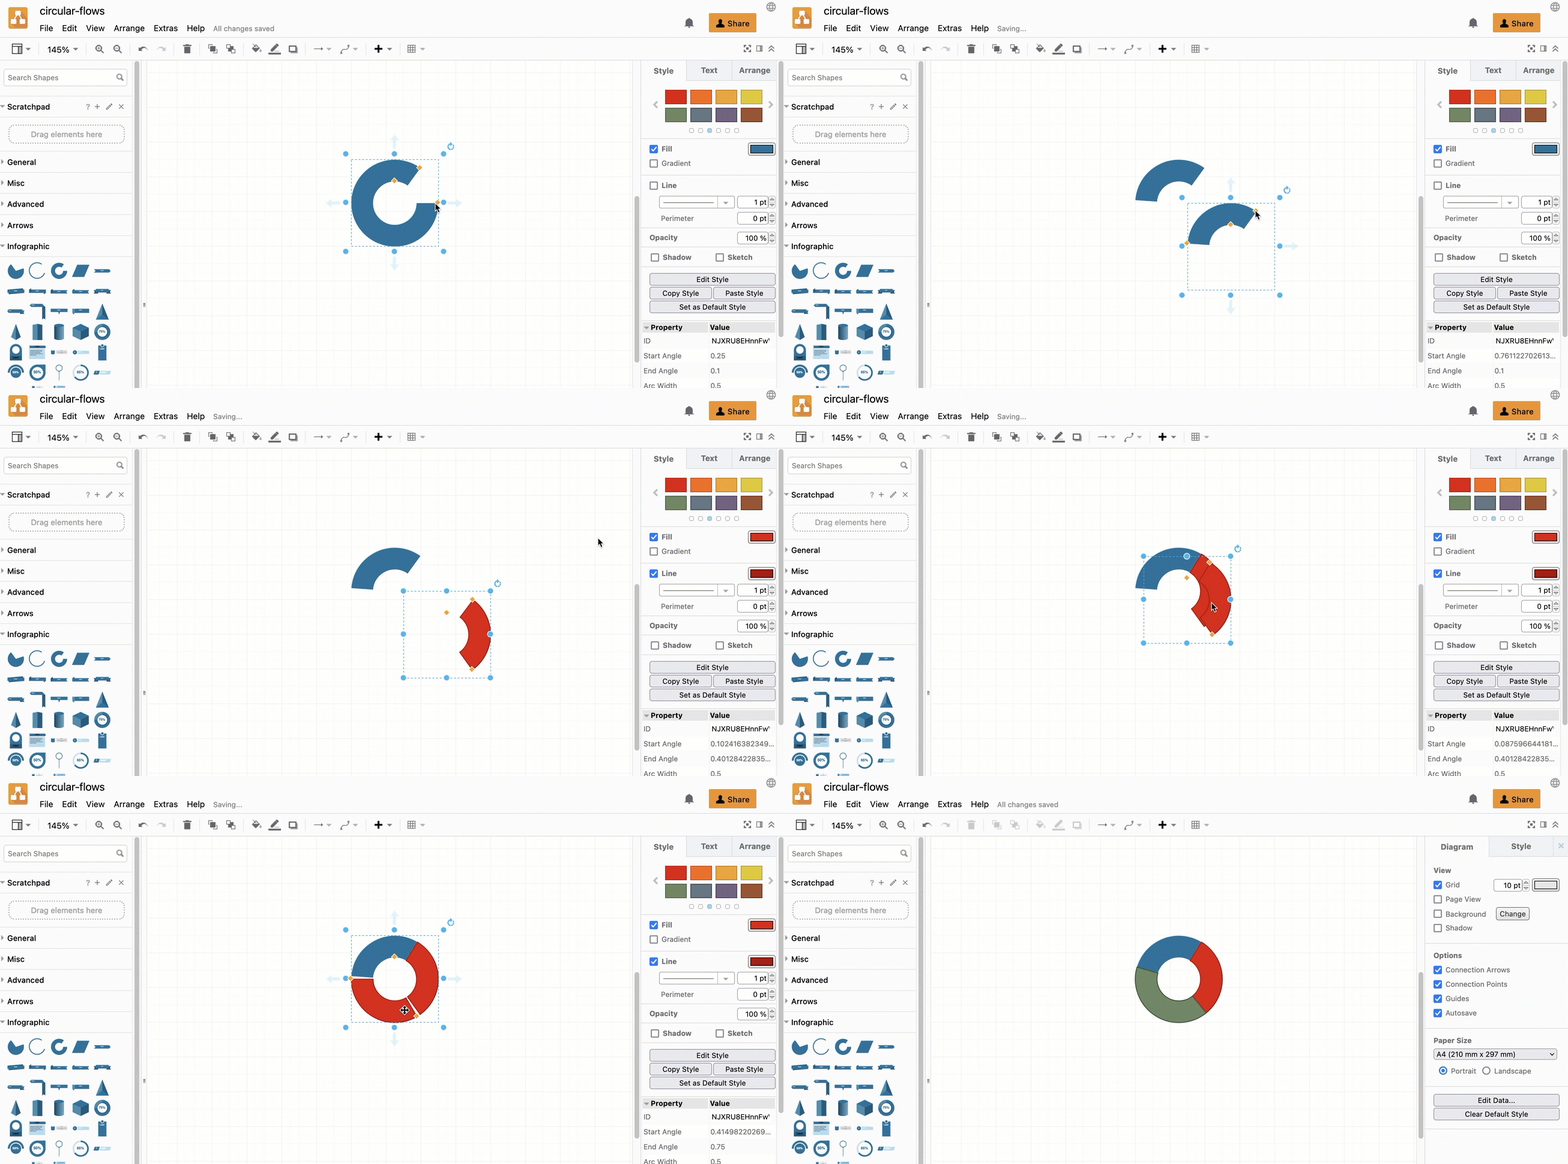
Position multiple Pie, Arc, and Partial Concentric Ellipse on top of each other, with different ‘slices’ to form a circle.
- Place one of the shapes on the drawing canvas and resize it to the size you want to use.
- Select and copy the shape that is on the drawing canvas (
Ctrl+C/Cmd+C) then paste a copy (Ctrl+V/Cmd+V). - Move the copy so the centre of the circle touches the centre of the existing shape, and drag the orange diamond grab handles to change the position of the wedge.
- Style and label as required.
The Hex Loop shape is easily converted into a circular flowchart when your process or cycle has six steps.
If you don’t want to use a circle shape, but would still like a fluid process, modify one of the arrows in the Swirl infographic shape to return to the start of your process.
Tip: Hover over any shape in the shape libraries to see a larger preview.

Create your own shape library for circular flowcharts
You can create your own shape library from the existing shapes or from a diagram you have edited and styled. You can also add your own custom shapes, icons, text, connectors and images to save time when creating diagrams in the future.
See how to work with custom shape libraries
Use a template
- Start a new diagram, or click Arrange > Insert > Template to open the template manager.
- Look for templates that would be suited for circular flows.
For example, the Cycle 1 template (Other) can be used as is - it is based on the hex loop shape with additional triangle to indicate the direction of flow.
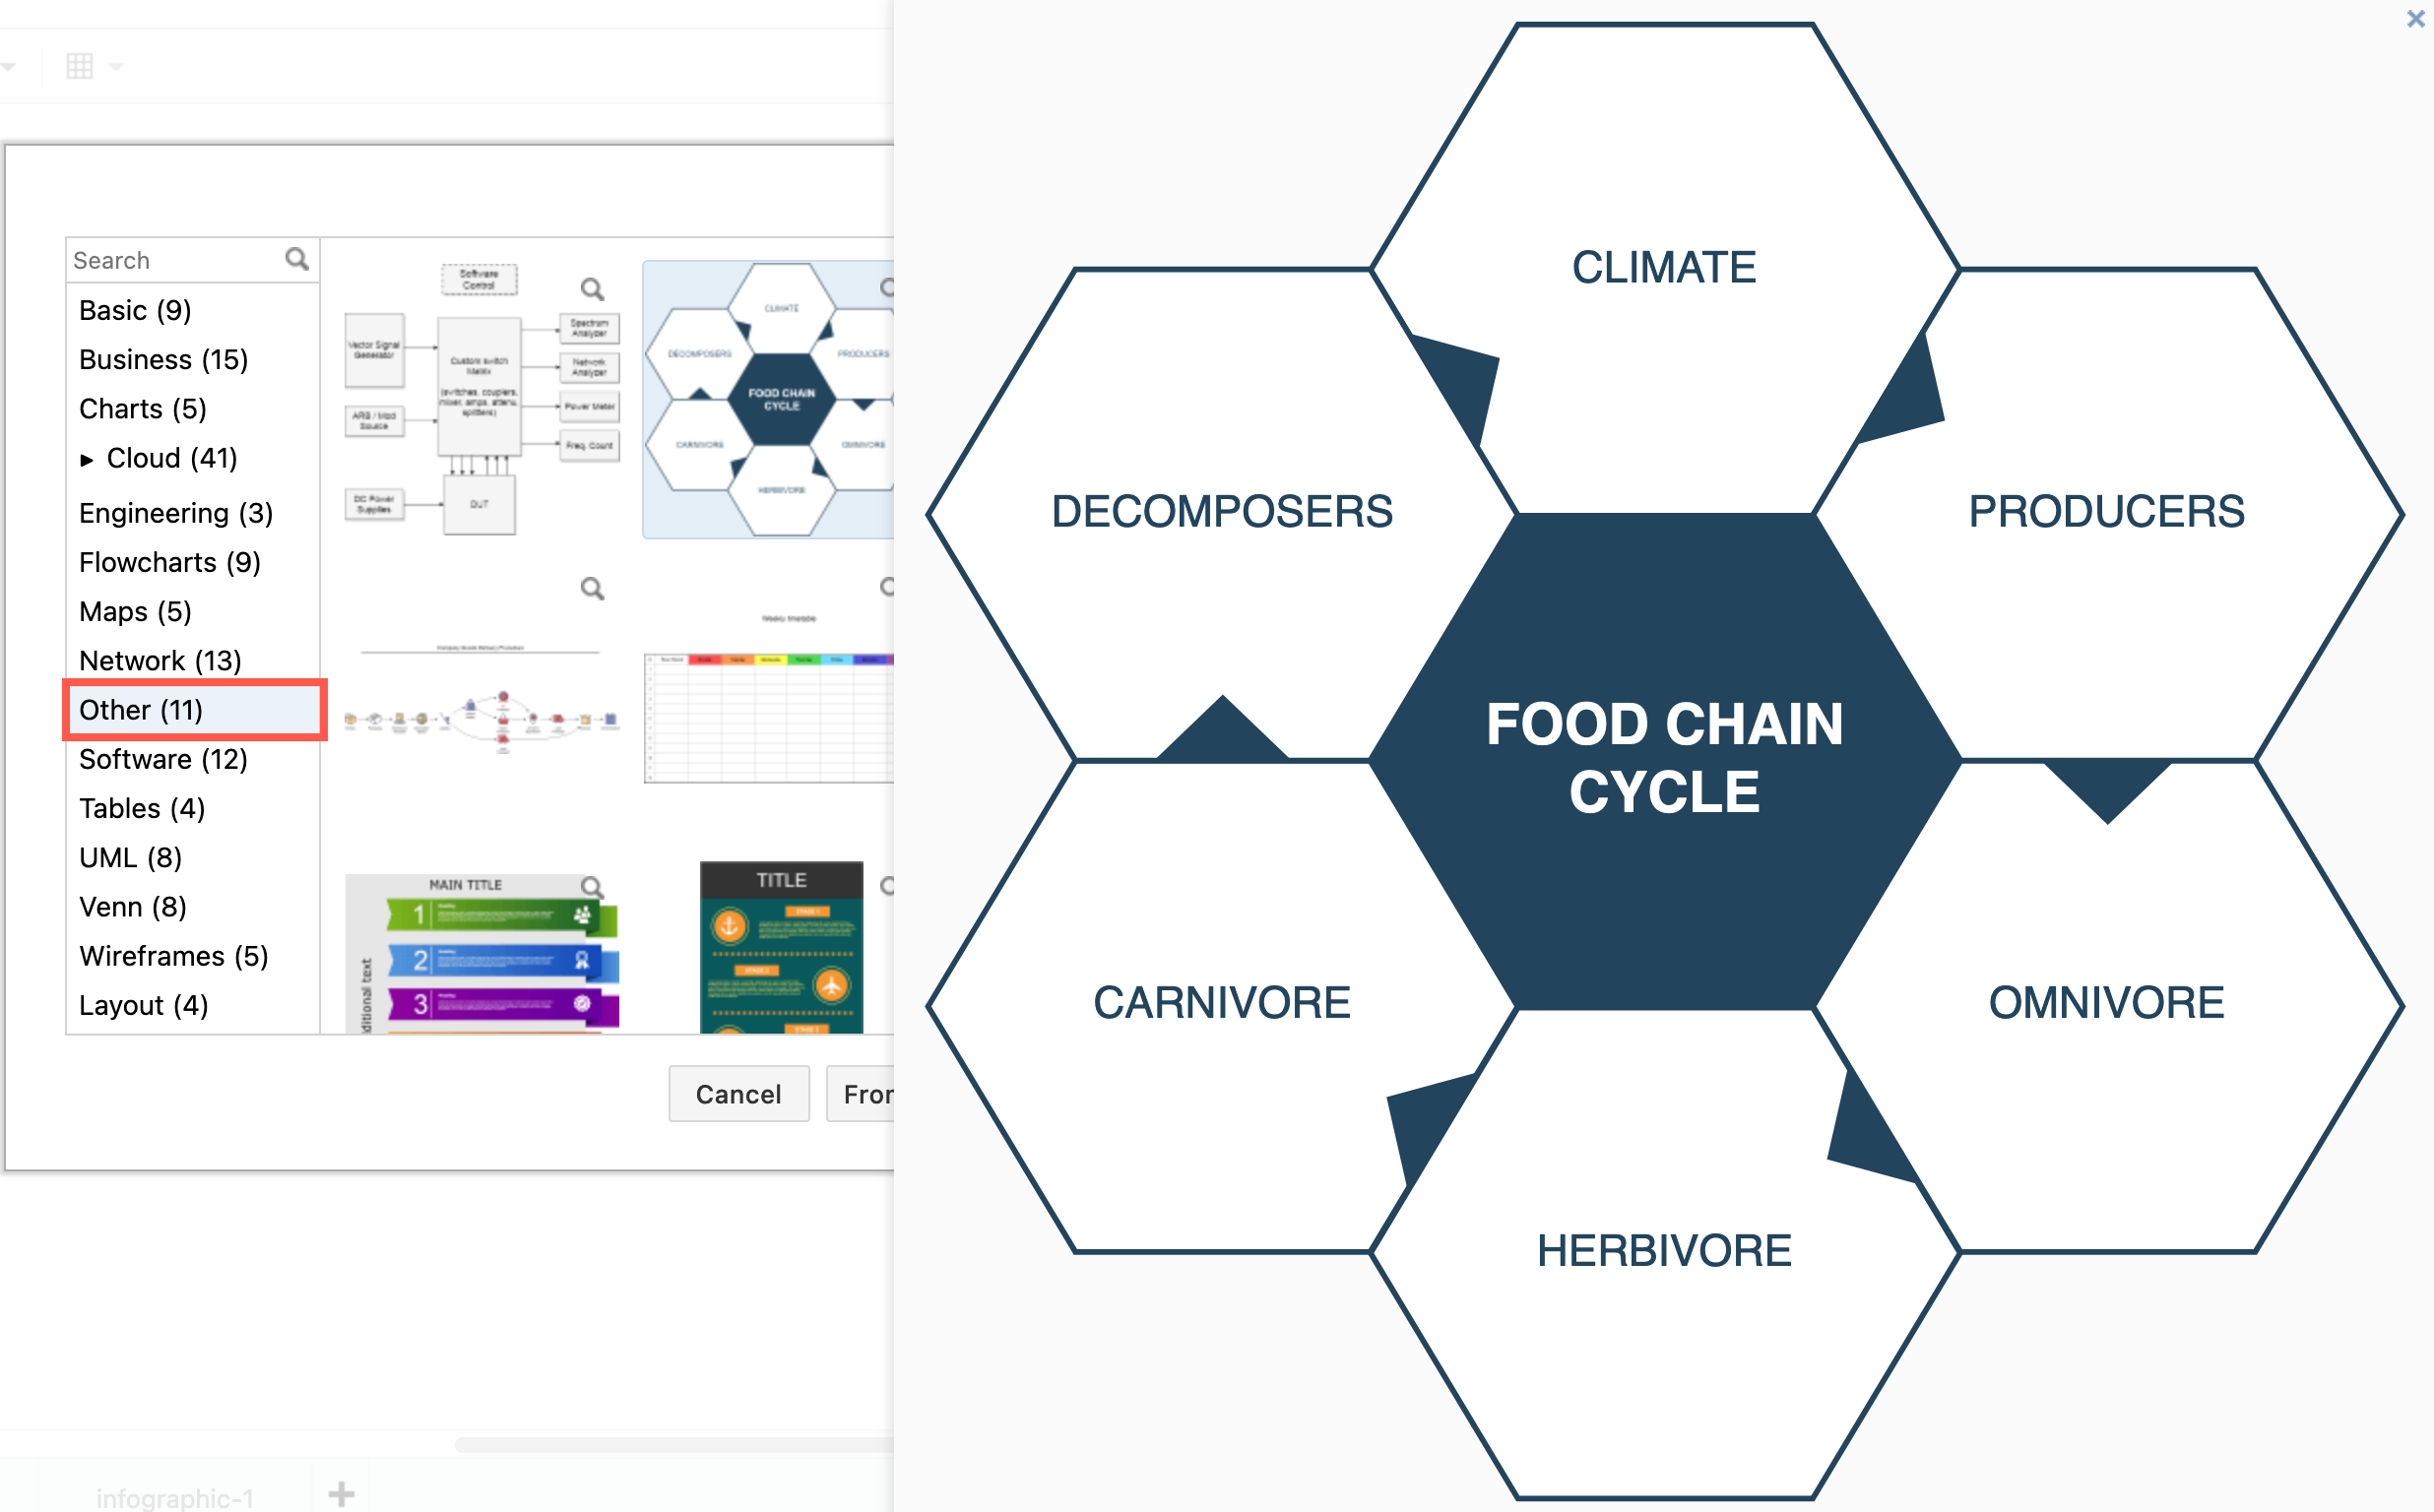
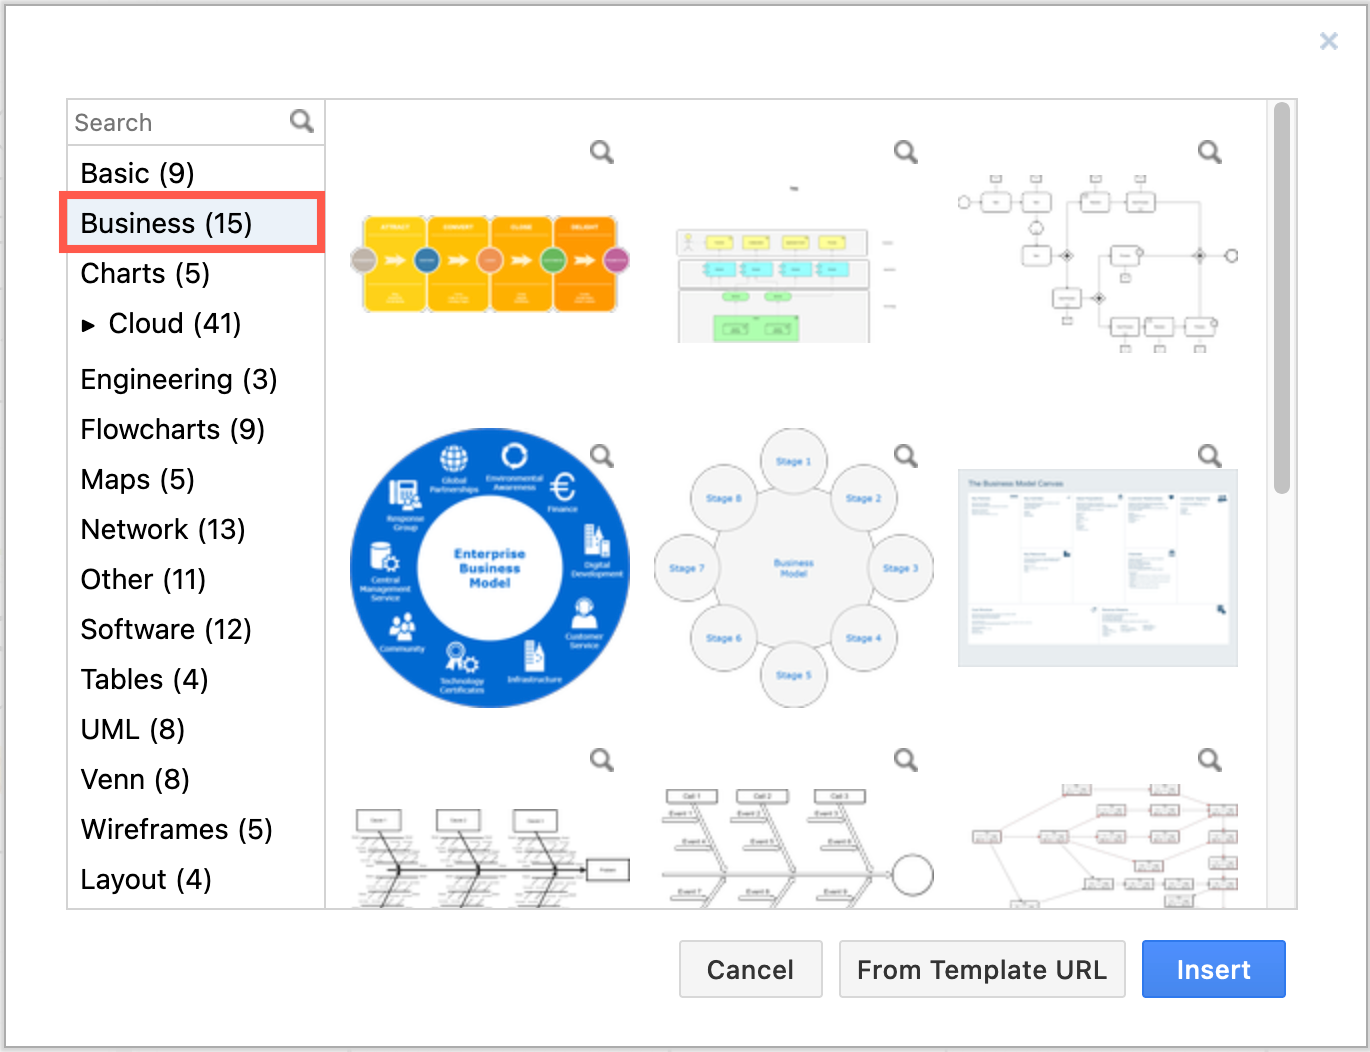
You’ll find some more templates that work well for circular flowcharts in the Business category.
